Some deliveries may take a little longer than usual due to regional shipping conditions.

DOWNLOAD THE APP


Customer Services
Copyright © 2025 Desertcart Holdings Limited
DOWNLOAD THE APP
🛻 Coat it like a pro, protect it like a boss!
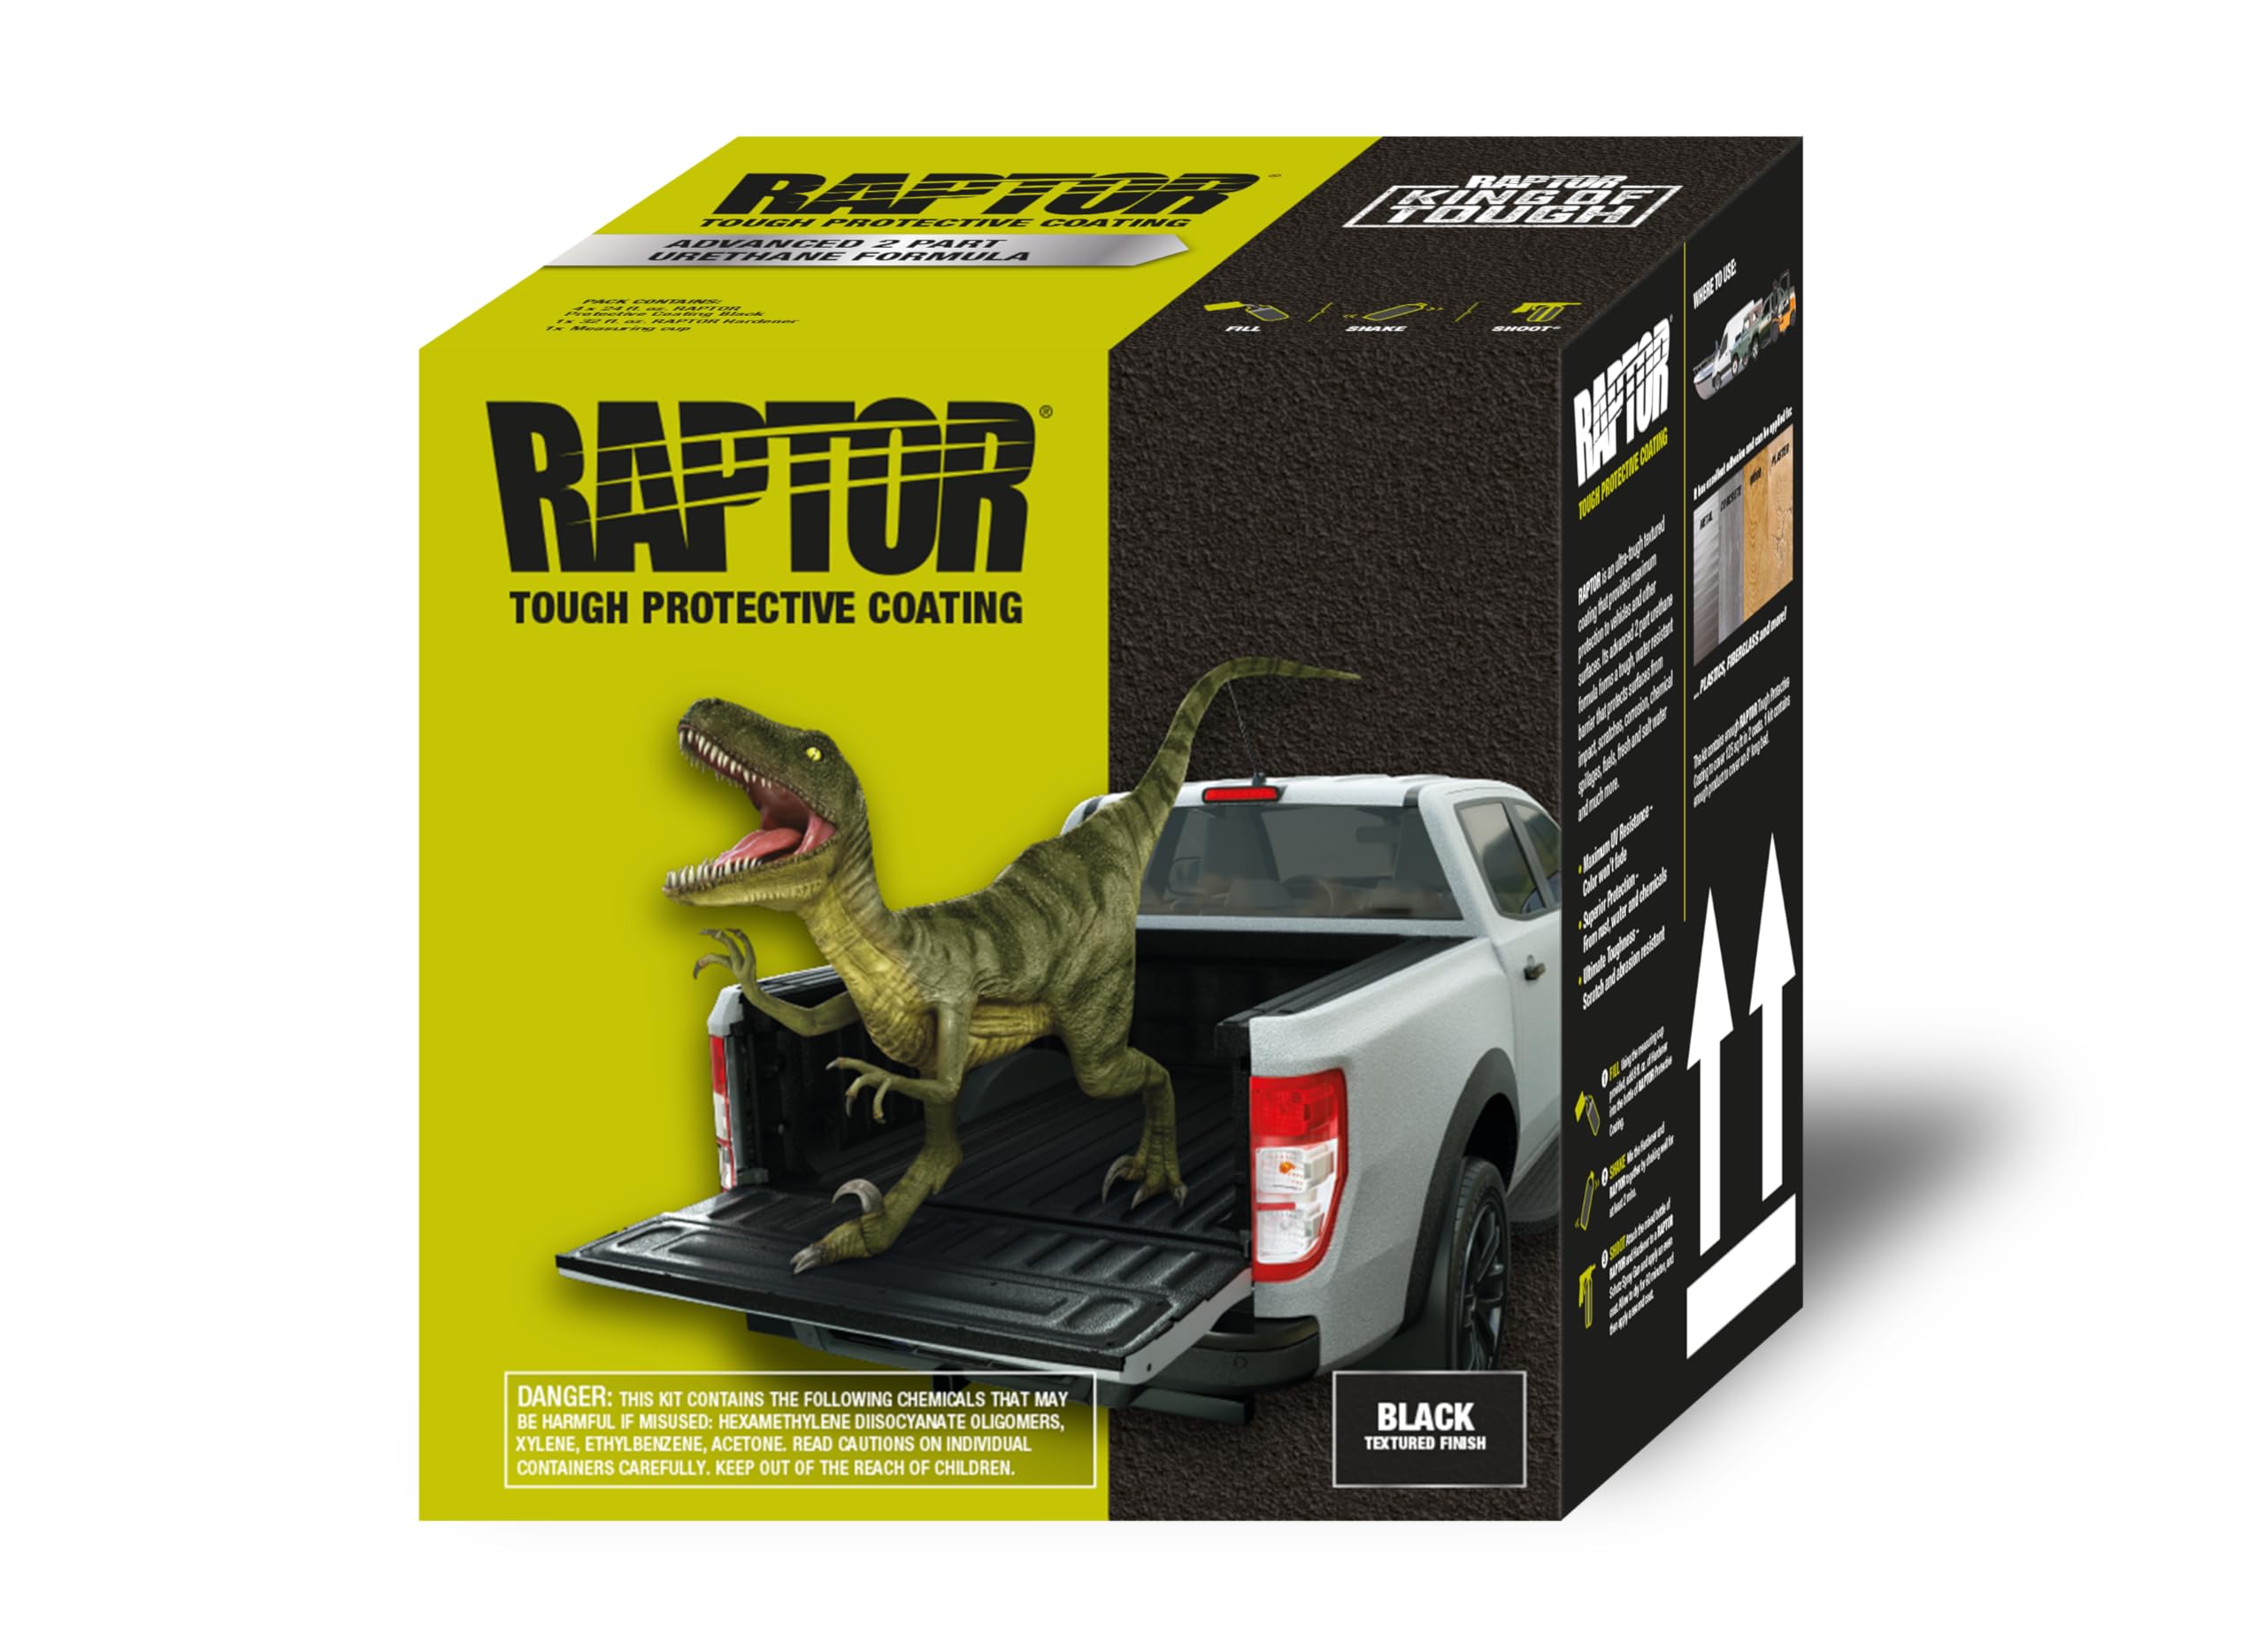
The U-POL Raptor Black Truck Bed Liner Kit delivers industrial-strength protection with 10x toughness over standard liners. Its versatile formula adheres to nearly any surface—metal, plastic, wood, or concrete—while offering a fast-drying, UV-resistant matte finish. Designed for DIY enthusiasts, it provides customizable pot life and multiple application methods, ensuring a durable, scratch- and stain-resistant shield that guards against rust, corrosion, and extreme weather. Perfect for professionals and weekend warriors who demand lasting quality and a standout finish.


| Brand | RAPTOR |
| Color | Black |
| Finish Type | Matte |
| Item Volume | 3790 Milliliters |
| Size | 1 Count (Pack of 1) |
| Special Feature | UV Resistant |
K**N
Great product – excellent results on a fun project painting my truck!
If you are reading this, you’re probably like me – you do things yourself as opposed to paying someone else to do it for you. You take pride in your work, and you are willing to do research, learn, and possibly even risk making a mistake or two so you can hold your head high at the end of the day and say “hey – I did this myself and I’m proud of it,” and I didn’t need to pay some ridiculous price to have someone else do the job for me. So, if you are like me and you are willing to go down the path of painting your ride with Raptor liner on your own, I salute you! So, here’s the bottom line – I have a 20-year old black Toyota Tundra that I love and I will keep forever - because that’s how I roll - and the paint was getting very tired with the clearcoat pealing badly despite my best efforts over the years. I pondered my options – including wrapping it with vinyl, but ultimately, I settled on Raptor after a good deal of research on the product and the application methods. And as far as application methods go, I actually settled on rolling it on as opposed to spraying it (and I have the capacity to spray it I might add). To cut to the chase, the end result is absolutely amazing. The texture looks fantastic and the non-tintable Raptor coating is as tough as nails! I will say this – I spent two solid days prepping my truck prior to painting. I DA/orbital sanded the entire exterior of my truck with 120-grit paper, down to the primer in many locations, blew it off, power-washed it, and did a quick degreasing of the truck. After that I taped-off the rubber around the windows, the door bumper guards along the midline of the truck, and the fender flares as well as I wanted them to retain the glossy/semigloss black of the original paint. I taped off the edge of the plastic step on the rear bumper, and I taped the headlights off as well as the front side markers. I also removed the rear tail lights and the plastic bedrail/tailgate cap guards. I applied the Raptor coating outdoors about three weeks ago using a roller kit that is made for this particular purpose, including a short foot-long extension handle which I used for the entire project and found it to be much better than not using it. I also purchased a bunch of extra rollers so if I took a break or damaged the rollers (and they do wear out) I would have plenty of extras. Since my truck was already black, repainting it with black Raptor was a no-brainer for me, and I really have to say that over the course of two days to completely paint the entire truck, including using small (1-inch) brushes for hitting areas the roller could not reach – the job came out better than I could have ever imagined. Random people stop and stare, and they say it looks great – the best reward I could have hoped for. I will admit, just so you know, I was utterly and completely terrified at the beginning of this project, particularly when I first took the DA/orbital to the paint! Watching your paint grind away in front of your eyes in a cloud of dust is one heck of a way to give yourself a good bunch of butterflies in your gut! It was at that moment, almost immediately after that 120-grit hit the paint, that I knew I was committed, lol. But, once those initial jitters subsided, (as well as the gazes of my neighbors wondering just what the heck I was up to, lol) I knew that if I stayed the course and didn’t cut corners or get lazy, that I would be on the best path for success. I’ve been doing things myself for decades, and I’ve learned to maintain discipline, and to remain focused on the importance of prep work if you want the job to come out well in the end, and my advice to you is the same – put in the time on the prep work, don’t cut corners, stay focused, and remember that all the prep work is what makes the ultimate difference between a great outcome and a terrible one. And also, keep in mind, things are going to look worse before they get better, so just stay the course and remember that you’ve got to do the prep, and it’s going to look worse before you reach the reward of the finished product! My truck looked like a Spotted Hyena when I got done sanding it – it was a sight to see! But, guess what, it paid off bigtime in the end! The finished product is top-notch, and yes, top notch with a roller! I honestly don’t see how spraying it could have come out any better. Once you get started and comfortable with the roller, you would be surprised just how nimble it can be to reach virtually all the paintable exterior surfaces on your truck. The only place I could not really get with the roller is that small gap between the rear bumper and the rear body (bed) panels. But that is where the brush comes in, and it is easy to mimic the texture of the roller while using the brush with just the littlest bit of practice. I also used the brush inside some tight locations on the front grill. As to durability, so far, this stuff is like armor plating. With all the prep work I did, I don’t anticipate this stuff is ever going to come off unless you take an angle grinder to it. Also, while I’m not advocating skimping on prep work, I did a little testing just slapping this stuff on random unprepped items around my shop area – and guess what – it sticks and stays on everything, including the clothes I used for two days to apply it to my truck, and a few drips on my driveway – it’s on there and it’s on there good! It may eventually come off the driveway, but it’s never coming off the clothes! In fact, just a couple days ago I went to the grocery store with my girlfriend and we were loading up some items in the truck bed. That’s when I heard that lovely metallic sound of something scraping across the back of my truck as she was lifting an item over the bed rail – that would be the metal zipper on the jacket she was wearing. That scraping sound seemed to last forever, lol, as I stood there, jaw wide open, as the sound of metal zipper versus three-week-old Raptor coating sank into my bewildered brain. She looked at me, confused, and said “what?” I think my blank stare and mouth hanging open had her concerned that I might be having a medical issue, lol. I explained to her that I was scared to look at the paint and she snarked at me –“It’ll be fine.” And after extraordinarily close and detailed examination of the area - with her looking at me in a less than pleasant manner - she was right – not a mark on the mighty Raptor coating! A few last details before I wrap up here. I used 10 bottles (2.5 gallons) to paint the exterior of my truck – that’s two coats. I believe I used three rollers, possibly four total, and two small 1-inch paintbrushes. Again – this is just the exterior of my truck, not the inside of the bed. And total work time would be two full days of sanding including handwork in the tight areas, as well as two full days of applying the actual Raptor coating – so four full days total for the job. I was also surprised at what little mess was created applying the Raptor coating. I did the job outdoors, wore nitrile gloves, and aside from a plop or two off the roller onto the driveway (which I somehow managed to sit in BTW), there was very little mess to be seen at all – you would never be able to tell I was there aside from that plop or two. I will say this though, when you are rolling the product on, it gets a little tacky as you move back and forth, and you can see the texture forming in front of your eyes – during this process you will have very tiny bits of the material come off – I couldn’t see it happening until afterward when I noticed some speckles on my shirt and pants. Don’t let this scare you off – it’s not a big deal and did not pose any issues for me whatsoever. Some tiny speckles were on the glass of my truck and they were easy to remove with a razor blade. I will leave you with this – you can do this, my do-it-yourselfer friends! Do your research, watch some YouTube vids, set aside time, and take your time. Hope this helps! QUICK UPDATE: OK folks, as I write this, in about a month it will be two-years since I Raptor-coated my truck (and posted the review you just finished reading) and I just wanted to pass along that my truck still looks as good now as it did when I finished the job. Importantly, I have not had even a single issue with the Raptor coating staying absolutely adhered and bonded to my truck's exterior - not even a single problem. To this day I am still getting compliments in parking lots, as well as while waiting in traffic, whether it be from truck enthusiasts, to senior citizen's walking out of the grocery store. Literally, folks from all walks of life have struck me up in conversation more times than I count on my fingers and toes. I have made new friends, and have had dozens upon dozens of excellent and rewarding conversations, sparked spontaneously, as a result of my truck's new wardrobe. Who would have ever thought? This has been a great experience, and I hope you are all having the same. I will be pulling for you if you decide to give it a try!
S**Y
Great product 👌
Easy application and very durable. Very pleased
R**Y
Great product
Great product, speedy delivery, as described. Painless transaction.
J**Z
Raptor liner
Tough and professional finish Easy to apply and super durable. I used it on my truck bed and it looks amazing — strong texture, great protection, and no fading. Definitely worth it if you want a tough, long-lasting coating. Would buy again!.
R**N
Good product - went on relatively easily
I purchased the tintable version of this product and I was pleased with the outcome. As an FYI - you need to purchase the colors (tinting) via a separate purchase in order to colorize the product before application. The base color of the product before adding any tinting to it is an off-white / cream color. I did not purchase the tinting packages sold by Raptor at O'Reilly auto parts. They were roughly $23 for one of the 24 oz containers included in the kit. There are 4 - 24 oz containers in the kit - so nearly $100 to colorize all 4 containers. I chose other options to colorize. The product was used on a fiberglass pickup topper (6.5 ft) for a 2006 F150. The topper was dark green and I wanted it to be white in order to match the pickup better. As you can see in the photo collage - it took two coats in order to cover the dark green. I ROLLED it on and I did not spray it on. Rolling it on in smaller areas was tough to say the least and I used a 4 inch roller. If you can spray - I think you would be more pleased with the outcome. I rolled because I did not want overspray, etc. to be dispersed around the heated shop I was using. I used one container for the first coat and had a little bit of it left after covering everything. The second coat took slightly more than one container (surface roughness), which meant I had to mix part of a third container in order to finish the project. All-in-all the product worked well and I like the outcome. The "white" color is not a perfect match, but I had to be realistic in the fact that I did not try to exactly match the white of the truck. As my brother said, when it gets a little dusty, you will never be able to tell the difference! :-)
C**A
Shipping broke the measuring cup
The Raptor product looks fantastic once I got it sprayed on my camper shell. It exceeded my expectations in the ease of spraying application and the look of the final product. Time will tell if it handles the daily abuse I expect of a camper shell, but my initial impressions are "Wow!" I faced two issues in the application of the product. The measuring cup that was shipped as part of this kit was shattered in shipping. This forced me to find another cup to measure the activator in. All I had handy was a plastic cup. We measured to make sure it was the right size, and then began mixing the material. In my kit I had 4 bottles of Raptor application and once bottle of activator. The activator bottle had just enough to support the 4 bottles of Raptor. Unfortunately on the second measuring of the activator, the plastic cup I was using melted. This caused me to lose the activator fluid, so I only had enough activator for 3 bottles of Raptor. Turns out 3 bottles was enough for my camper shell (midsize truck, 6' bed). As you can see, it turned out great! I wish the included measuring cup was more robust, or that Raptor would include some extra activator fluid in case you "waste" some, like I did. Lesson to learn? Make sure you use appropriate materials! I hope to write an update in 6 months to discuss the durability of this stuff.
S**Y
Raptor liner. Blue and black
Great stuff used it to paint my 4x4 2 tone easy to use
B**R
Great product
Painted my truck and it came out great ! Thick as snot and durable, never have to wash truck again, wish I could paint my house with this stuff, cover everything u don’t want paint for life on
Trustpilot
1 month ago
3 weeks ago