
Desert Online General Trading LLC
Dubai, United Arab Emirates
Desert Online General Trading LLC
Dubai, United Arab Emirates


🏕️ Elevate your RV lifestyle—expand your space, embrace the outdoors!
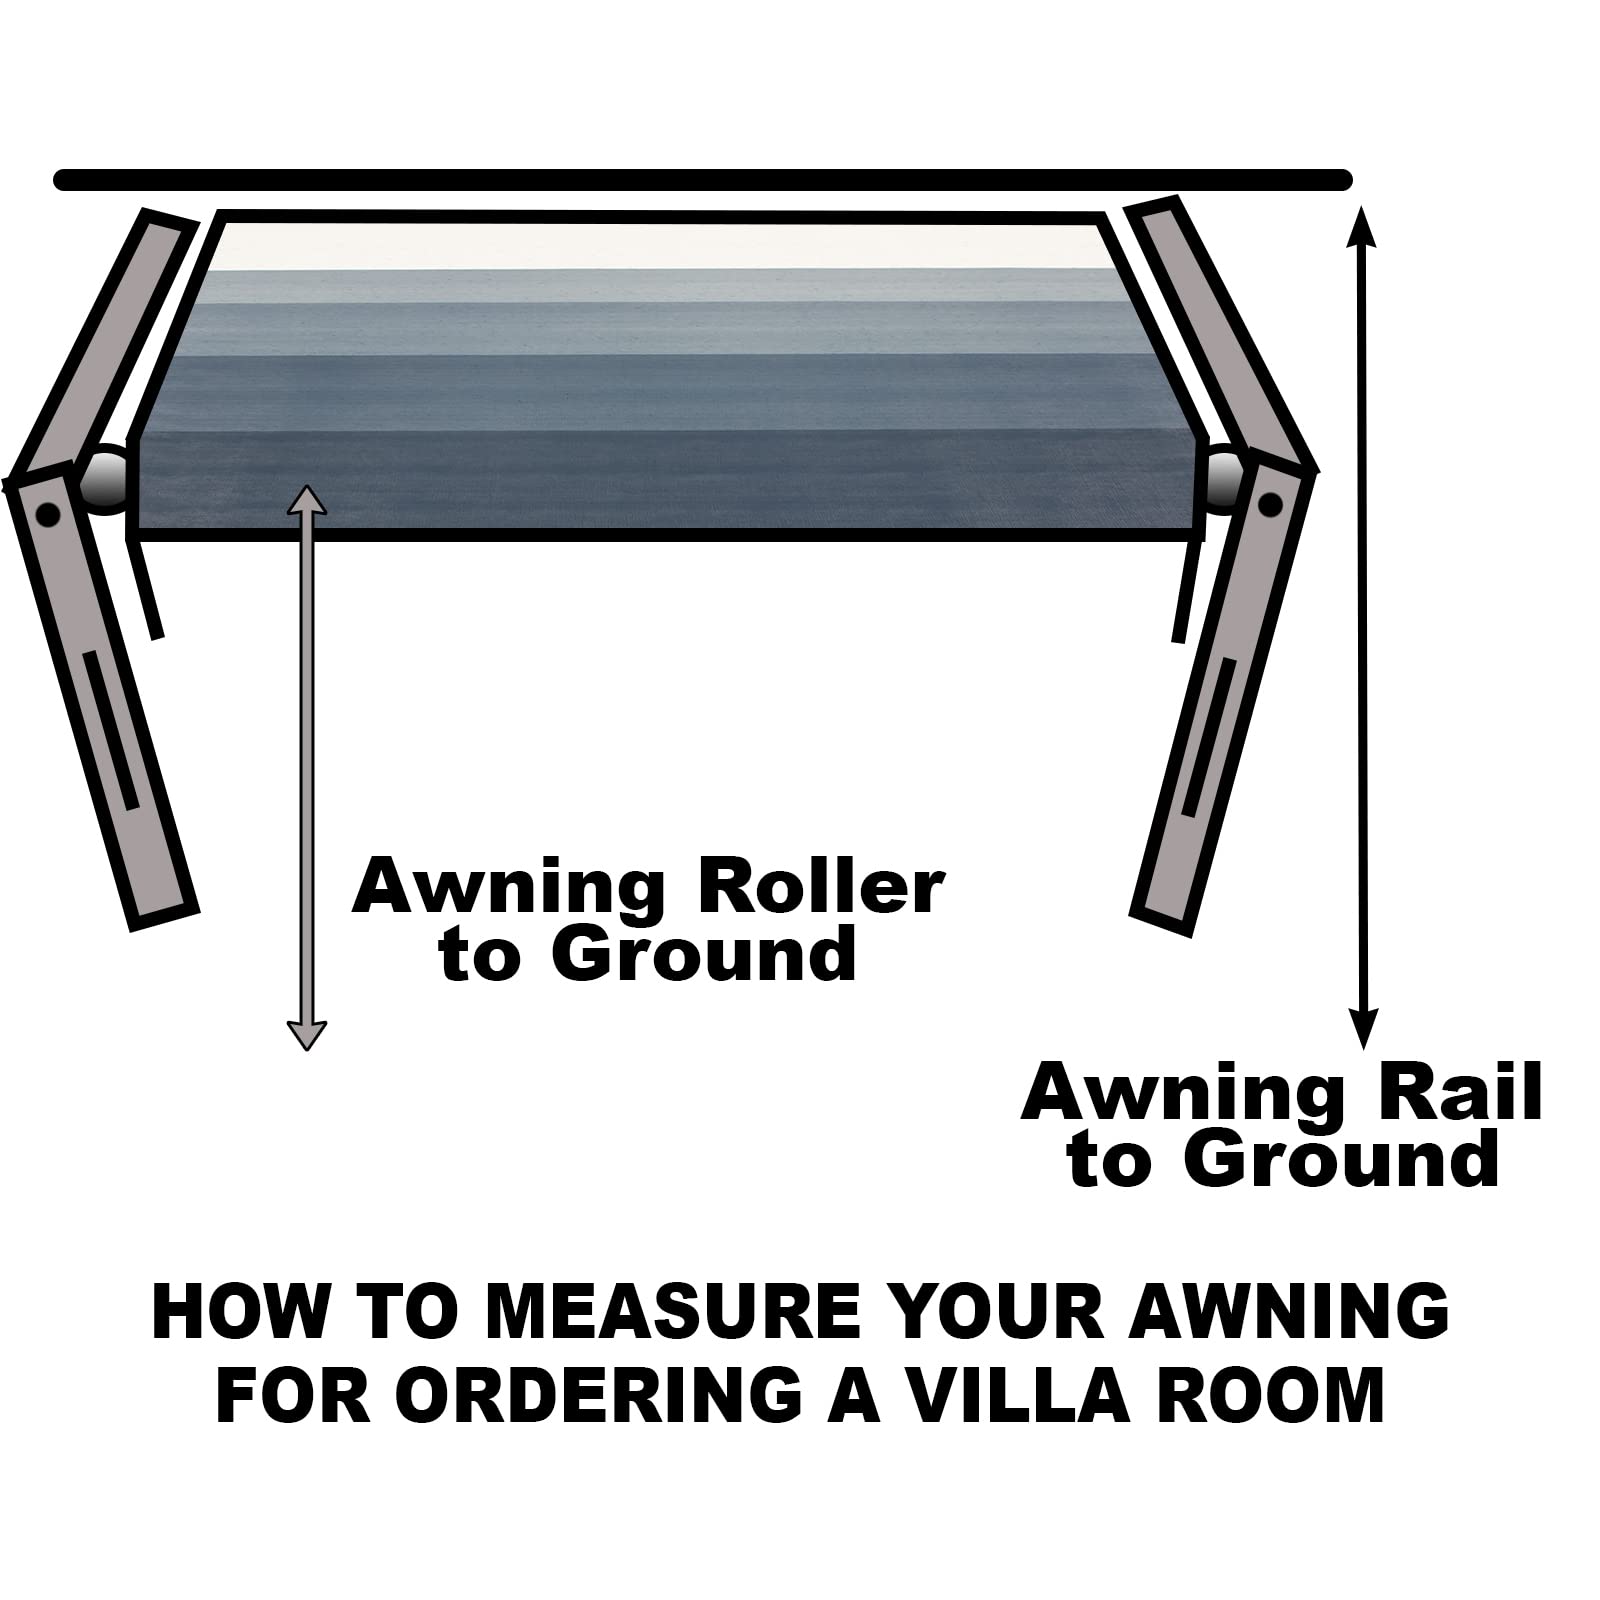
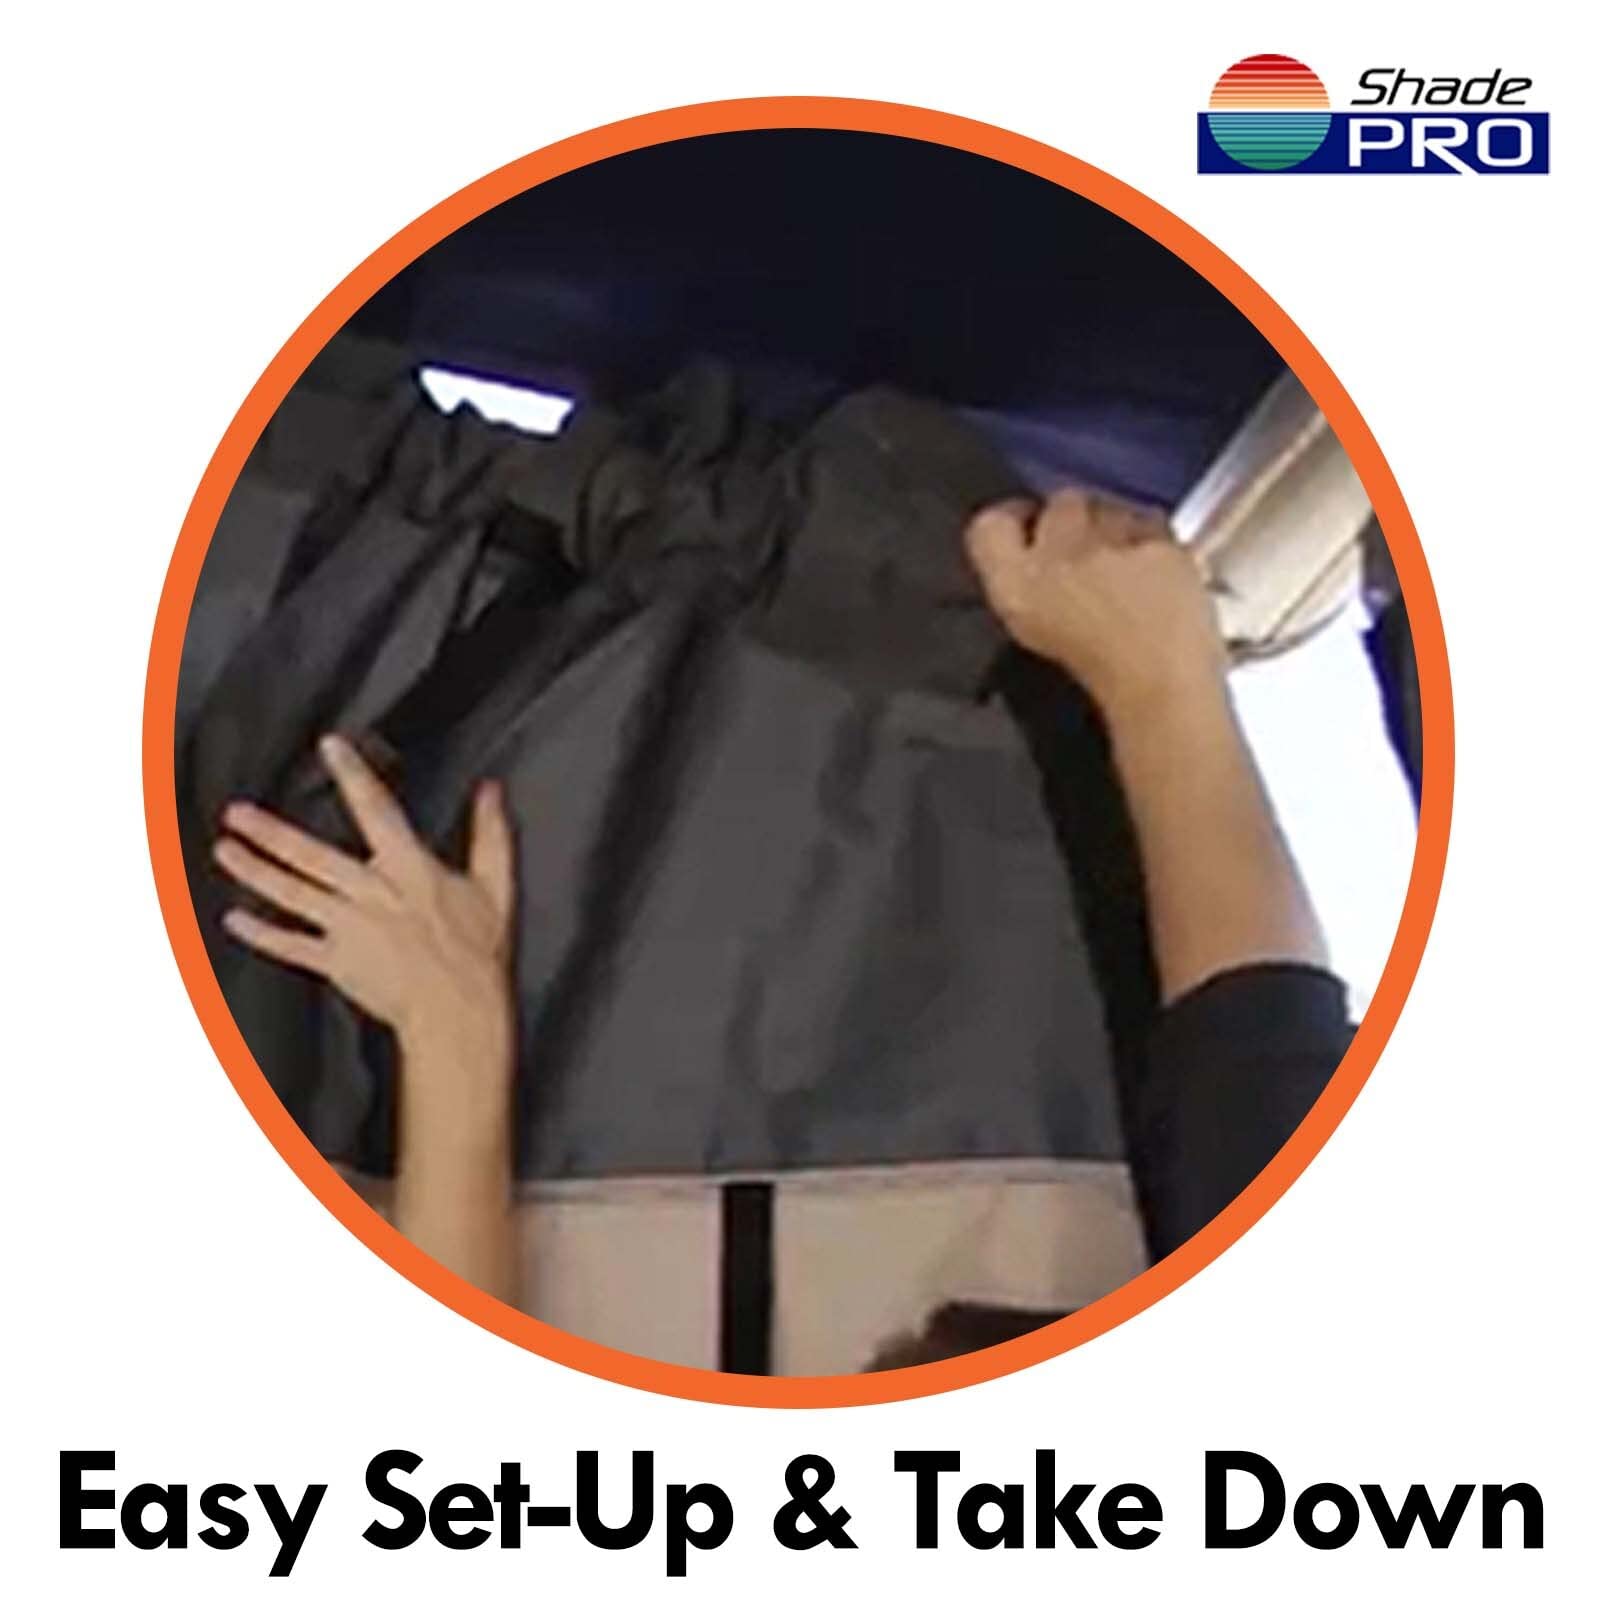
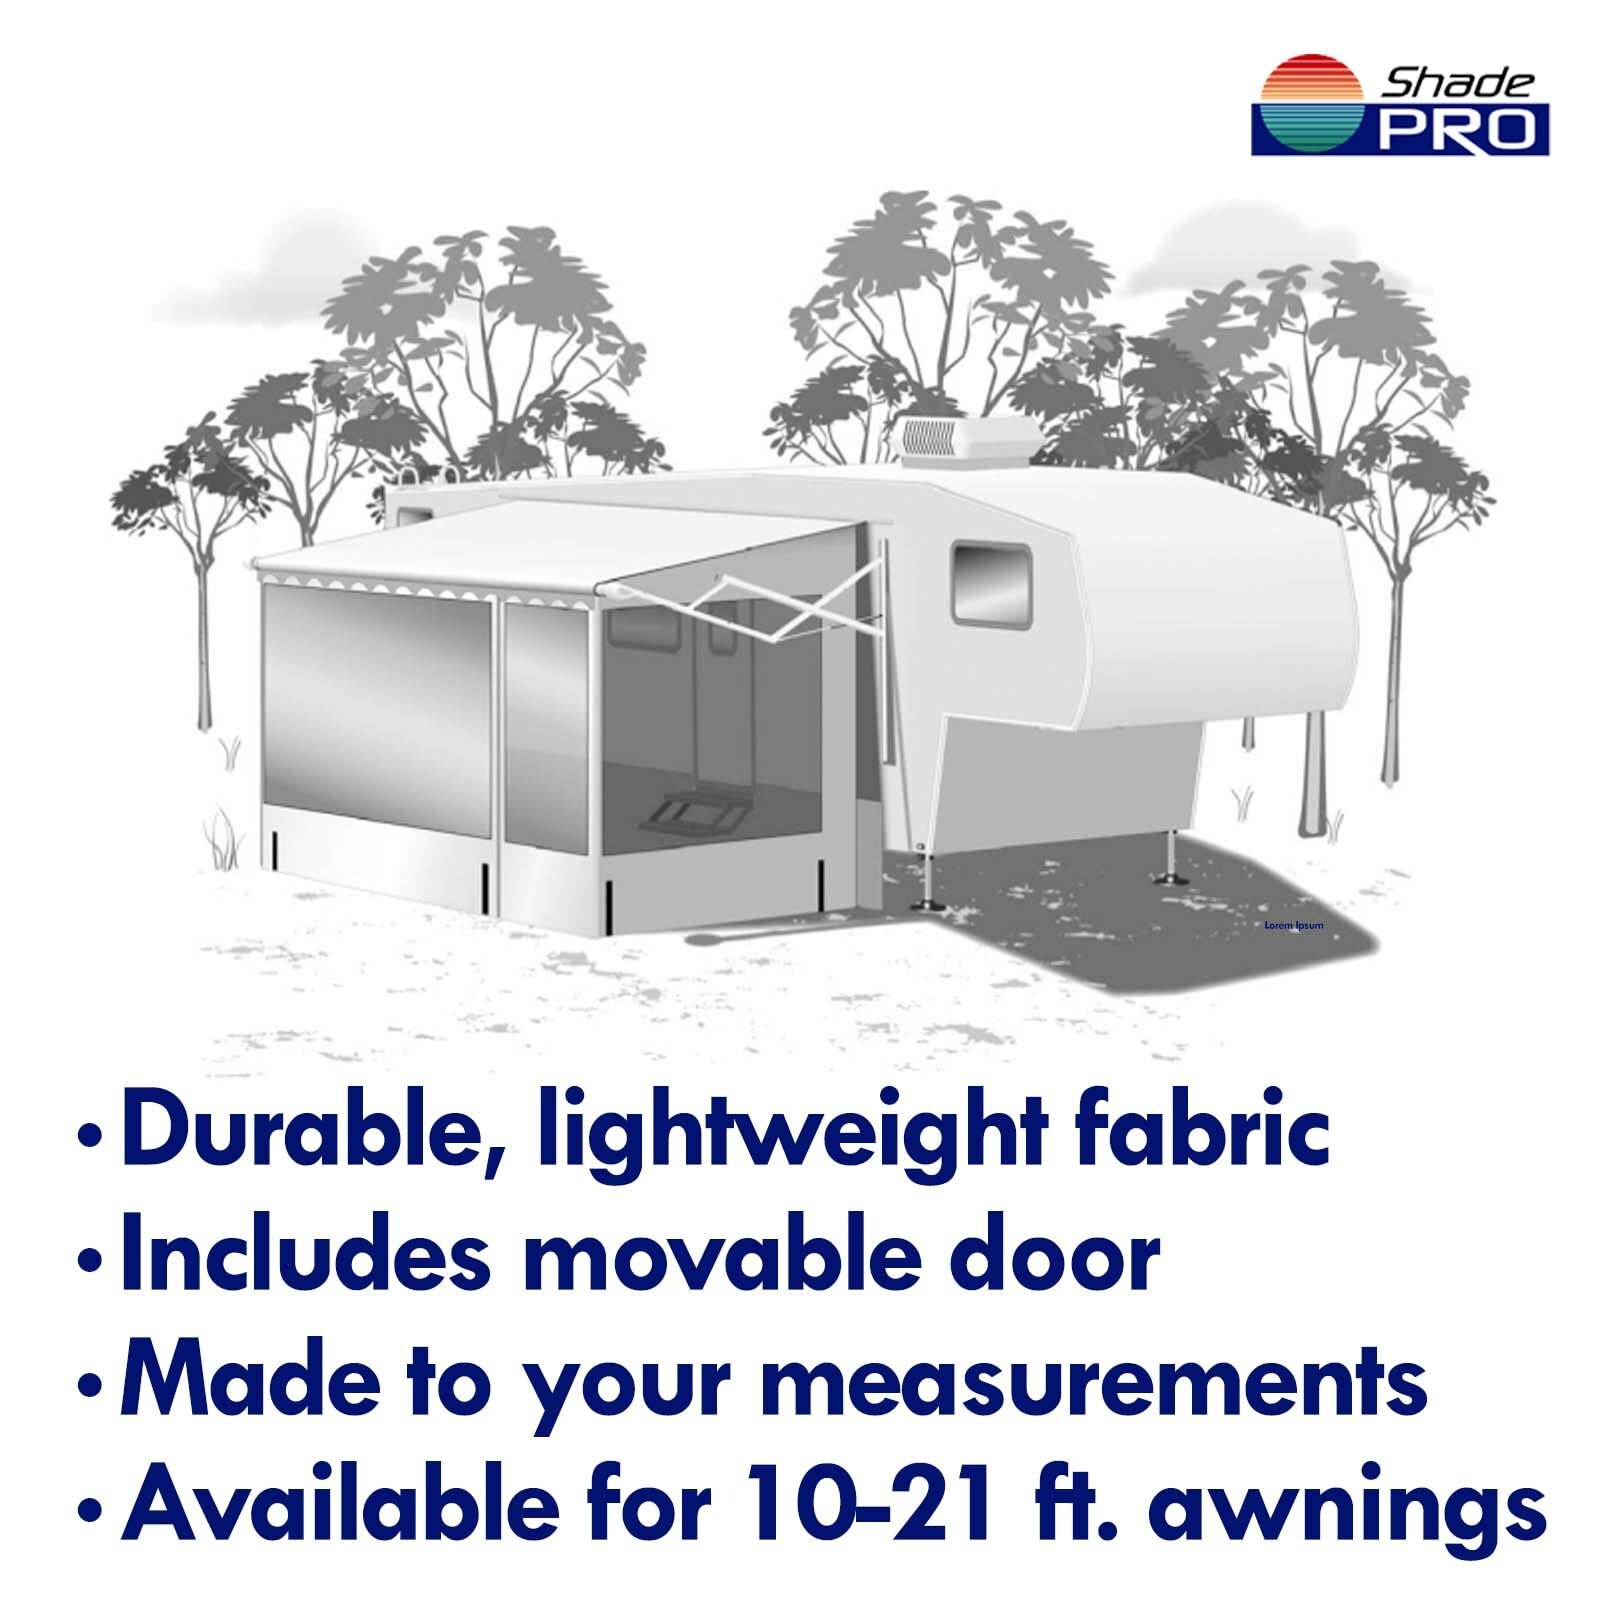
The ShadePro Villa RV Awning Screen Room is a custom-sized, 10-foot enclosure designed to fit most straight-sided RVs with awning rails between 100" and 141". Made from heavy-duty marine-grade polyester and vinyl, it features privacy panels, durable zippers, and snapless support rafters for easy setup. This modern, weather-resistant screen room enhances your outdoor living space by providing a bug-free, shaded area perfect for family use under your RV awning.


| Material | Polyester, Vinyl |
| Color | Multicolor |
| Size | 10' |
| Brand | ShadePro |
| Product Dimensions | 35"D x 35"H |
| Style | Modern |
| Fabric Type | polyester, vinyl |
| Assembly Required | Yes |
| Min. Clearance | 35 Inches |
| Operation Mode | Manual, found in image |
| Pattern | Solid |
| Manufacturer | Shade Pro |
| Manufacturer Part Number | 72XX06 |
M**S
Money well spent
First off, make sure you know what you’re measuring exactly the first time. It’s hard I suppose to get some things perfect. My kit arrived and I had a problem with the side walls being about 3 inches too short. Called up shade pro and they asked for more measurements and photos and bam, new sides shipped to me within a day. They new sides fit much better. They will take care of you.I also had issues with the support poles that come with this kit. See photos. The issue was the locking mechanism inside the two piece poles had come loose from the inside pole and got stuck up inside the outside pole, making the thing useless. Well almost, they can be used without locking but not preferred. They sent me new poles too. And then I went and bought some small screws and screwed the locking mechanisms in place so they wouldn’t come loose and get stuck. Worked like a charm.I used my awning room for the first time in a windy rainy environment and it did wonderful. I reversed the walls to put the screens out for better rain protection and they did the job perfectly.Now mind you I get a little carried away with modifications sometimes and the plan was always to install a wood stove inside the screen room for winter time (hunting camp). So I also installed a stove jack in one of the side walls. Turned out perfect. Just watch the temperature so you don’t melt your tent or awning.One last add on I did that I highly recommend for those with electric powered awnings is to get some sort of supports to hold the extra weight and stress on your awning. I found the perfect solution on amazon. Two pole kit used for installing cabinets and similar things. These are strong, easy to use and I bent one end to conform with the roller then drilled the holes bigger for a large tie wrap to go around the roller and two steaks to go into the ground. Very solid and adjustable.I will say I’m in love with this room. Especially for winter but hope it’s just as nice in summer.Be careful installing the support poles up on the side of your RV. The fabric slides down no matter if you put the top pole (rafter) in first or the vertical. Just get up there on a ladder and pull it back up into place. Do not stretch the fabric by forcing the poles into position.Hope you buy one of these and love as much as I do.
K**E
Incredible tent. Bad supporting items.
I love this expansion to my trailer. We get asked about all the time and we love it. If everything works out perfectly, it creates a whole new room which can keep the trailer a lot cleaner.But they have a few things that they really need to work on:1. The stakes are not stainless steel and rusted within a week of using them.2. The skirt on the RV was way lower quality than the rest of the room with no braided support so The grommet actually broke the first or second time I took the stakes out. Also, they just didn't add the velcro part that is supposed to connect to the room so it just flaps open.3. The sliding poles have a locking system which is really cool but the locking system can come unattached from the end of the pole getting stuck in the other pole making it to where your poles no longer lock. When that happens, you can no longer use your Villa room with any wind above 10 mph.
I**R
Time consuming install
Reviewed instructions for a couple of days. Needed a magnifying glass to read them, small print. Some pictures confusing with canopy roller measurement with the placement of side panels. The roller zipper goes in empty slot on canopy roller. Had to remove the roller cap, two screws and slide cap away from roller to get access to available slot in roller, this secures the largest panel with door. I placed my door on right and all window panels on the inside, can be reversed with panels on outside. Right side panel was no problem mounting, clearly noting panel under canopy edge. When inserting rafter tube, there are plastic strips inside panel sleeve. You can go either right or left of these strips. These will create an arch in the top of panel to curl under canopy edge. The left panel was going to be in the way of my rear door. Had to offset it 3 inches so door could open, leaving a gap, noted sun strip in photo. But there is enough fabric that I can use bulldog clips to secure canopy edge to panel top. Tonight I removed all panels and rolled up awning (leaving zipper insert in place), had to relocate the pull strip to the outside of roller using gorilla tape. Awning rolled up with no problem.Just an update, camped 7 days at Pacific Beach WA, wind daily 14 mph and one day 18. Did an amazing job with wind, but I did have to use 2” bulldog clips to secure awning to side panels at top, awning was flapping strongly. Have dogs and they figured out by nosing the zipper at the door they could leave. Having to open door every time to leave was a hassle. Taking a dog gate next time so door can be rolled up. Love this extra room.
A**G
The sides do not line up and reverse sides isn't accurate
The sides did not fit and are catty wampkus. There is space up top that is open and the window's are at an angle. We tried everything with the angle of the awning and the extention of the awning every way we tried . We had to actually drill a second hole in the awning roller in a totally different spot then the directions stated. It was the closest we got to no gaps and window's being straight and still wasn't straight and still had gaps. When placed the hole where they stated in the directions their was a 4 inch gap. It's says you can reverse it and place the door where you want, well you can but the zip is actually on the outside, so to open from the inside we placed a string on it. Then the directions said to drill more holes to hold the sides not just the top and it wouldn't fit. We took it down and said nope this is going back.Update sent it back in new condition but defective and missing pieces or something to make it work. A d they have received the item. Sent them multiple messages no answer. Had to pay for shipping back. Mind you it was all with in a week of getting it and contacting them about the defective screen room. I still have yet to get a refund or any kind of communication..
Trustpilot
2 months ago
2 days ago