🎉 Elevate Your Game Night with Viper Ion!
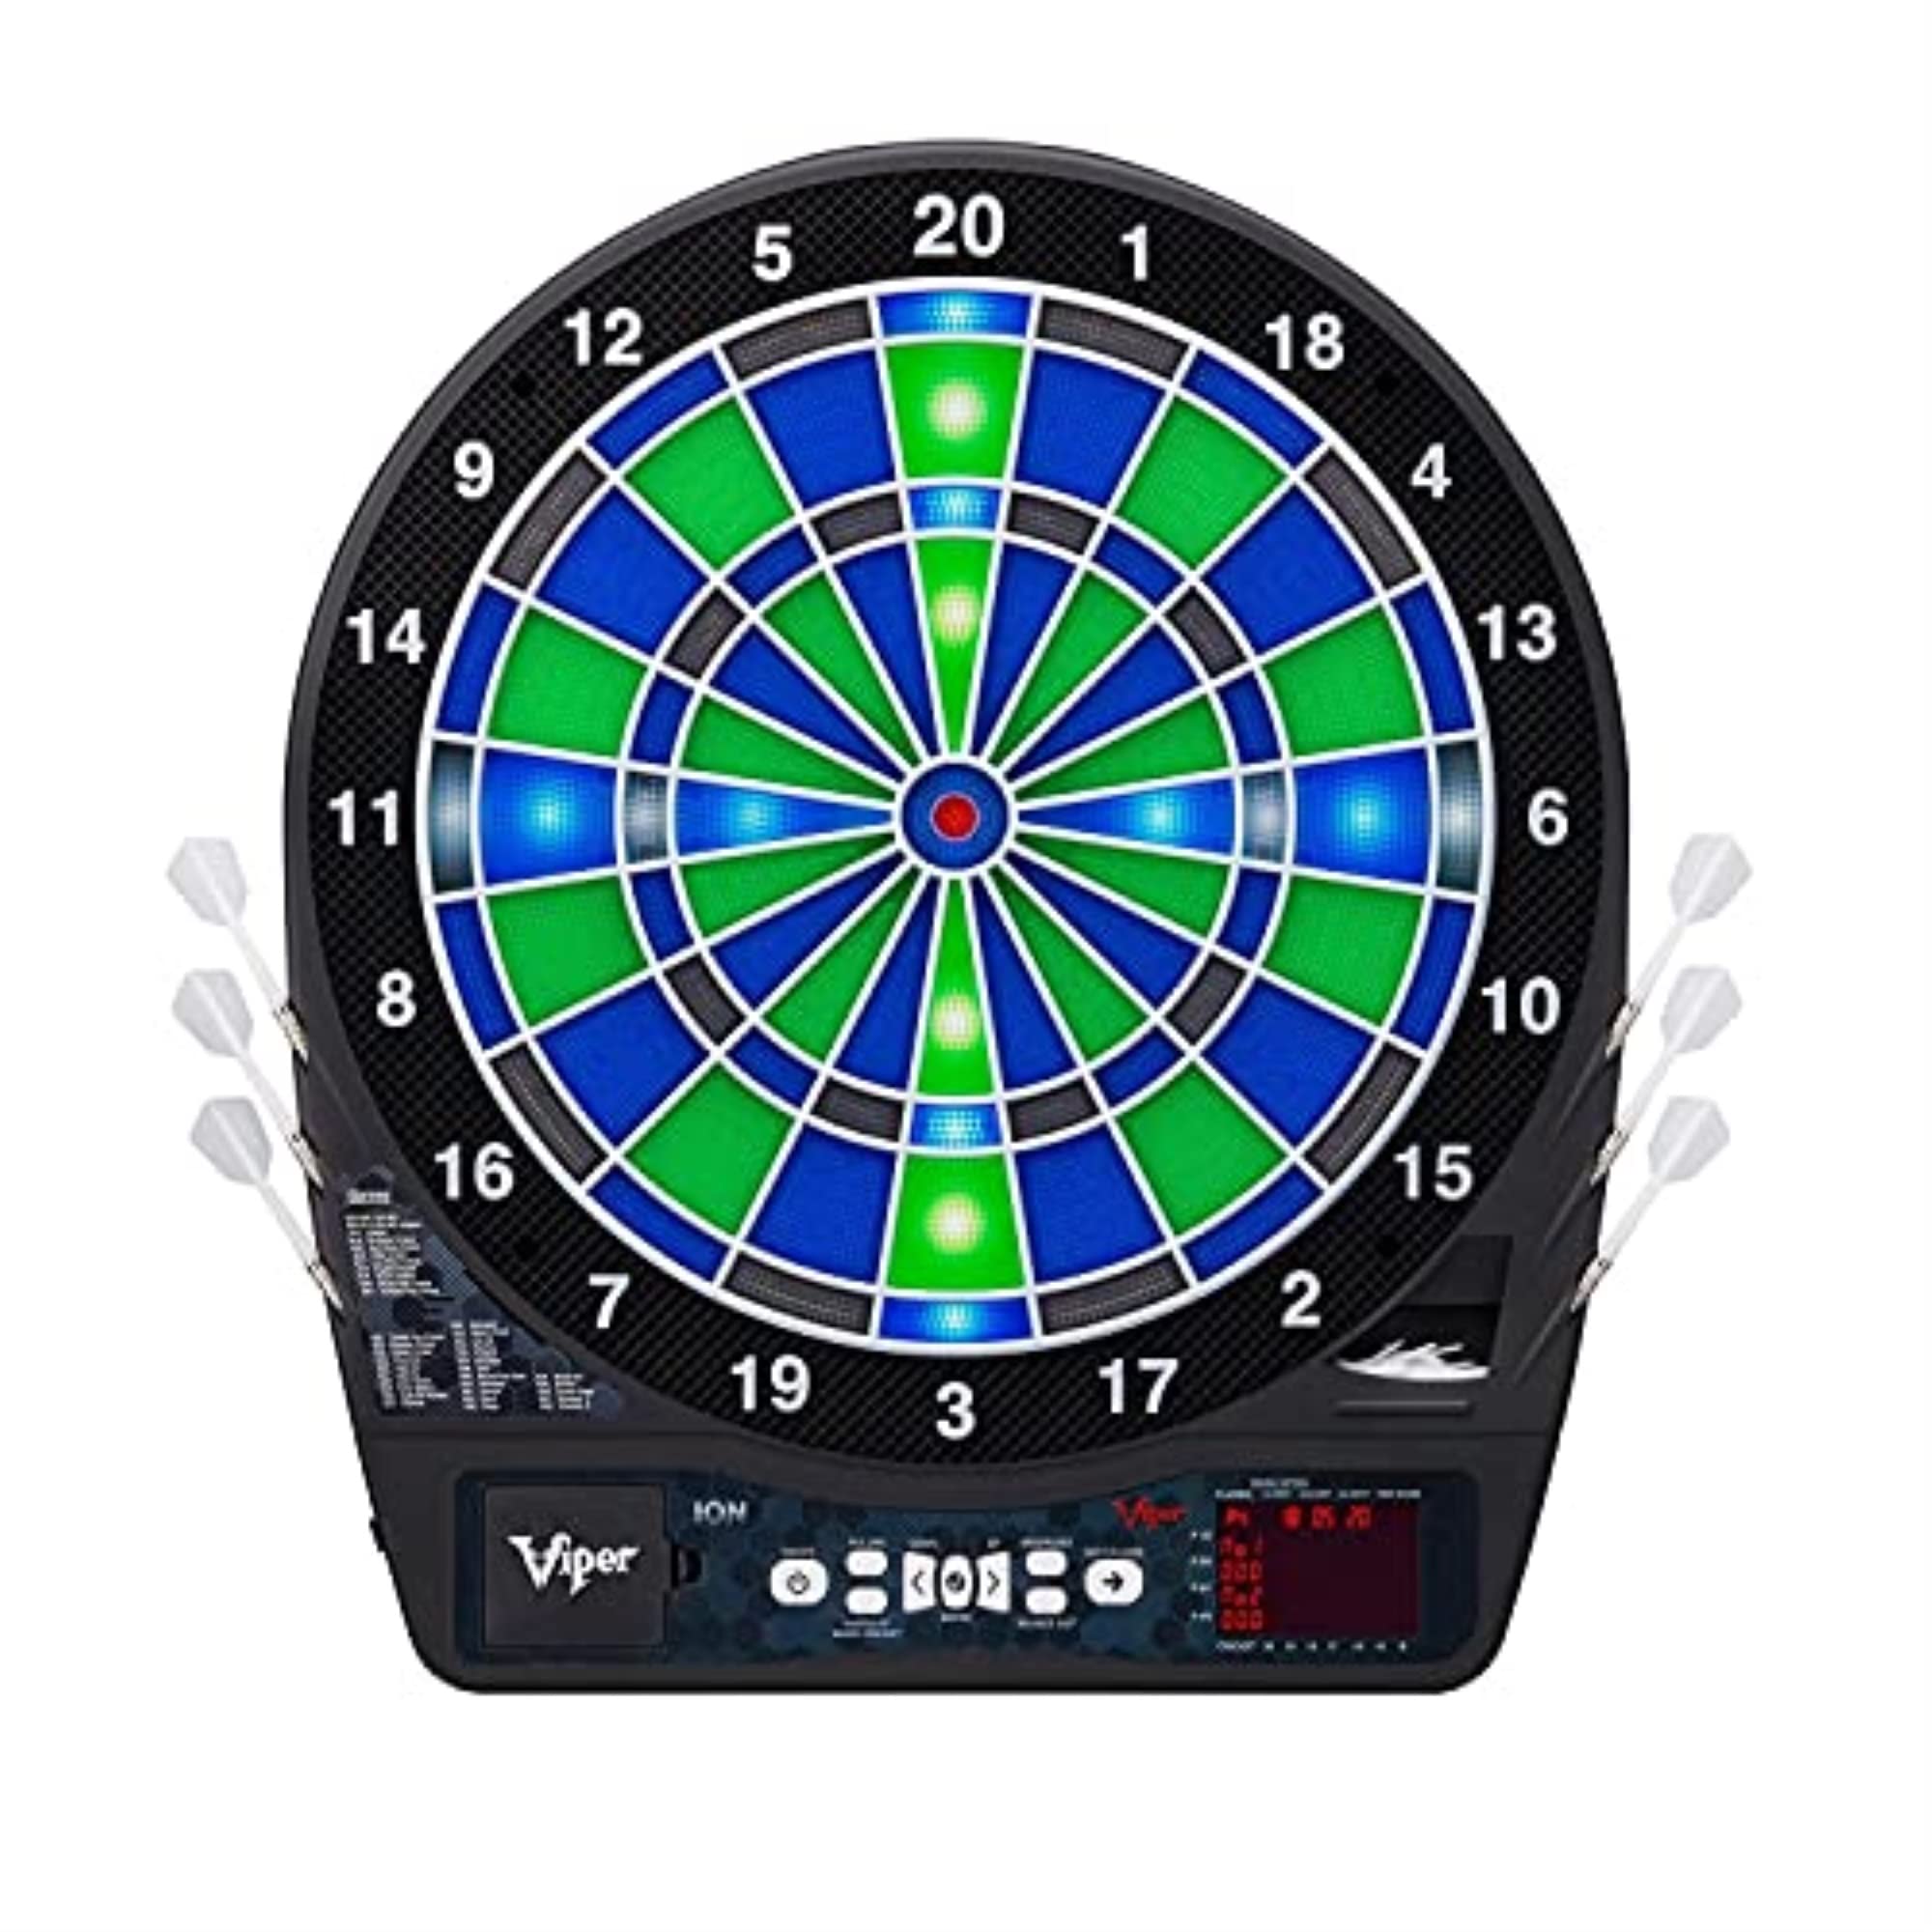
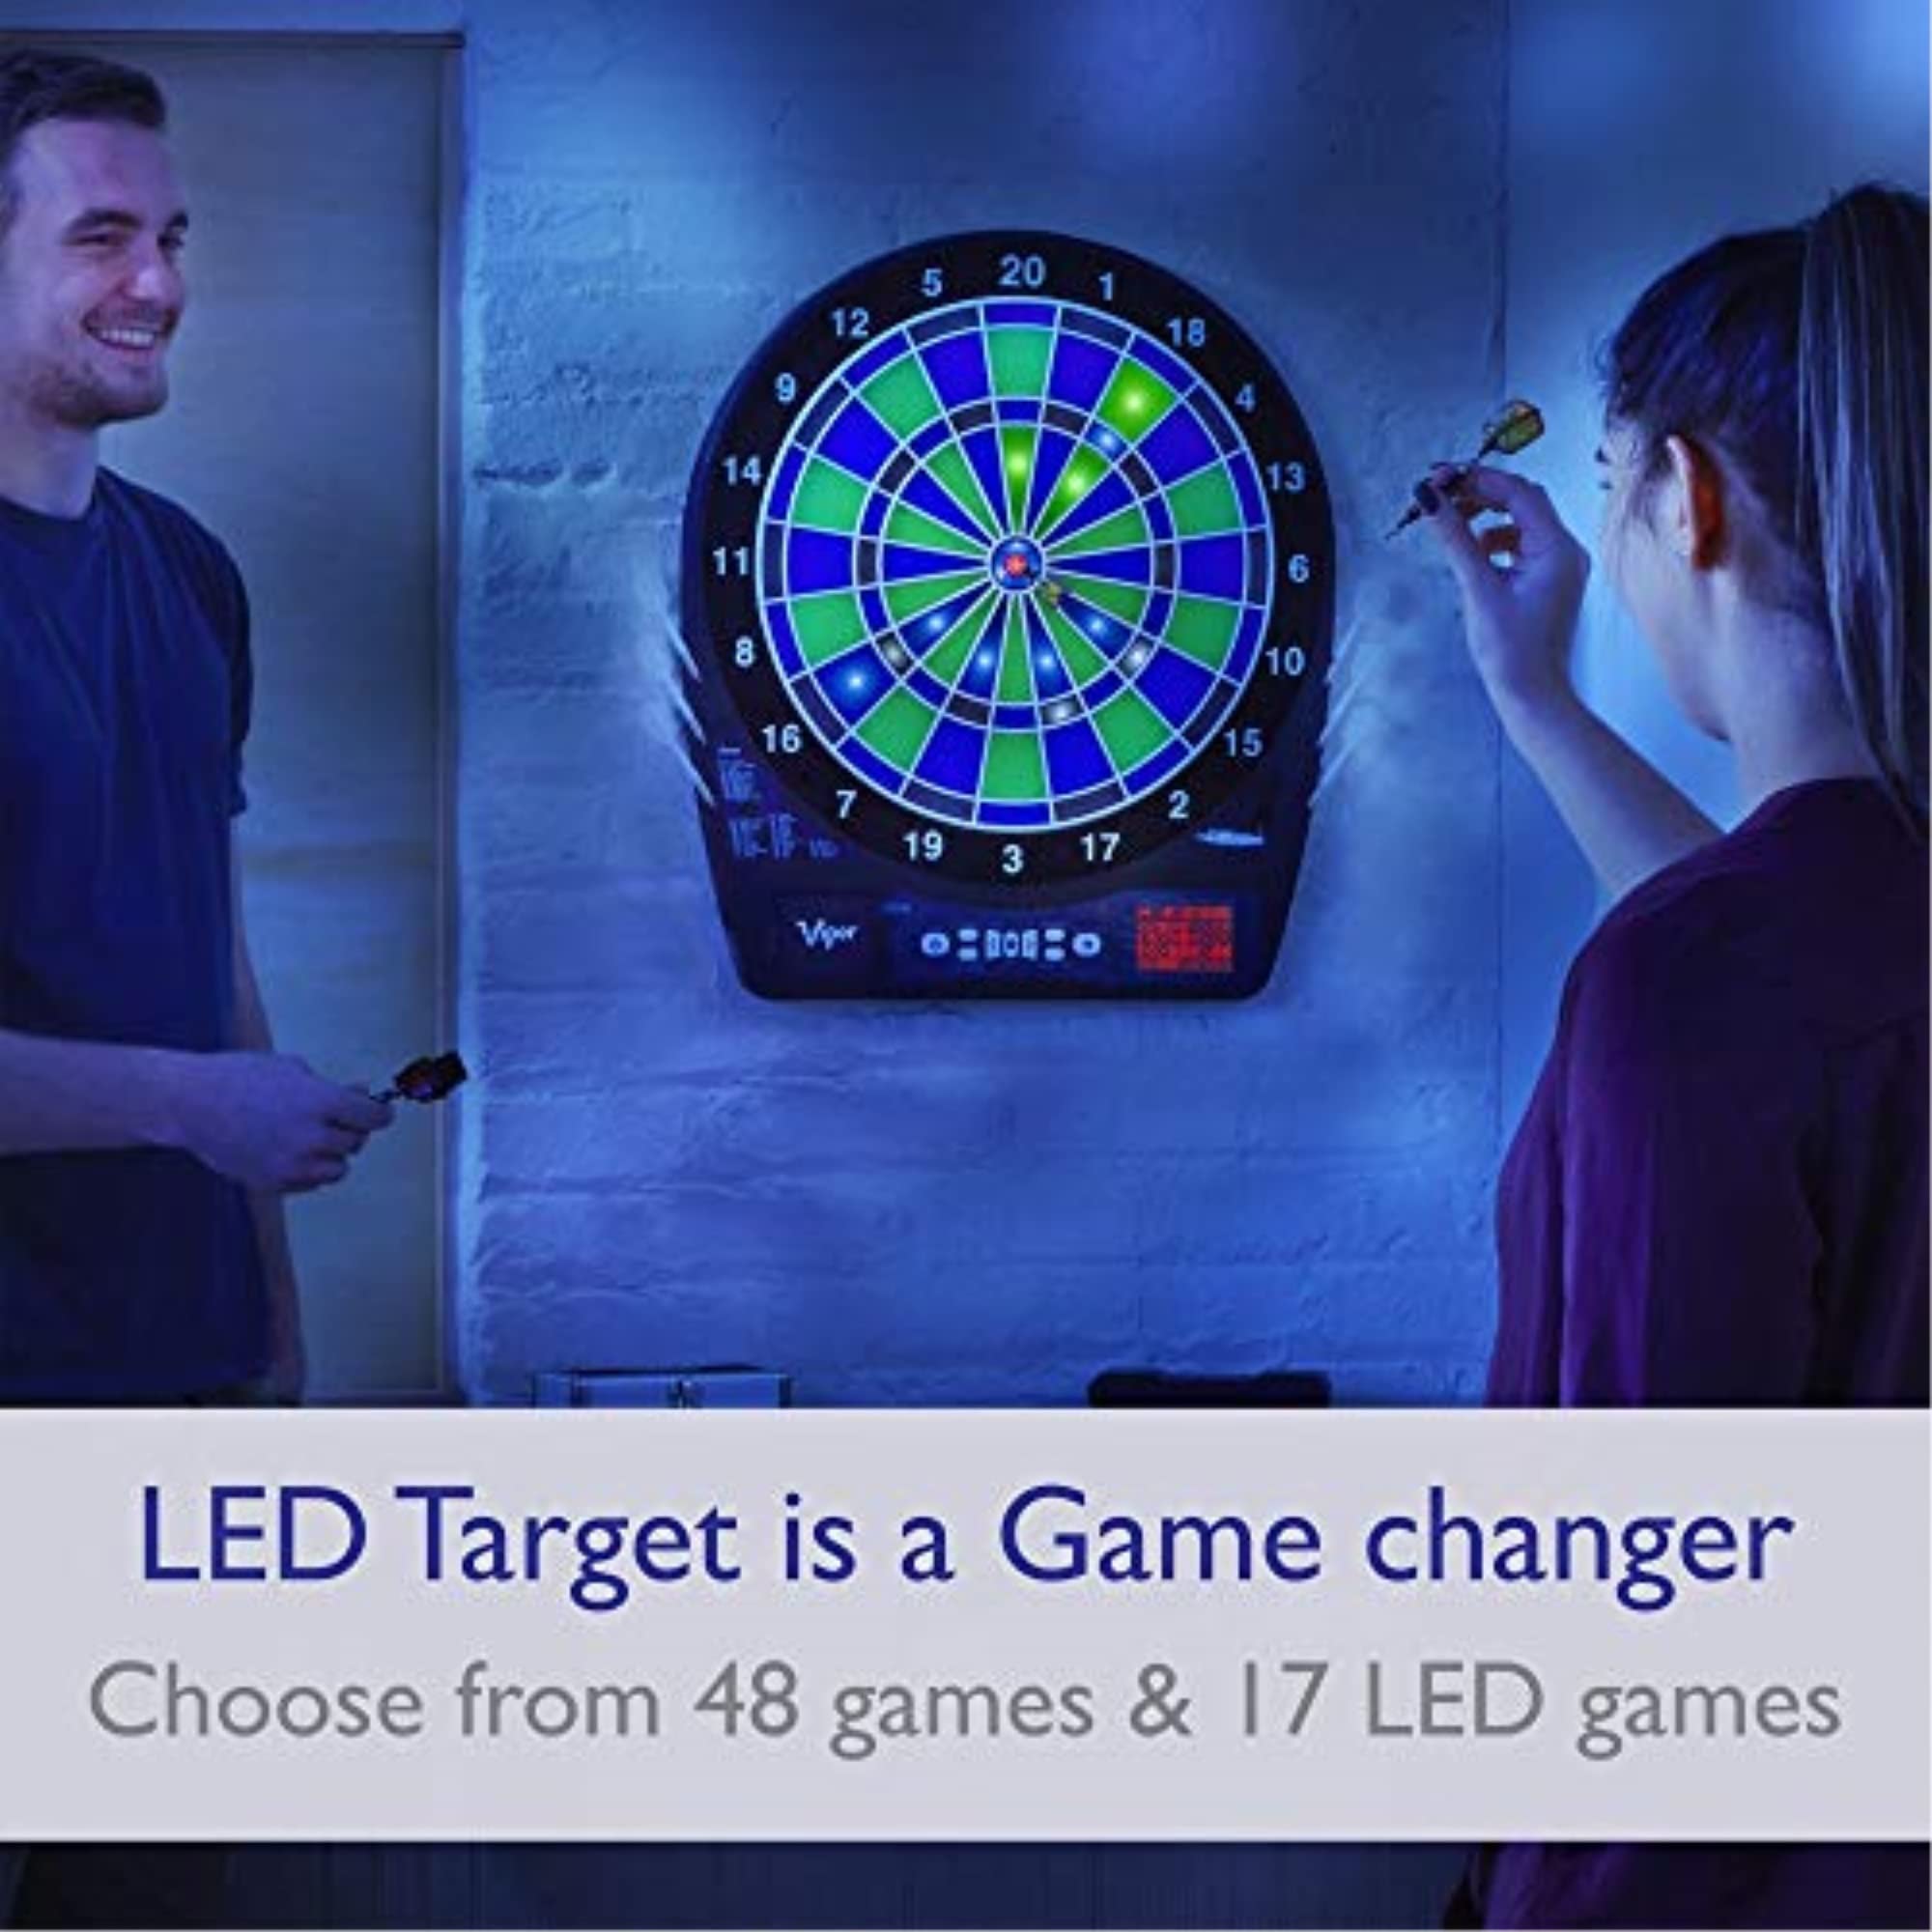
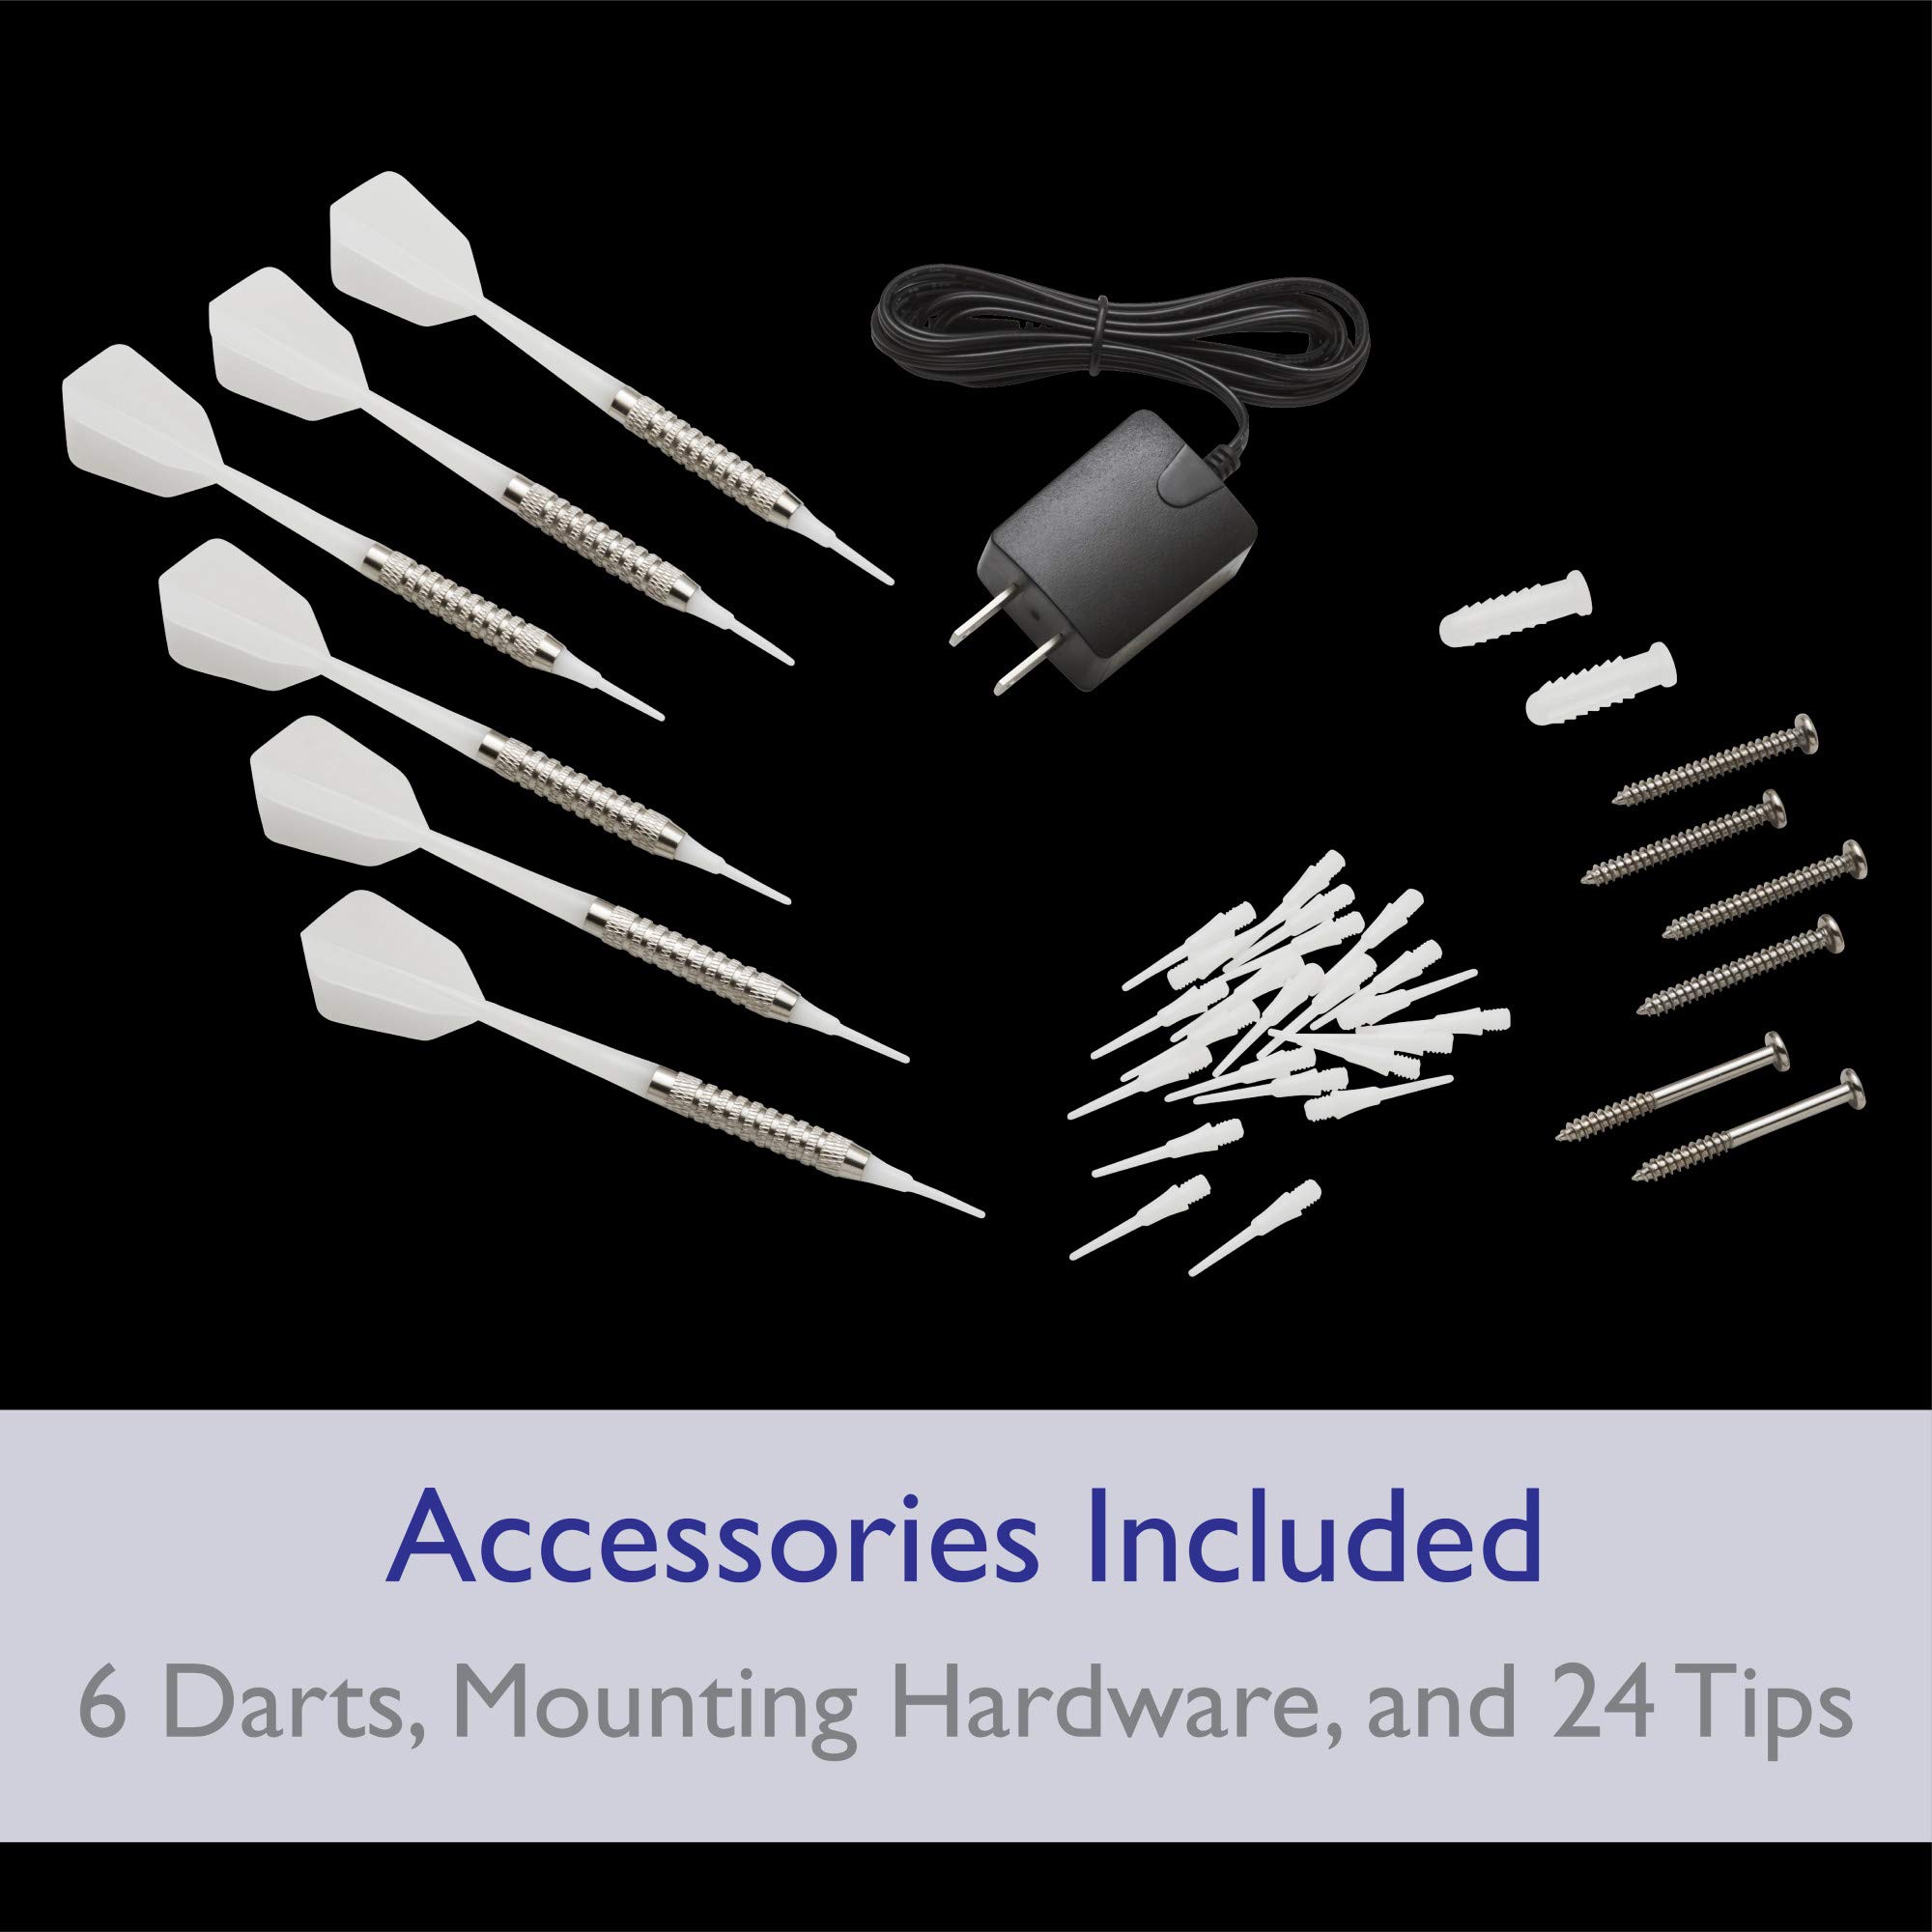
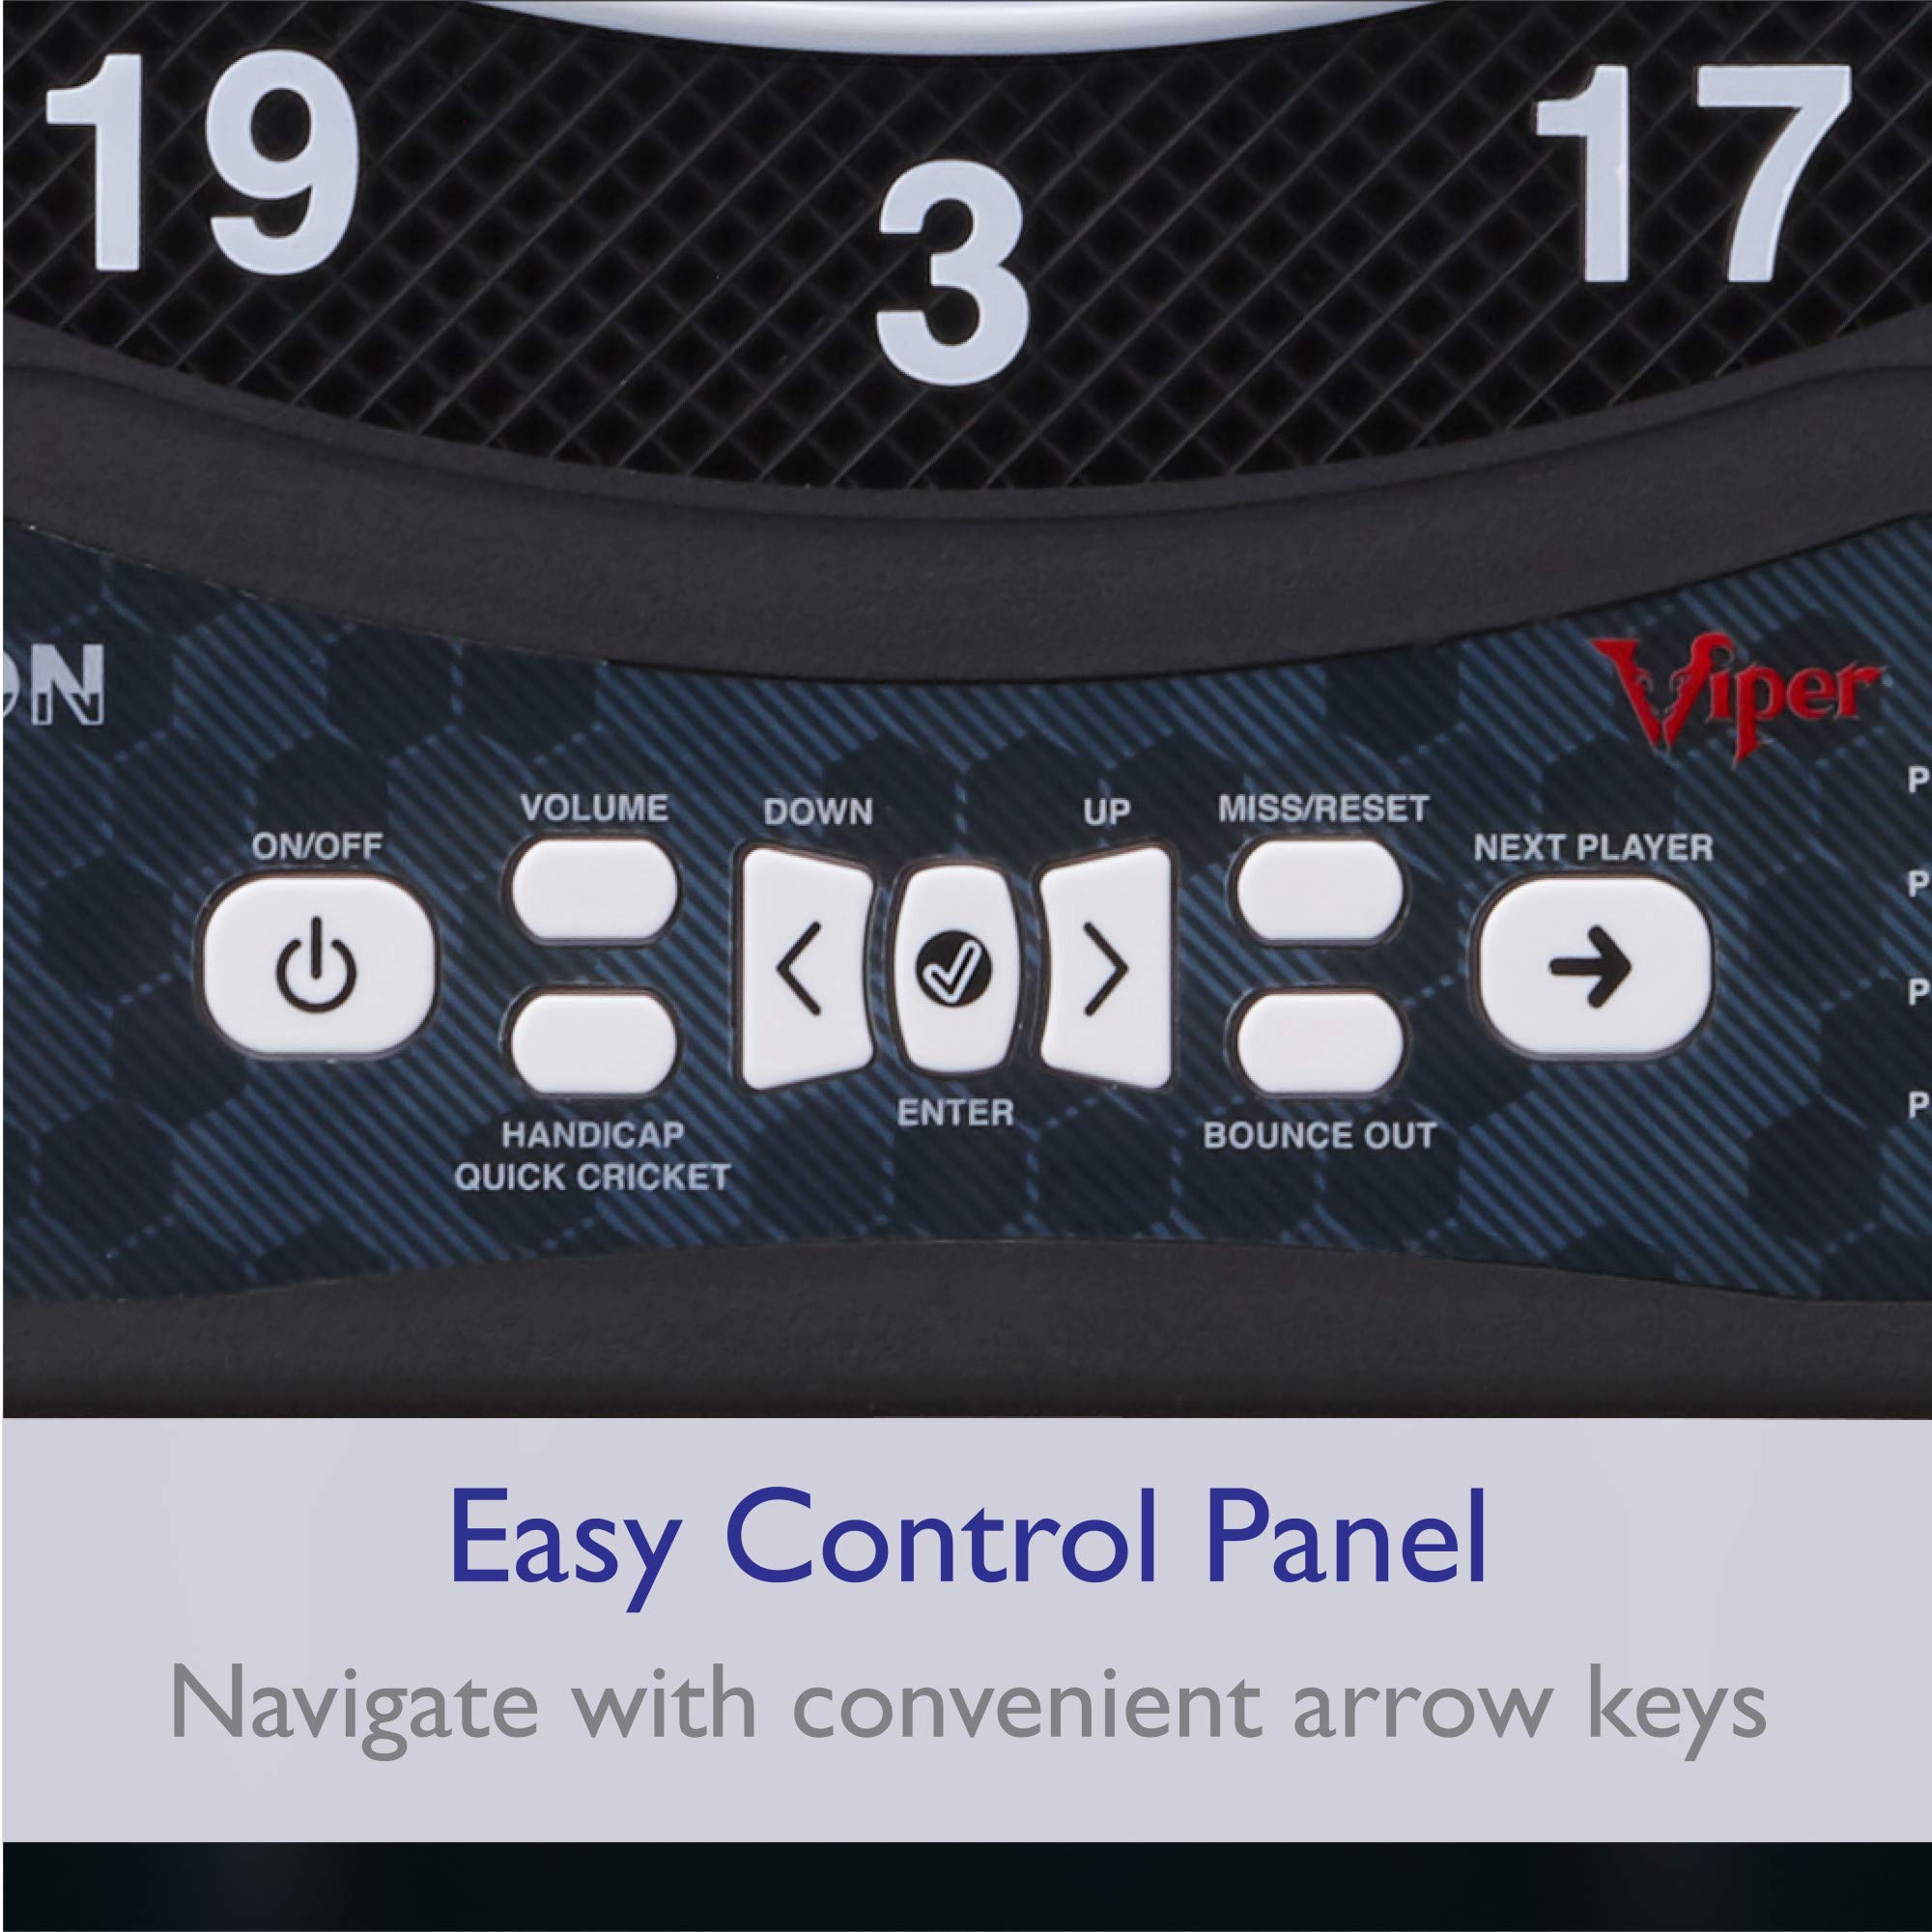
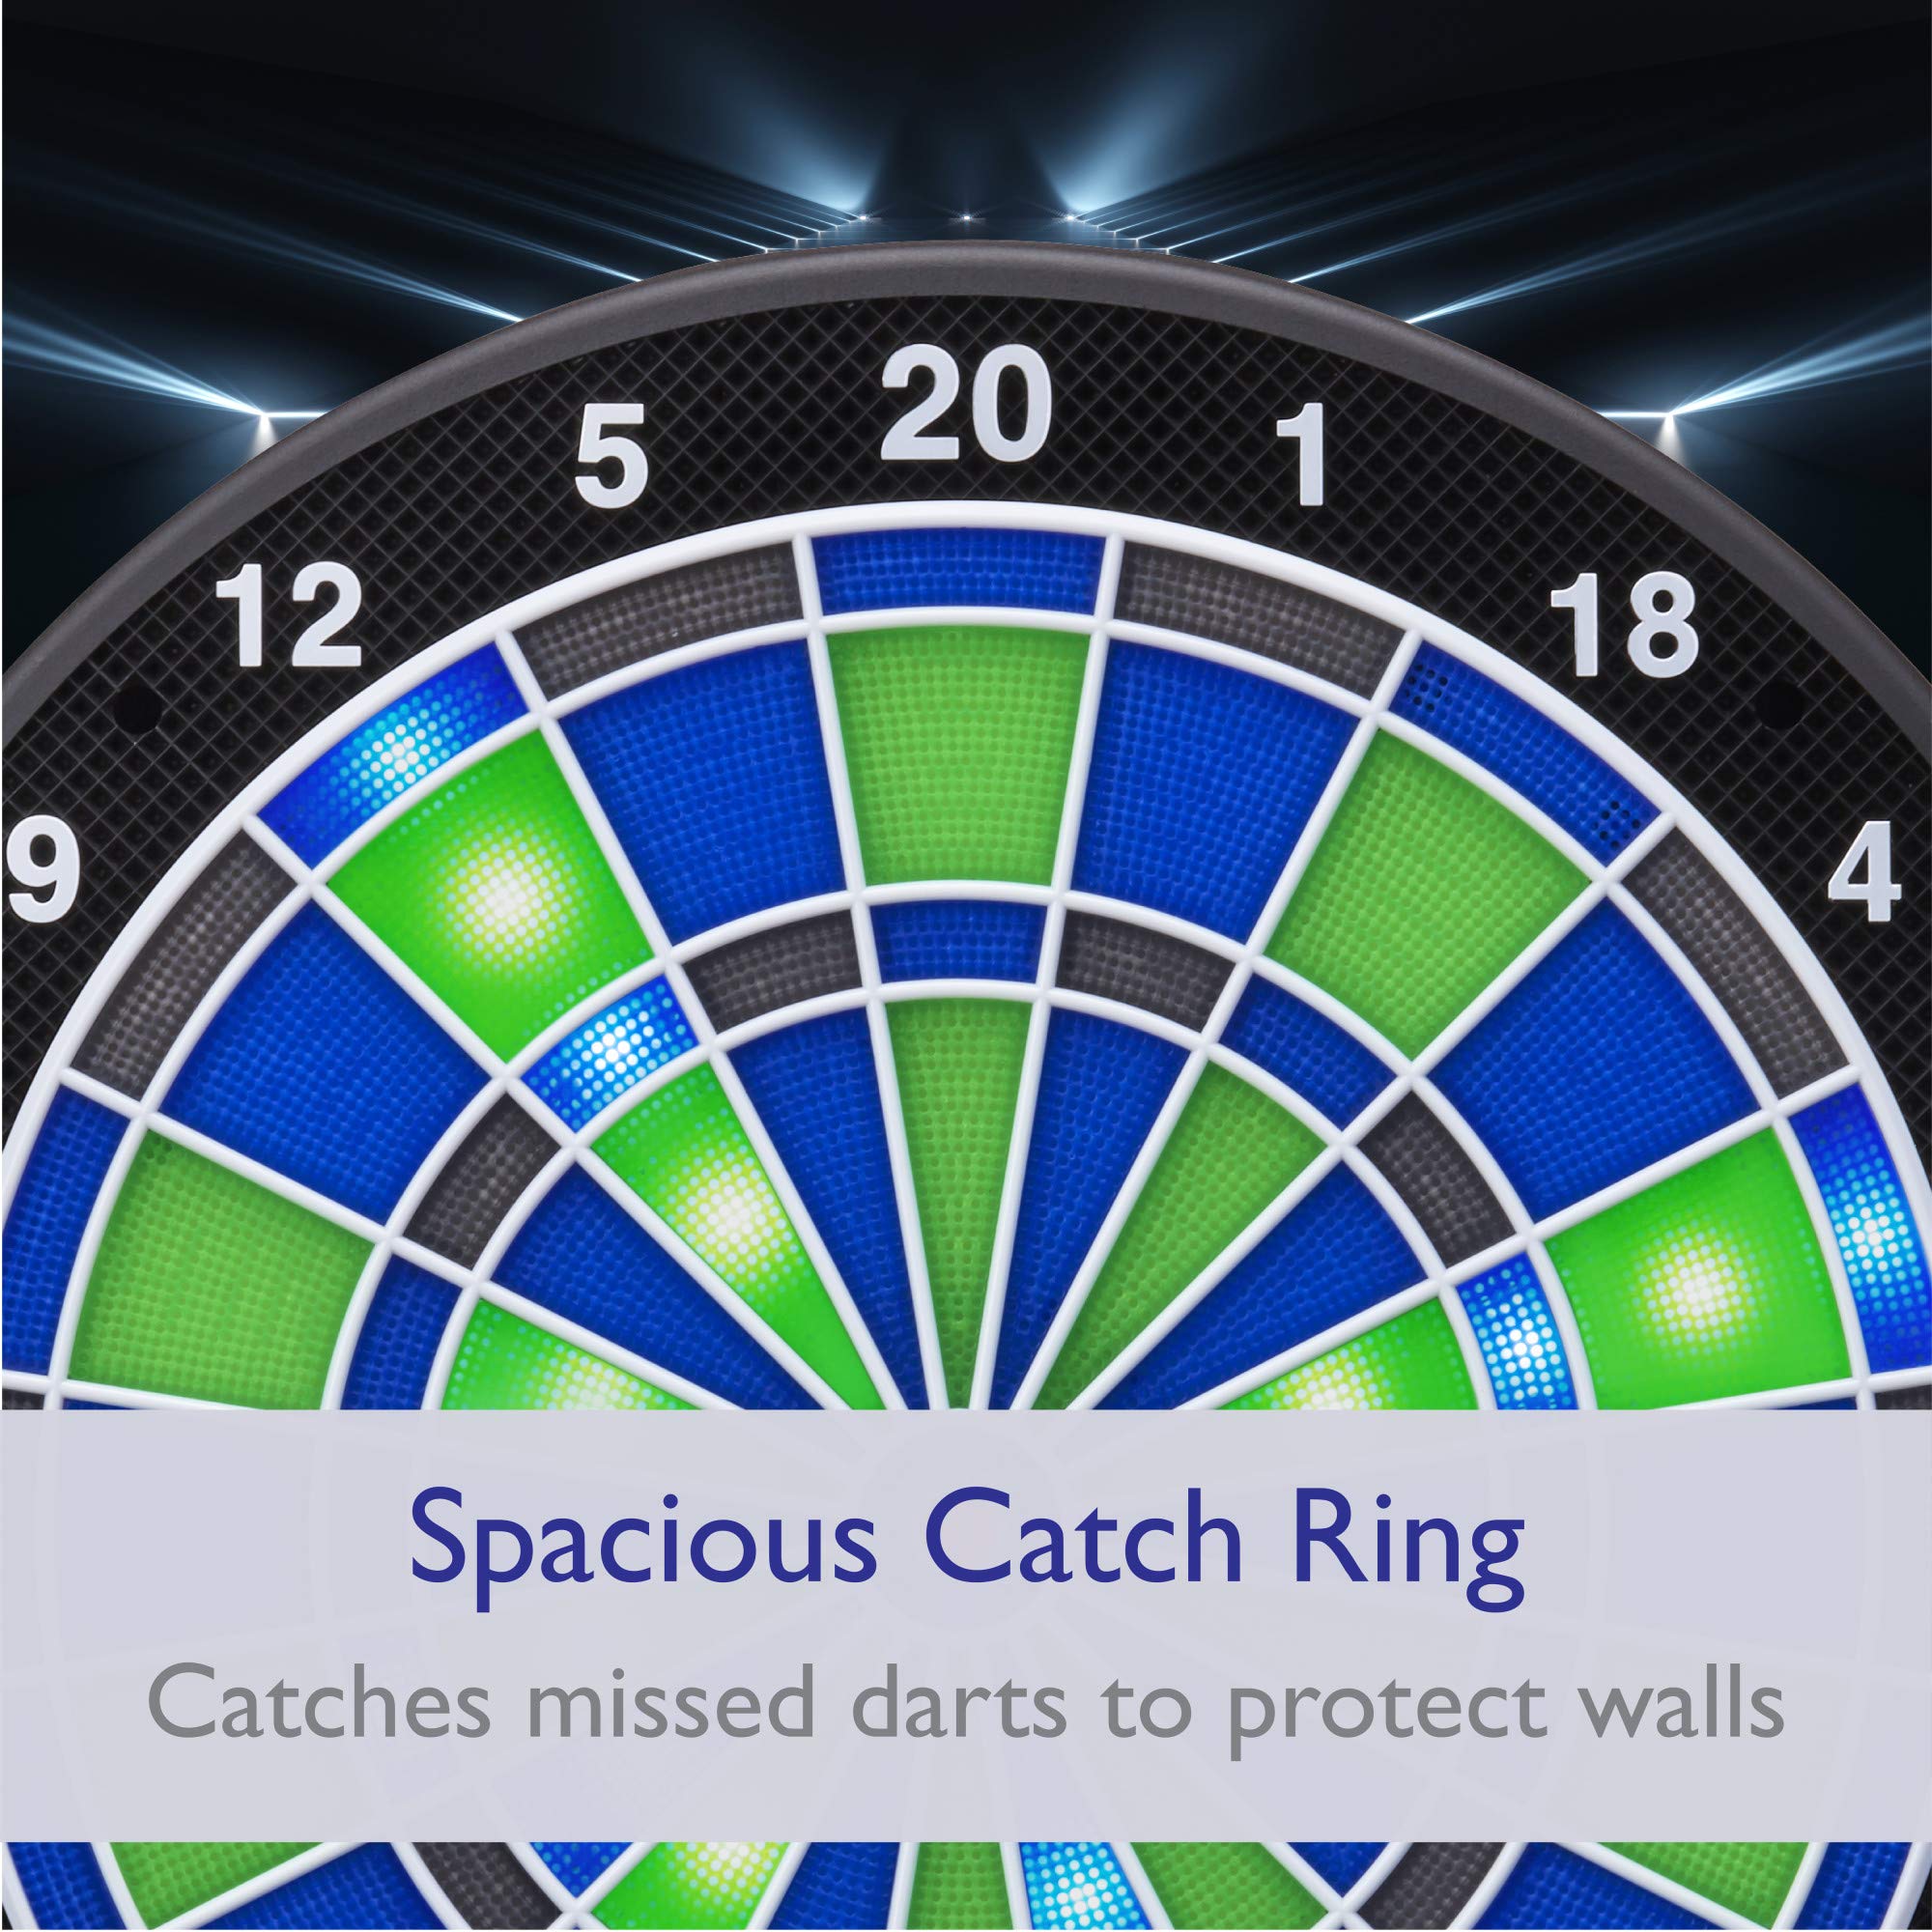
The Viper Ion Electronic Dartboard is a cutting-edge dartboard featuring illuminated segments and a variety of games, including 17 exclusive light-based options. Designed for durability and multiplayer fun, it accommodates up to 8 players and comes with all necessary components for immediate setup.
Age Range | Adult |
Color | Black |
Size | 15.5" |
Style | Ion |
Height | 1.8 inches |
Length | 24.8 inches |
Weight | 5 Pounds |
Shape | Round |
Material Type | Nylon |
Number of Items | 1 |
Power Source | Corded Electric |
Included Components | dartboard, 6 starter darts, mounting hardware, manuel |
Batteries Included? | No |
Brand | Viper |
Department | unisex-adult |
Manufacturer | Viper by GLD Products |
Item model number | 42-0003 |
Product Dimensions | 55.88 x 49.53 x 3.05 cm; 1.8 kg |
ASIN | B077PBKL22 |
D**E
What's All The Fuss About?
I did a thorough research on all available electronic dartboards on the market, looking for the perfect one to buy for my son's 14th birthday. I ended up choosing this one because I loved the fact that it lights up (you can play even in a dimly lit room if you wish), that the score display also is brightly lit, that it has holders for the darts, a compartment to hold dart tips, and that it can be battery-powered if you wish (we hung it on my son's bedroom door).So far we've had it for a week (which isn't very long and I will update this review if things change), but we all love it! I was of course doubtful about it, due to some negative reviews (but every single dartboard had some negative reviews); however, this dartboard has exceeded my expectations. Even the darts it came with have been working great for us. I'm not sure why people are complaining about the darts being crappy. Ours are surprisingly durable and there isn't too huge of a bounceout rate either.My son loves it and plays on it even if he has just two spare minutes, and Dad loves it too.
J**X
WOW
Parfait pour mon utilisation. Le produit va au-delà de mes attentes.
M**L
Parfait! Lisez les instructions. ;)
D**F
Excellent value draft board
I have had this for a few weeks now, and it is really enjoyable. So can't speak to longevity, but so far so good. I don't notice any significant difference from a game-play perspective between this and an electronic dart board you might play on in a pub (I'm sure that more serious dart players probably could). After reading the instructions, it is easy to play and cycle between games / options. I set it up myself in probably an hour total. There is probably a better set up process but this is what worked for me. I used part of the cardboard box as a template. I punched holes in that cardboard where the 4 screw holes were on the board, and then drew diagonal lines in between them to find the center (i.e., where the bullseye would be). Then I used a stud finder to find the studs in the wall and lined up the two screw holes on the right hand side with the stud, and made sure the the bullseye hole was the appropriate distance from the floor. I then makred all four holes and the bulls eye hole with a pen through the template. I then drilled pilot holes for all 4 screw holes and set the two included drywall anchors for the two screw holes that don't line up with stud. After that was done, I then just fastened the dart board by using the included screws and it has remained very sturdy.
B**Y
Great board with a variety of games, Needs info on how to remove tips
Overall impressed so far with the board! My main gripe is that there is no instructions on how to remove dart tips from the board. I wouldn't suggest the typical route of pushing the tips through since the sensor pad on the back would most certainly get damaged.To clear tips:- Put the the board face down- Remove the 10 small screws from the back of the circular portion of the board (what warranty?!)- Lift the rear portion of the board, there is a shiny plastic layer connected to the bottom, try not to let it flop- You now have access to the individual sections, push out the tips- When reassembling make sure you have the notch in the front piece aligned with the 20 on the back part as well as the rubber and paper sheet with holes- Replace the back part, there are holes for the posts on the white piece that should settle into place- Gently retighten the back screws, do not overtightenSo... Not easy, but I gather this is about the same process required on a granboard. Was told by the manufacturer to just push them through... not sure that would have worked out.
Trustpilot
1 month ago
2 months ago