
Desert Online General Trading LLC
Dubai, United Arab Emirates
Desert Online General Trading LLC
Dubai, United Arab Emirates

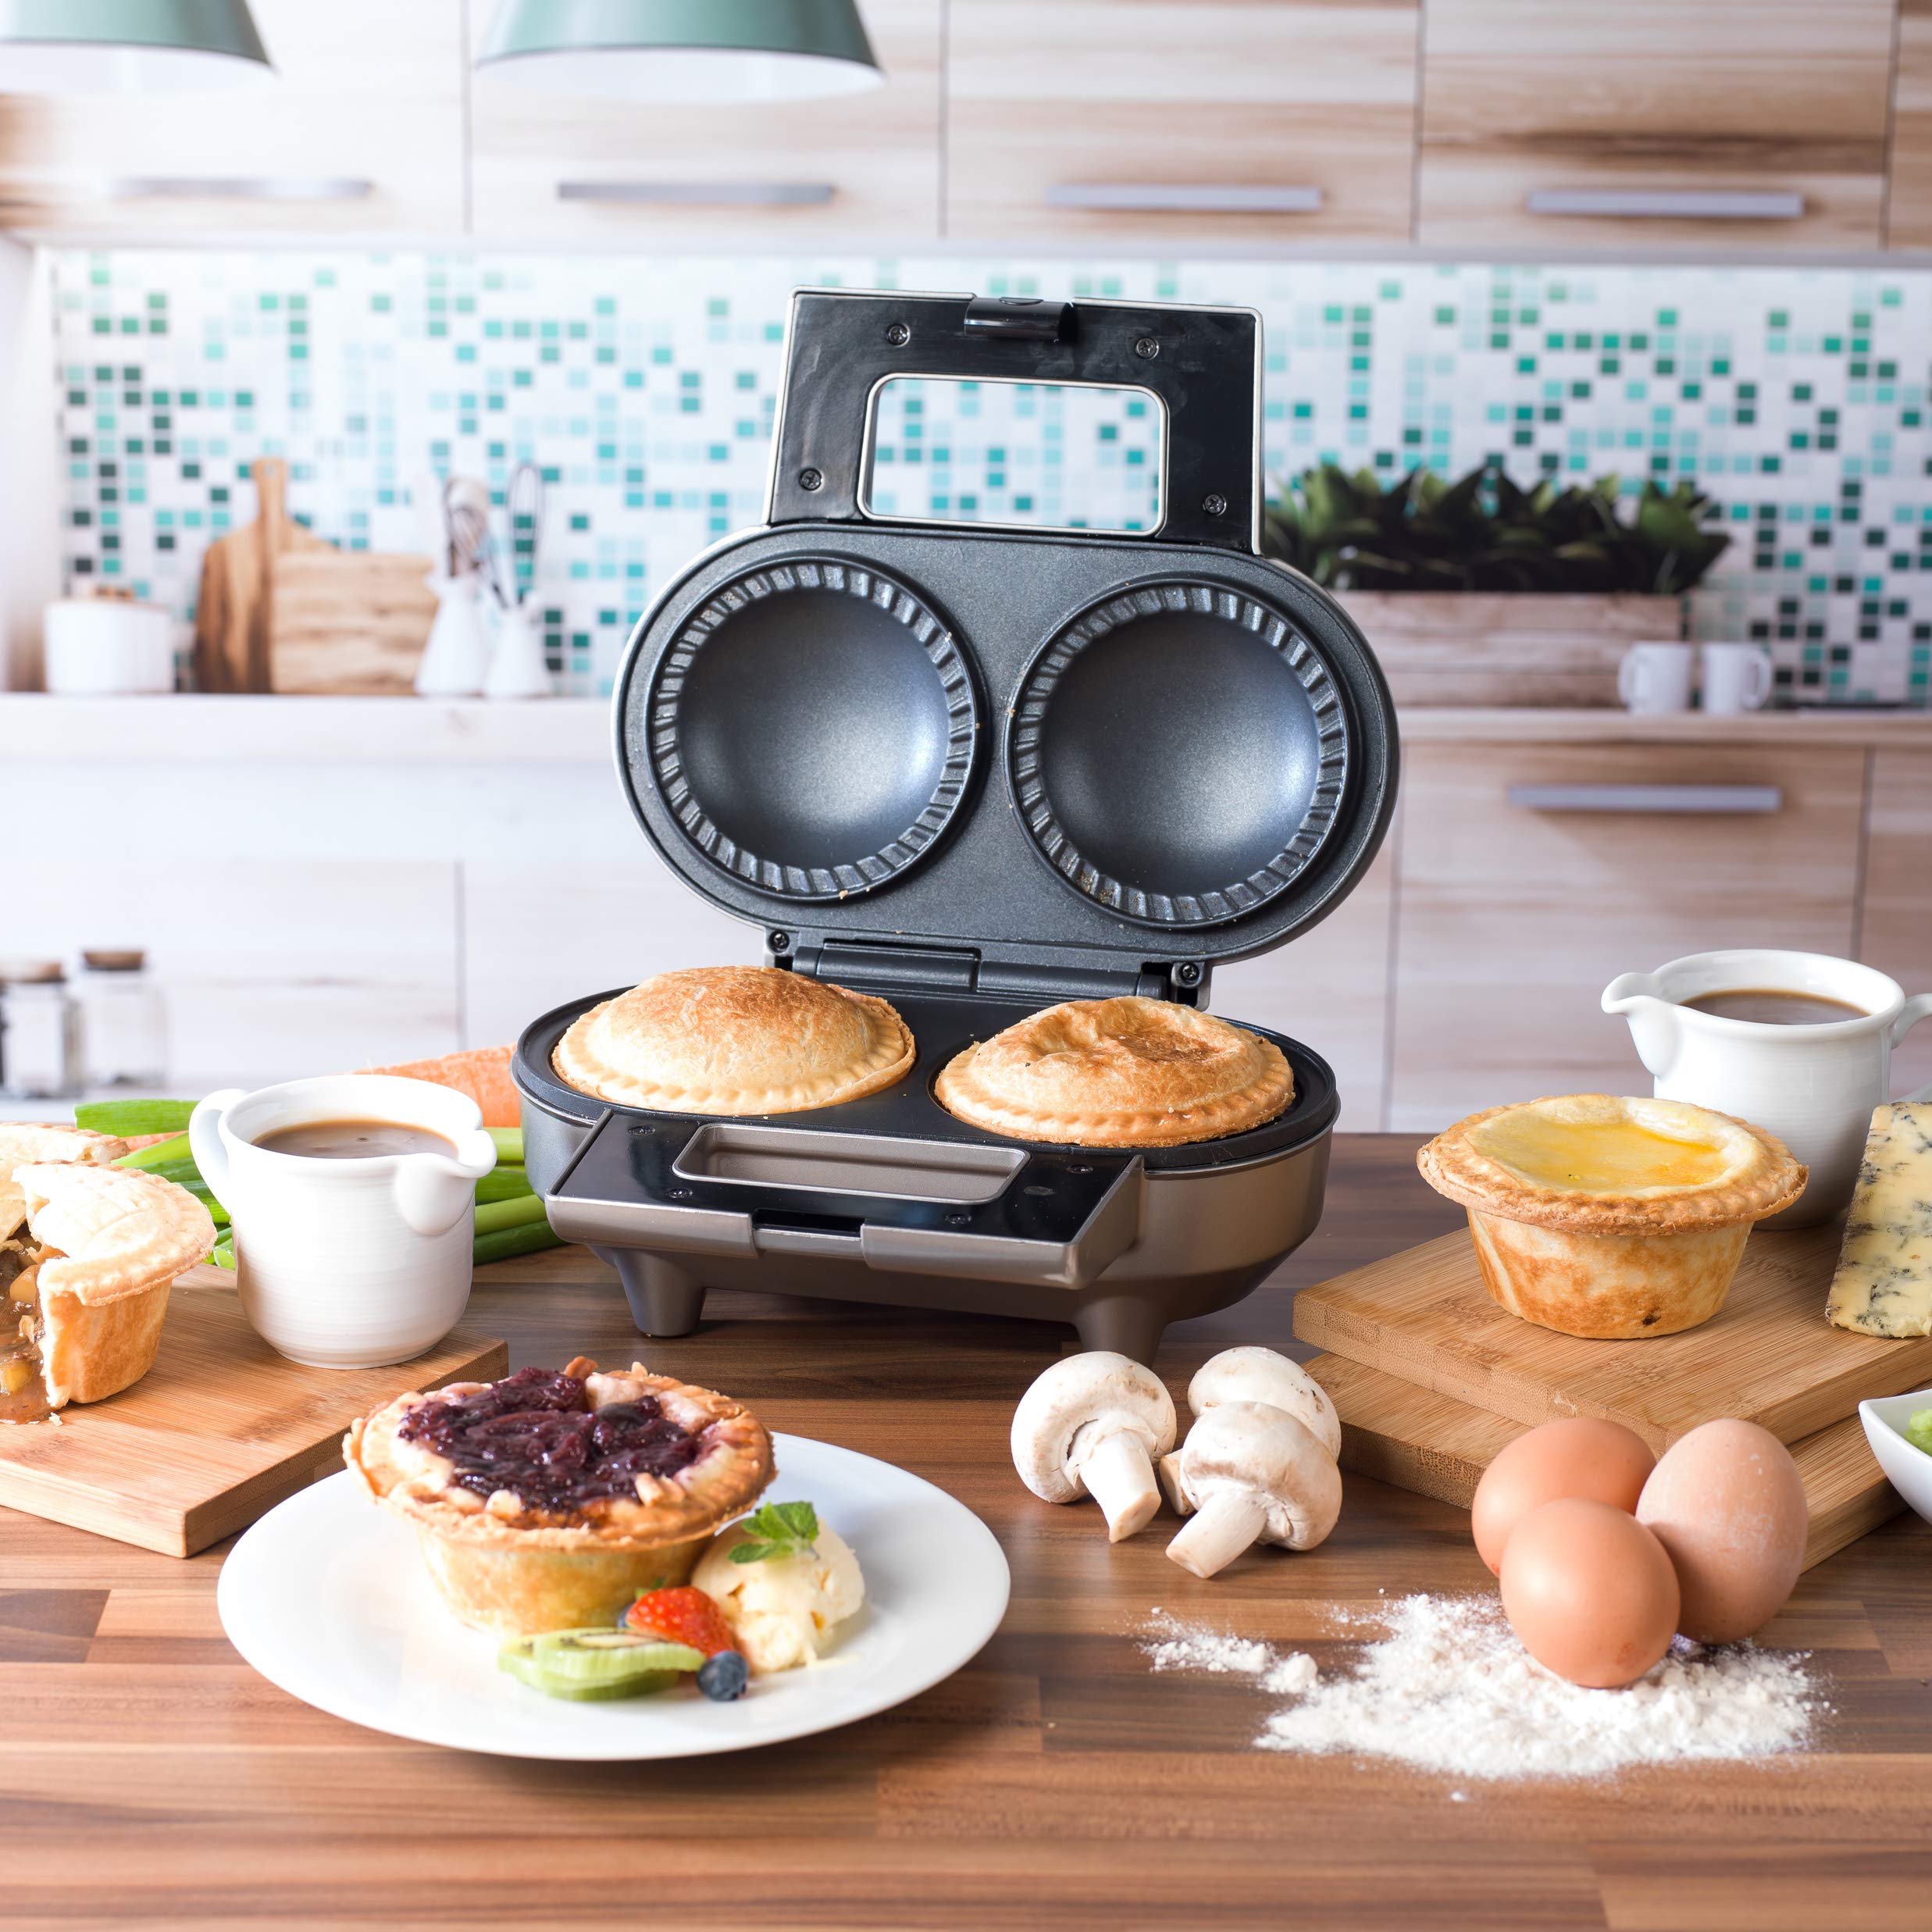


🥧 Elevate your home baking game—because sharing warm pies is the new networking!
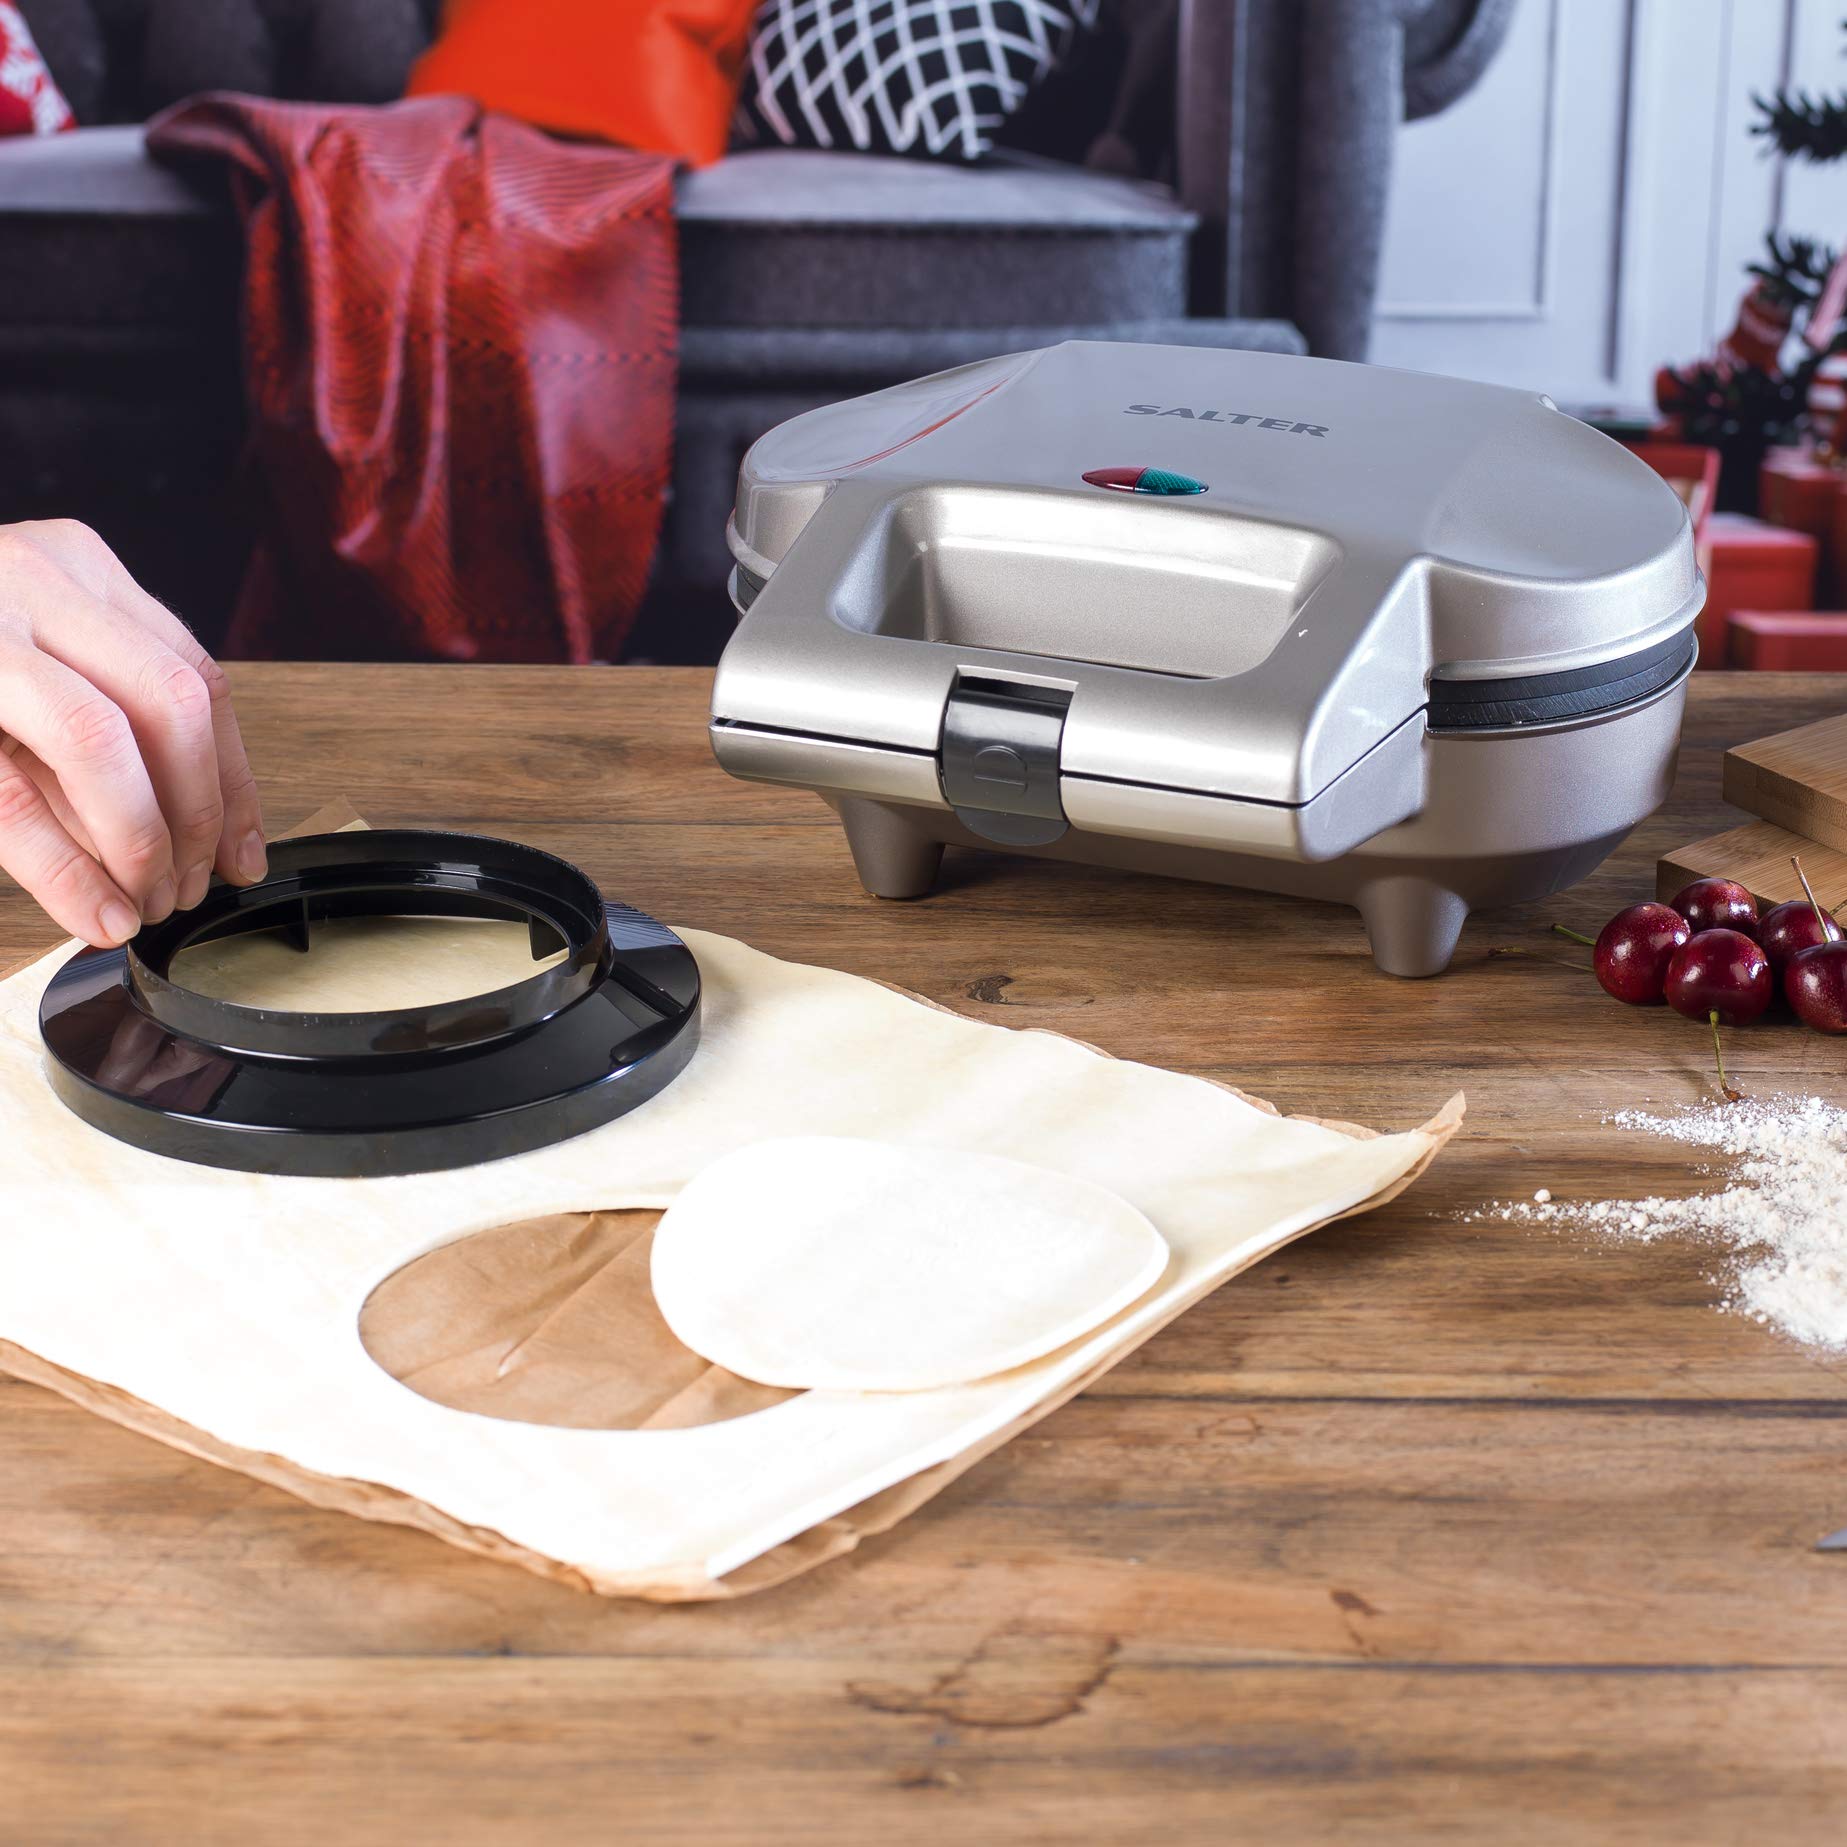
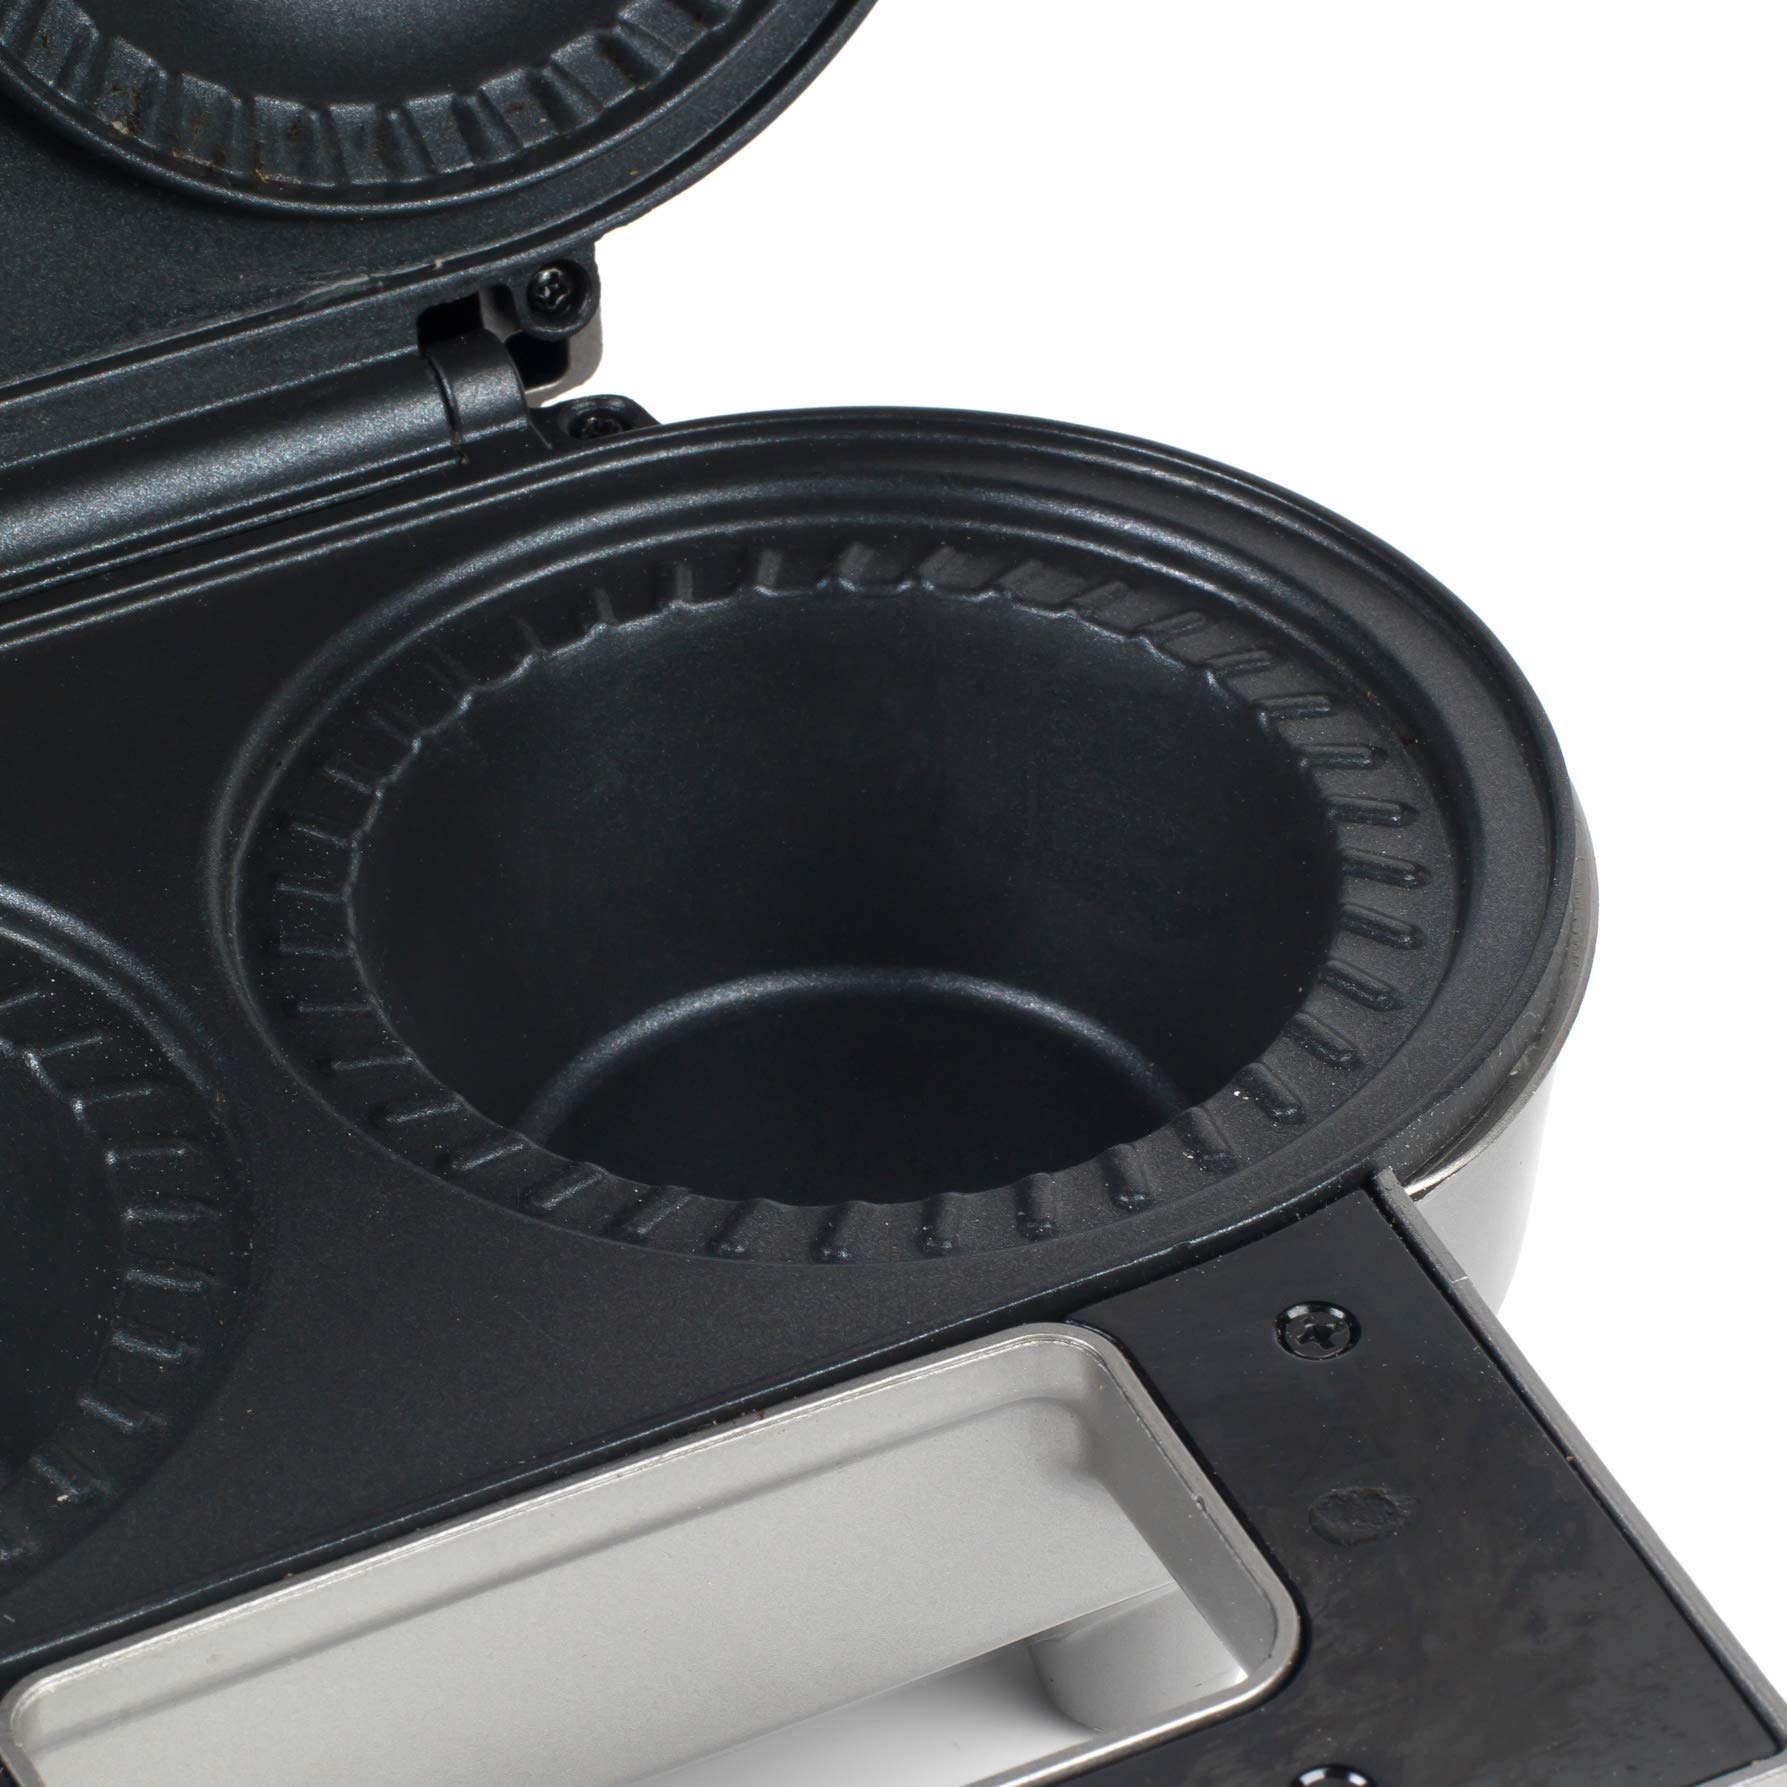
The Salter EK1691 Electric Non-Stick Double Pie Maker delivers fast, safe, and mess-free baking with 1000W power, non-stick cast aluminium plates, and a handy double-sided pastry cutter. Designed for quick, delicious homemade pies, it’s perfect for busy professionals who want to impress with minimal effort.
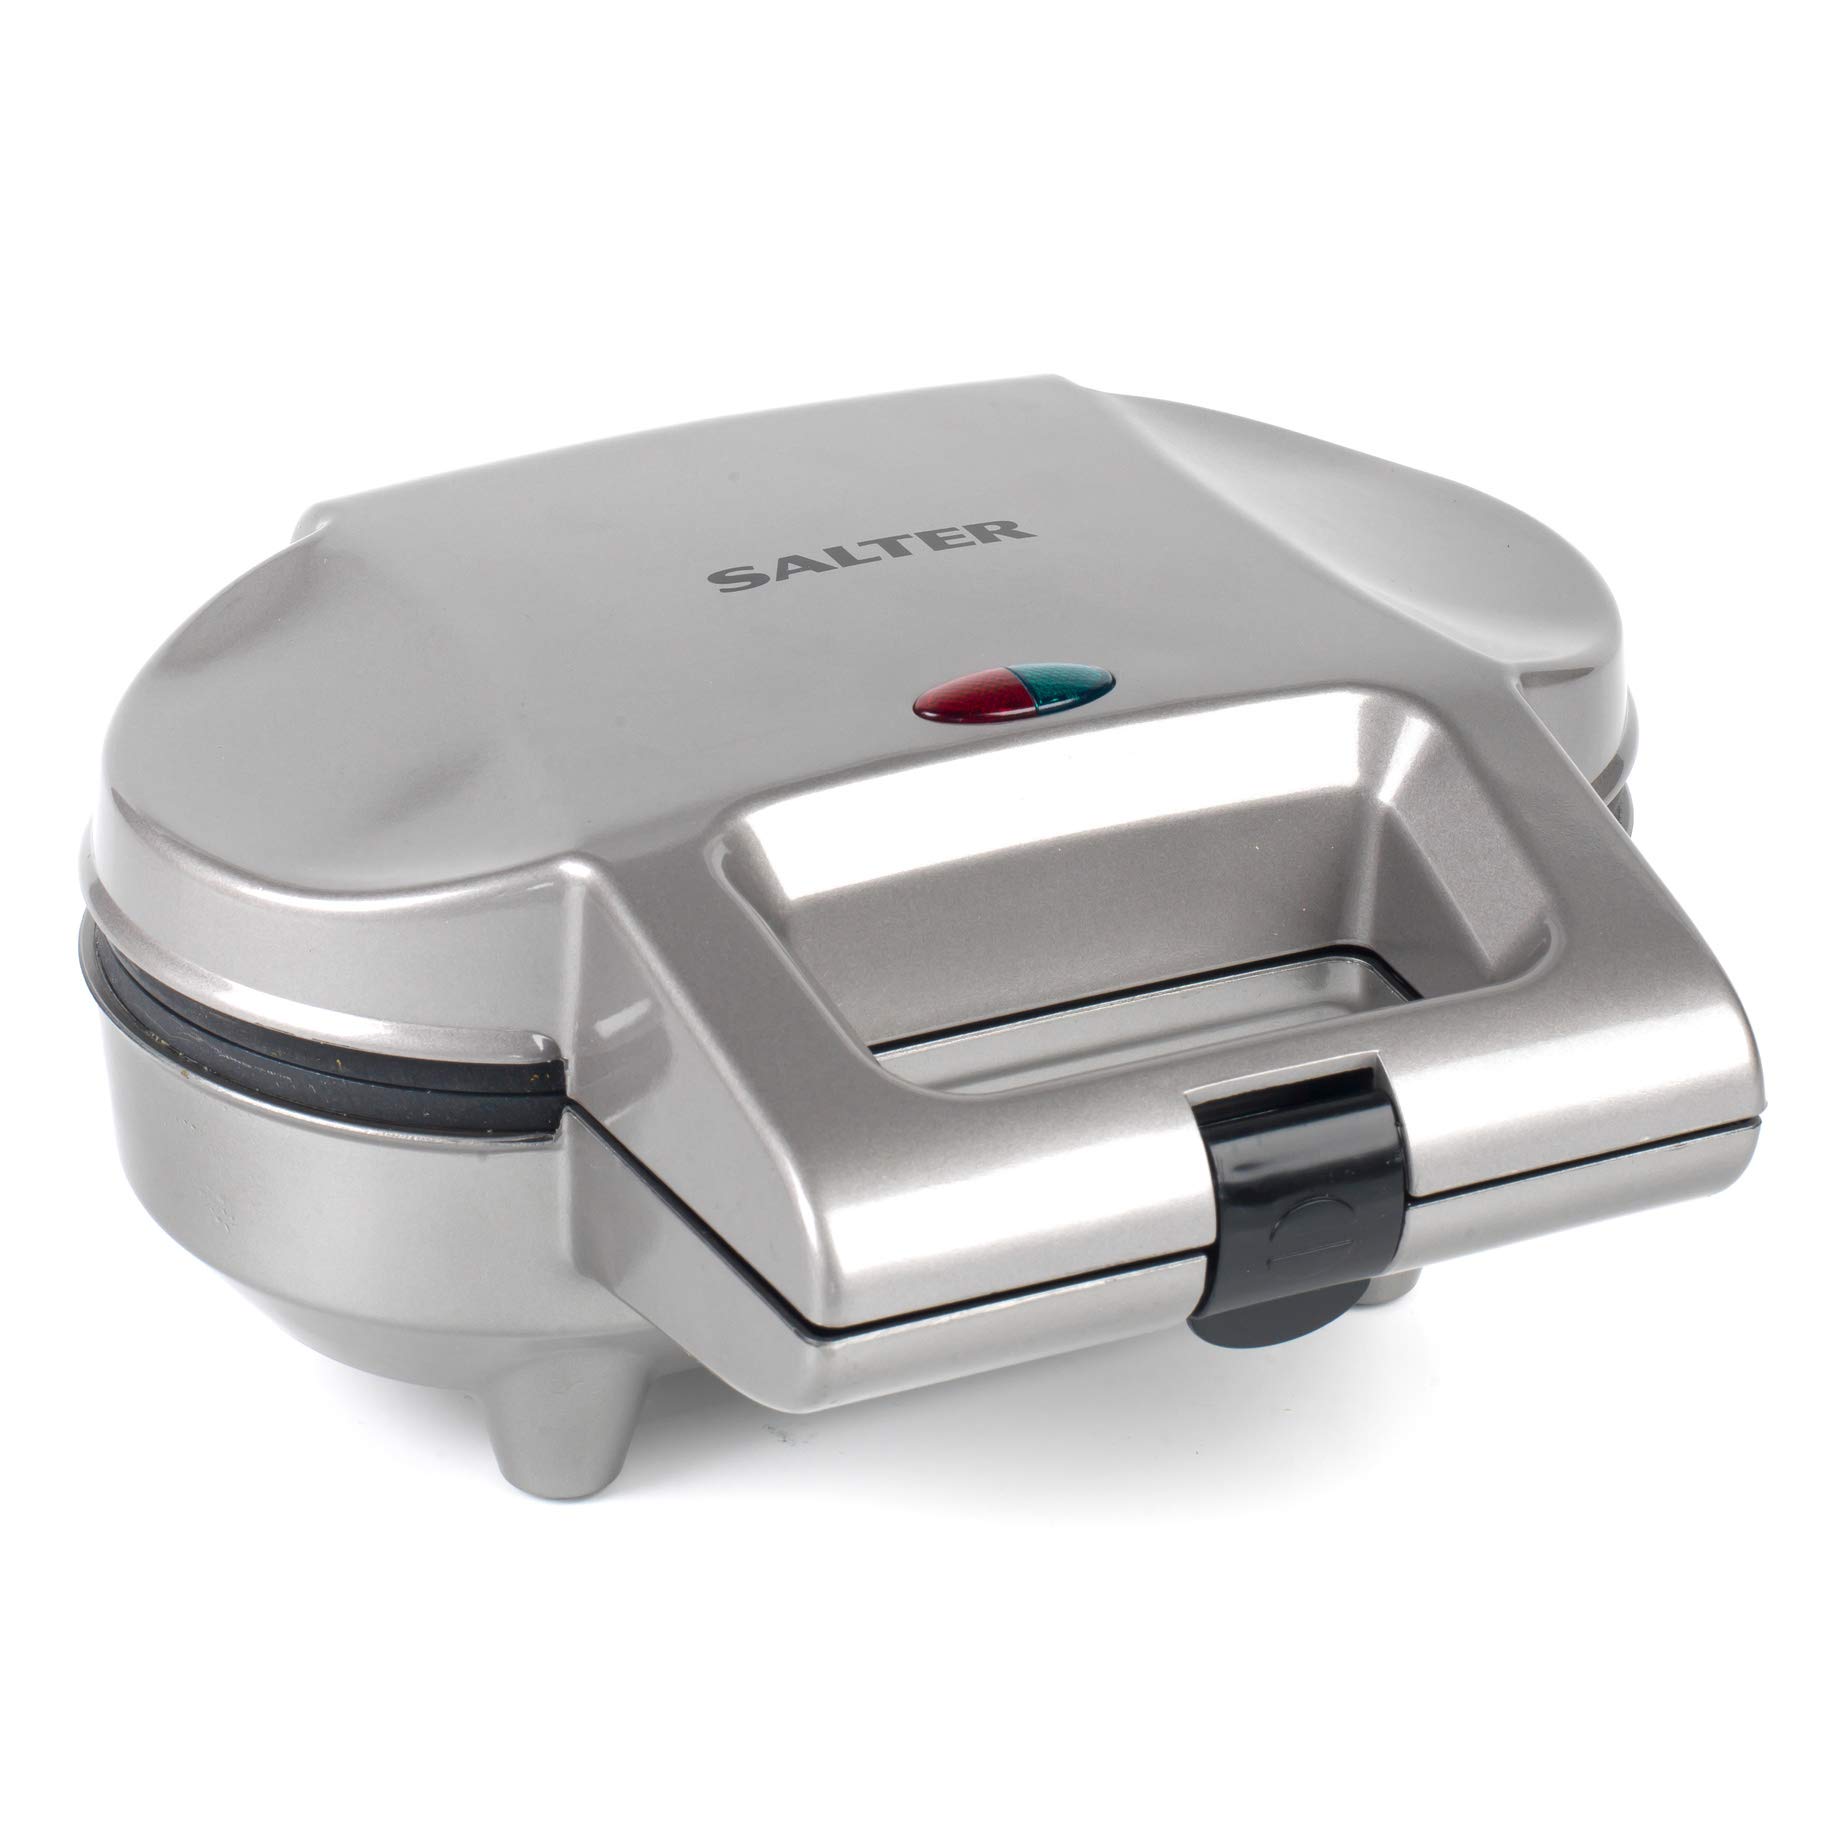
| Brand | Salter |
| Model Number | EK1691 |
| Colour | Black |
| Product Dimensions | 26.5 x 15.6 x 28.4 cm; 1.84 kg |
| Power / Wattage | 900 watts |
| Material | Cast Aluminium |
| Special Features | Manual, Non-Stick |
| Item Weight | 1.84 kg |
H**E
This really is a great pie maker - so good I have bought another ...
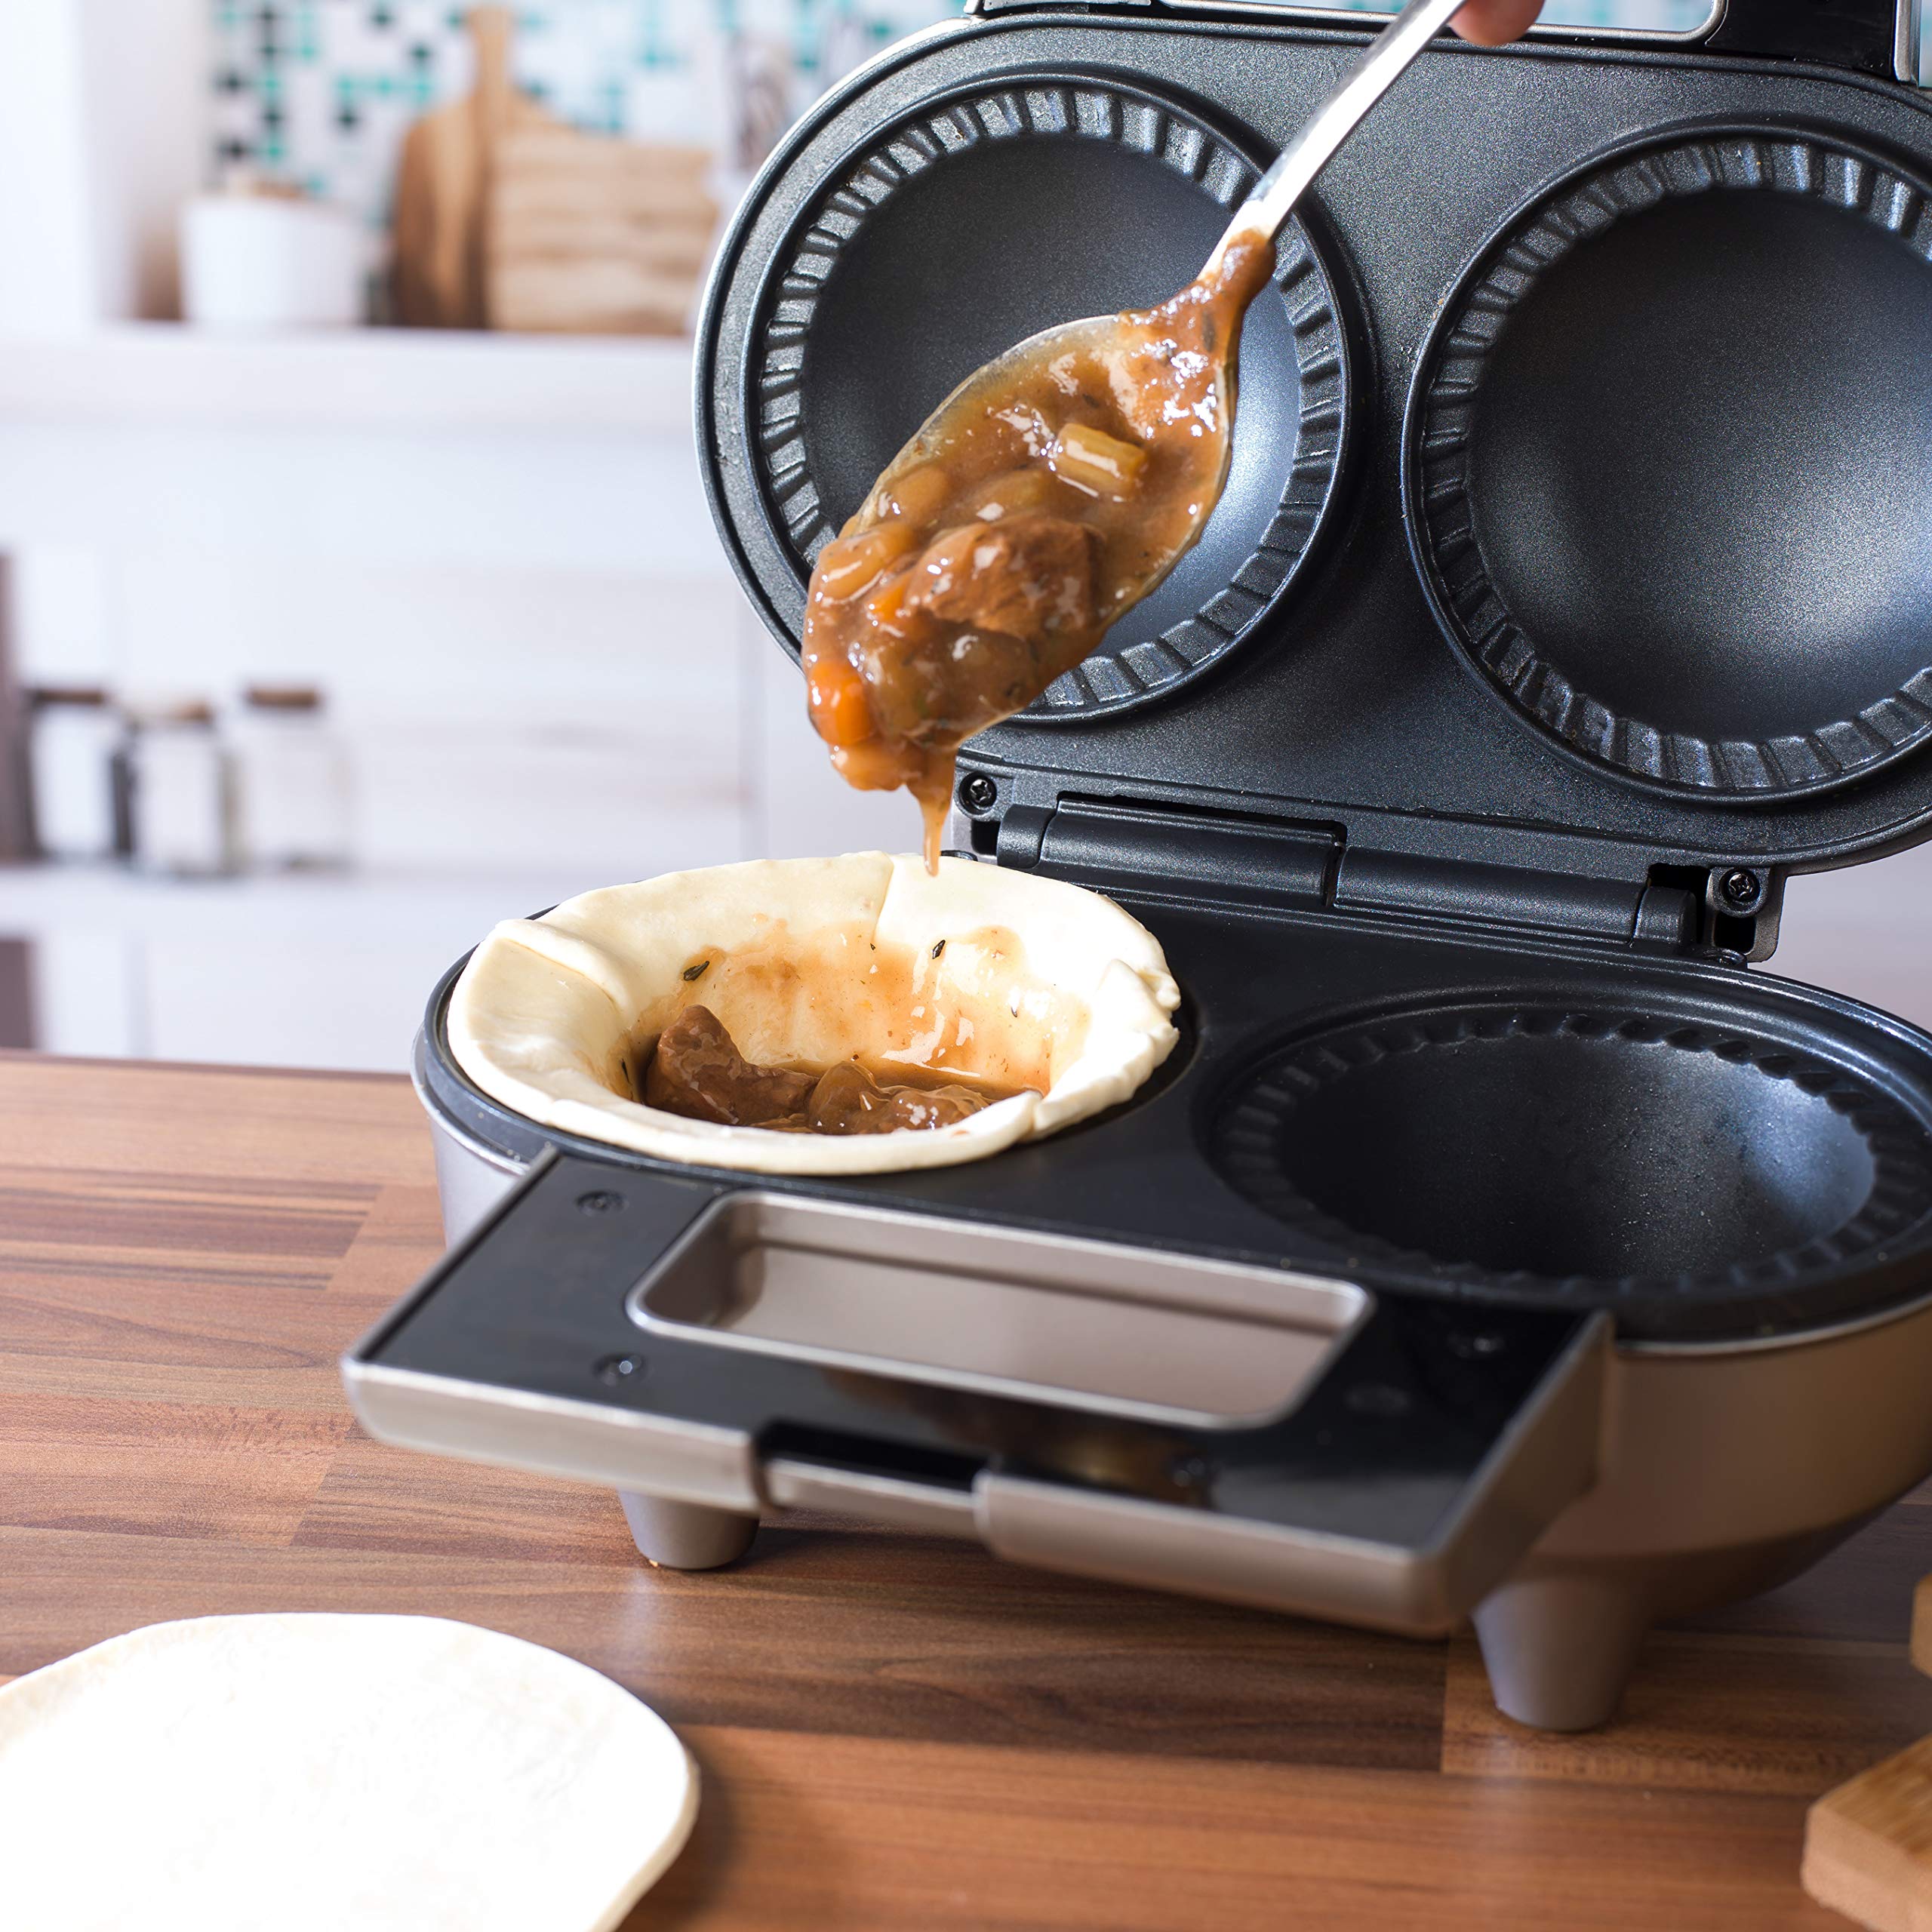
This really is a great pie maker - so good I have bought another one to reduce oven-warming time for pie and peas (petit pois!) dinner parties with deglaze onion gravy made from earlier sauté pan cooking forays!Just follow these rules 1) prepare fillings in advance - make a batch for several pies and store filling in freezer. Creamy chicken and mushroom pies and minced beef pies work best. If you like tumeric add to pie fillings as you cook - the beneficial aspects of tumeric are maximised if you actually cook the tumeric. 2) Do NOT turn on pie-maker before lining with pastry - despite the instructions telling you to do so. 3) Fill pastry case so top crust bulges a little - sealing edges with water and depressing edge with a fork. Do not use false teeth like Father did in Steptoe and Son. You'll soon learn the correct amount so as not to overfill. To increase contact with lid of machine cut some leaves with knife and arrange three on lid - this ensures contact with top cooking surface and makes pies look as though you bought them from Kennedys (remember them?).but ensures heat transference to pie for even browning. 3) Pies will be nicely brown in 15 minutes not 12 as per instructions. 4) Home made shortcrust pastry with 120 grams of plain four, 90 grams of butter and salt to taste, kept cold as you 'crumble' mixture through cold fingers - with just enough milk to make a fairly dry lightly kneaded dough - only using finger tips. This makes enough pastry to roll out without waste. (Cleaning tip here: wash utensils and fingers only in cold water! Excess pastry slips off easily in cold water - then warm soapy water, rinsed well). Quickly-made shortcrust pastry, not overworked and kept cold - even if you can still see butter lumps - makes wonderful crumbly pastry. 5) Pies are very easy to remove from machine. With a fork in right hand if right handed, lift crust with fork. As pie emerges from mould enough to slip a dessert spoon underneath lift pie out with dessert spoon. I have made many pies with this machine and surprisingly the crust has never given way as you lift the pie out to slip dessert spoon underneath - both with home made shortcrust butter pastry - for the best pies! - and puff pastry (shop brought). My pie and peas dinner parties are popular so I have bought another machine - so as not to have to keep pies warm in oven. So try the fork and dessert-spoon trick. It really is a doddle! 6) Serve with silky mash, petit pois or runner beans cut through a machine and pie doused with delicious onion gravy. 7) Serve with a delicious craft beer and enjoy the conversation - and thinking life won't be so bad outside the EU! 8) Use only 5% fat to preserve coronary machinery! And place machine on tray to catch escaping oil/fat residues during cooking.. 9) Clean machine after eating pies! And only by wiping out with kitchen paper when warm. - turning machine upside down over sink, whilst warm, cleans it effectively for next use..
L**O
Practice makes perfect. I just love this gadget.
I love this easy to use pie maker. I make a batch of 6 pies from 12 oz flour, 6 oz butter. Shortcrust pastry. And a sheet of ready made puff pastry. This has been trial and error and this works best for me. I can get the 6 bases from the shortcrust and the 6 tops from the puff . As I make these for the freezer, or for use the next day I don’t preheat the pie maker as when it’s hot it’s not so easy to ease the pastry base into the pie maker without burning your fingers. Fill with pre cooked meat, ( I use stewing steak which I cook in my slow cooker ) . I fill them almost to the top, pop on the lids brush with egg and shut the pie maker. Switch it on and cook for 15 minutes. The hardest part is removing them from a hot machine but a plastic spatula under the edge lifts them and a second one underneath and lift it out. Perfect! This is one of my better buys and I just love it. Easy to clean, just wipe round with a damp cloth and it’s ready for the next batch. The book that comes with it has some recipes and I tried the chicken and they were really nice. I also made apple and custard pies. Then when you feel confident let your imagination free. I also watched some videos on YouTube for hints and tips. I learned a lot from other people, and the more I use it the easier it becomes. When placing the base into the pie maker leave it standing up at the top. The first ones I made I pushed it into the fluted edge of the pie maker and put the top on with a messy result. The pastry oozed out of the side as it cooked . Now I just leave it sticking up and add the top which fits into the fluted bit and they seal as they cook.
M**N
Great pies - but read on ........
I live alone - but like good, homemade food so thought I’d try this - and love it but it’s a learning curve. First, as many have said, PLEASE ignore the instructions to pre-heat - it is almost inevitable that you will burn your fingers and waste pastry - really, just form the pie, close the lid, turn it on and give it 18-20 minutes (approximately!). Secondly - use plenty of filling - the pastry ‘cap’ needs to be ‘domed’ to make contact with the lid or it will be an unappetising white colour and barely cooked. Thirdly - and this is the most annoying/disgusting thing. Pastry is full of fat - especially puff pastry which makes a great ‘lid’ - and this grease will be everywhere once the pie is done. You can wipe around and think it’s ok but believe me it is NOT. I’m probably not allowed to recommend this - but I took the black plastic plate off the lower handle removing four screws and the butter/fat/grease that had accumulated in there was alarming to say the least and took a while to remove. Really vile. So a tip - if you can, remove the pie then place the still hot piemaker open and upside down in the sink - at least some of the still liquid grease will come out. I know - is it worth it? Yes - I know the tricks now - and if/when it ‘dies’ I will buy another. I love pies - it bakes great pies - homemade filling, lazy shop bought pastry ..... brilliant. If they made a more ‘sealed’ unit that had no gaps for fat to dribble through - even better !!!
Trustpilot
1 month ago
2 weeks ago