🖨️ Elevate Your 3D Printing Game with JUSTHANGIN'!
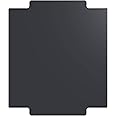
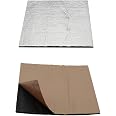
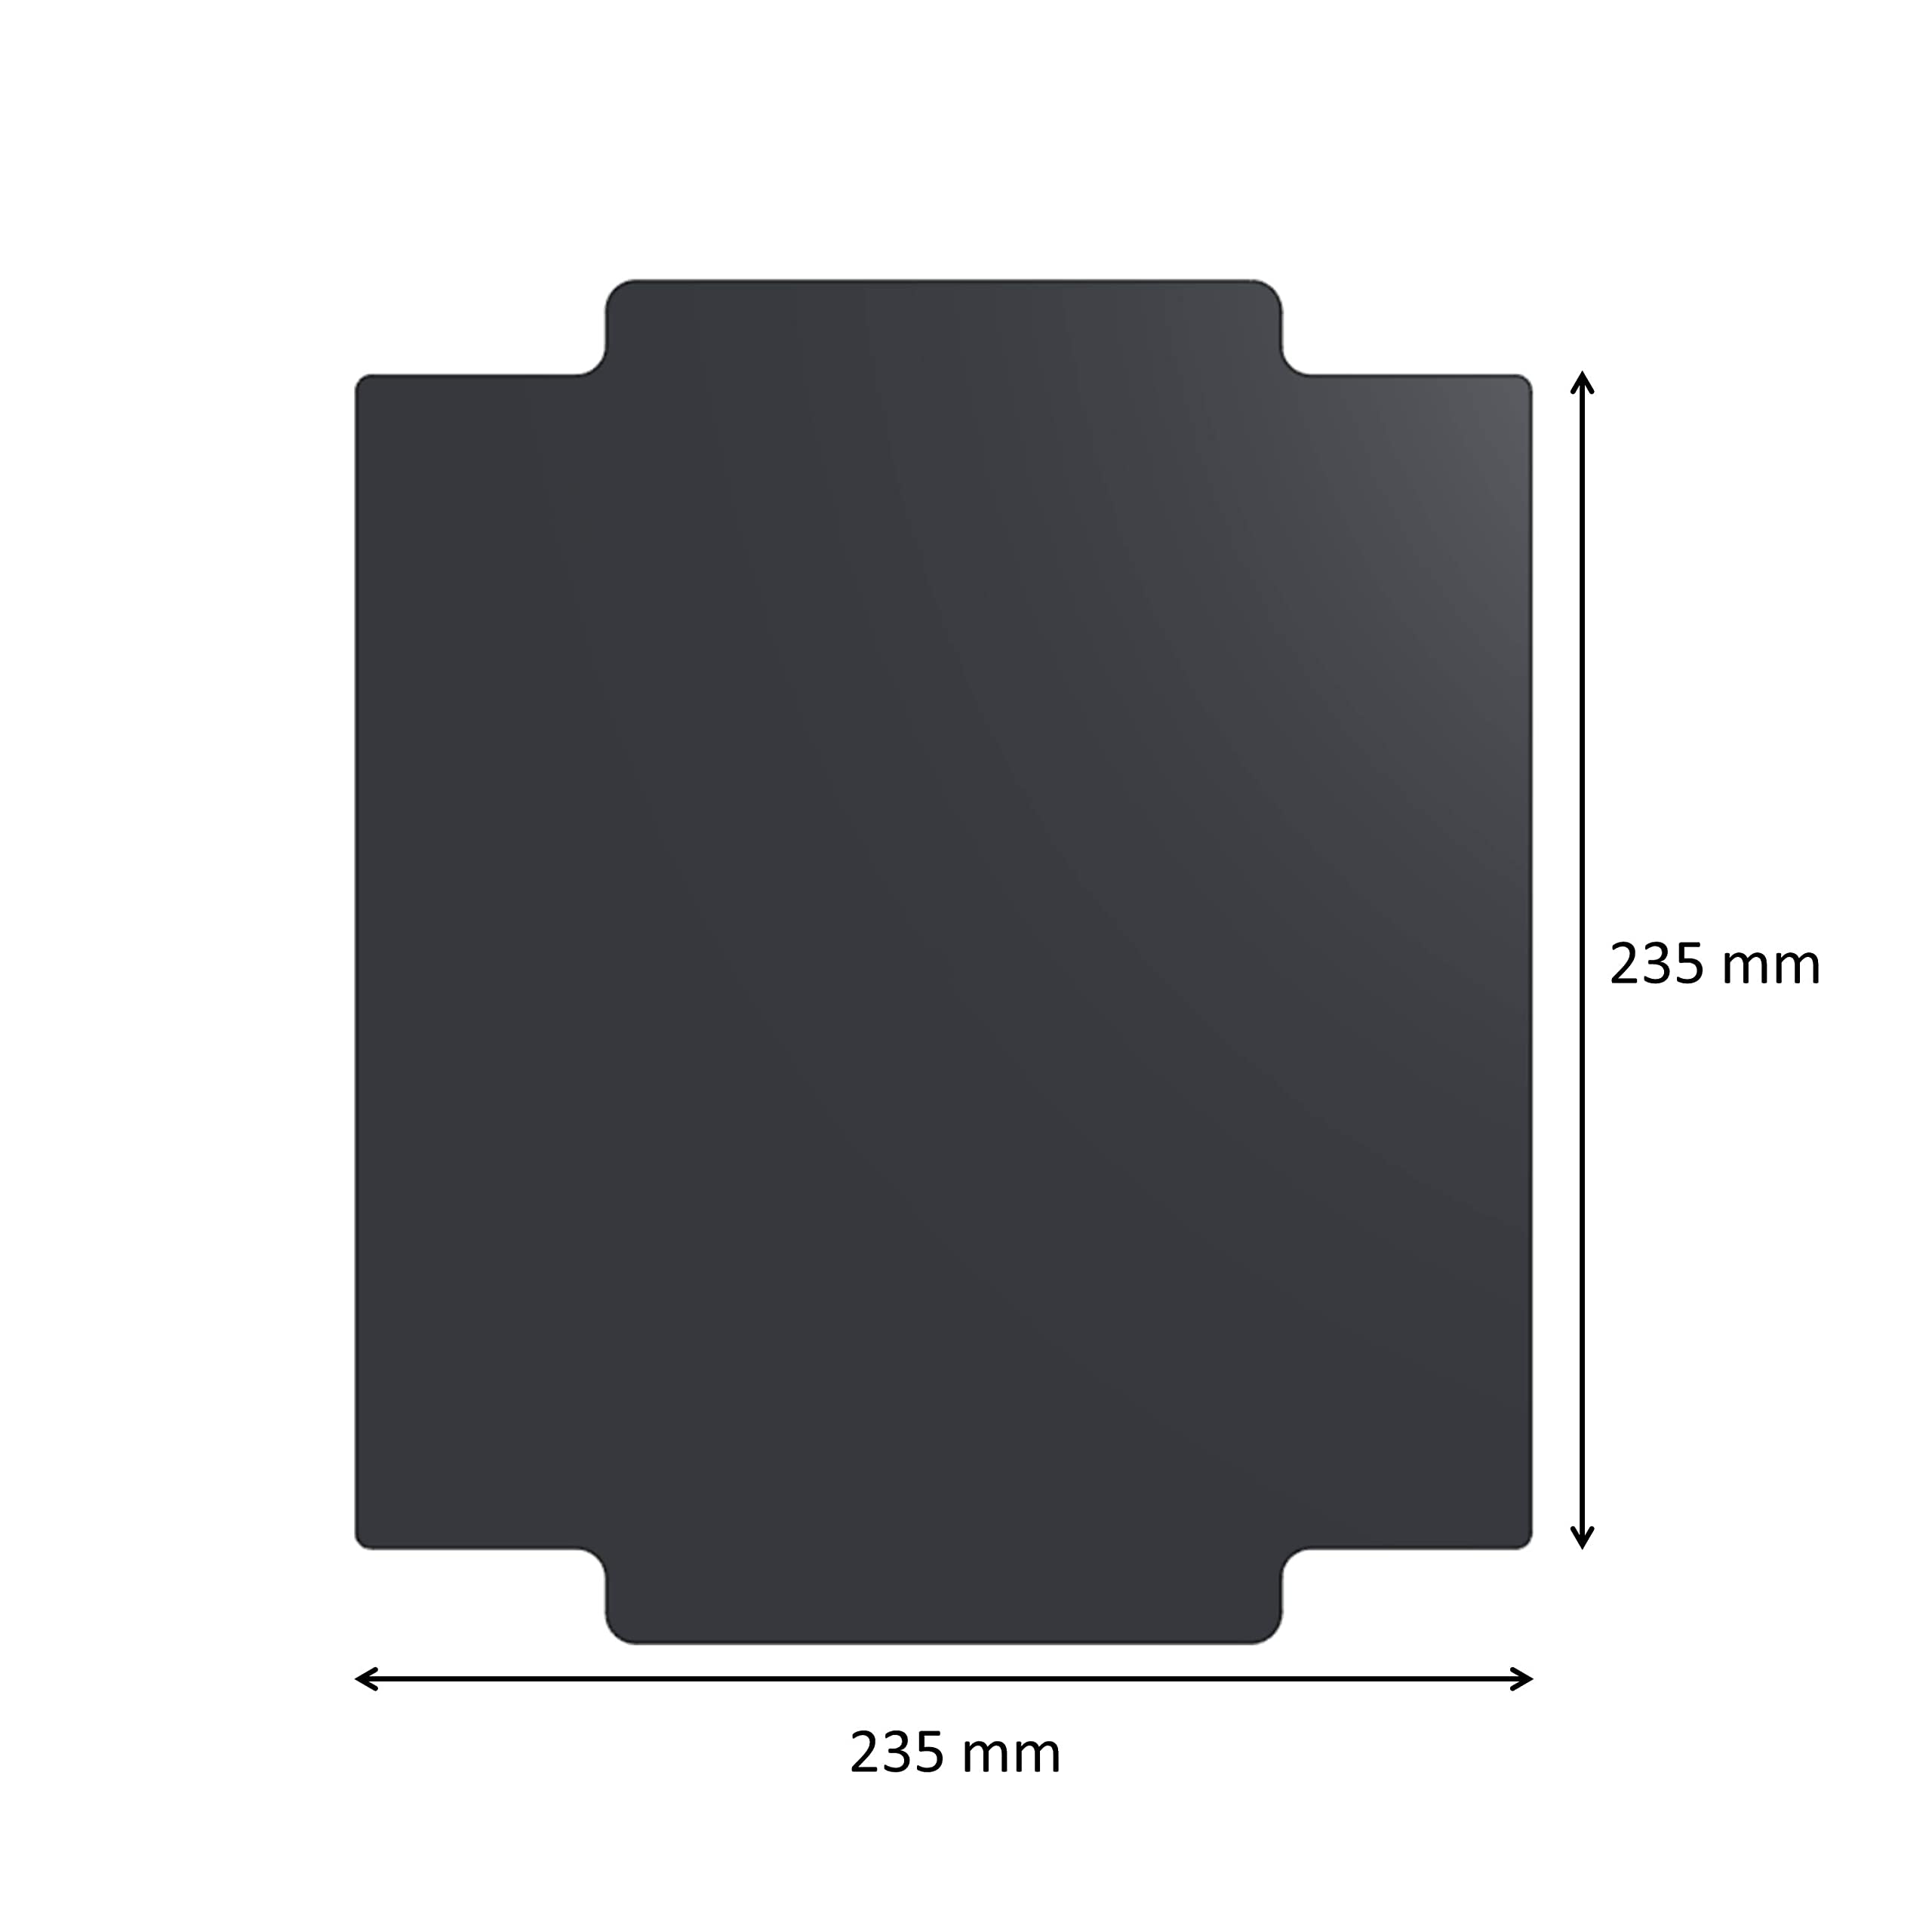
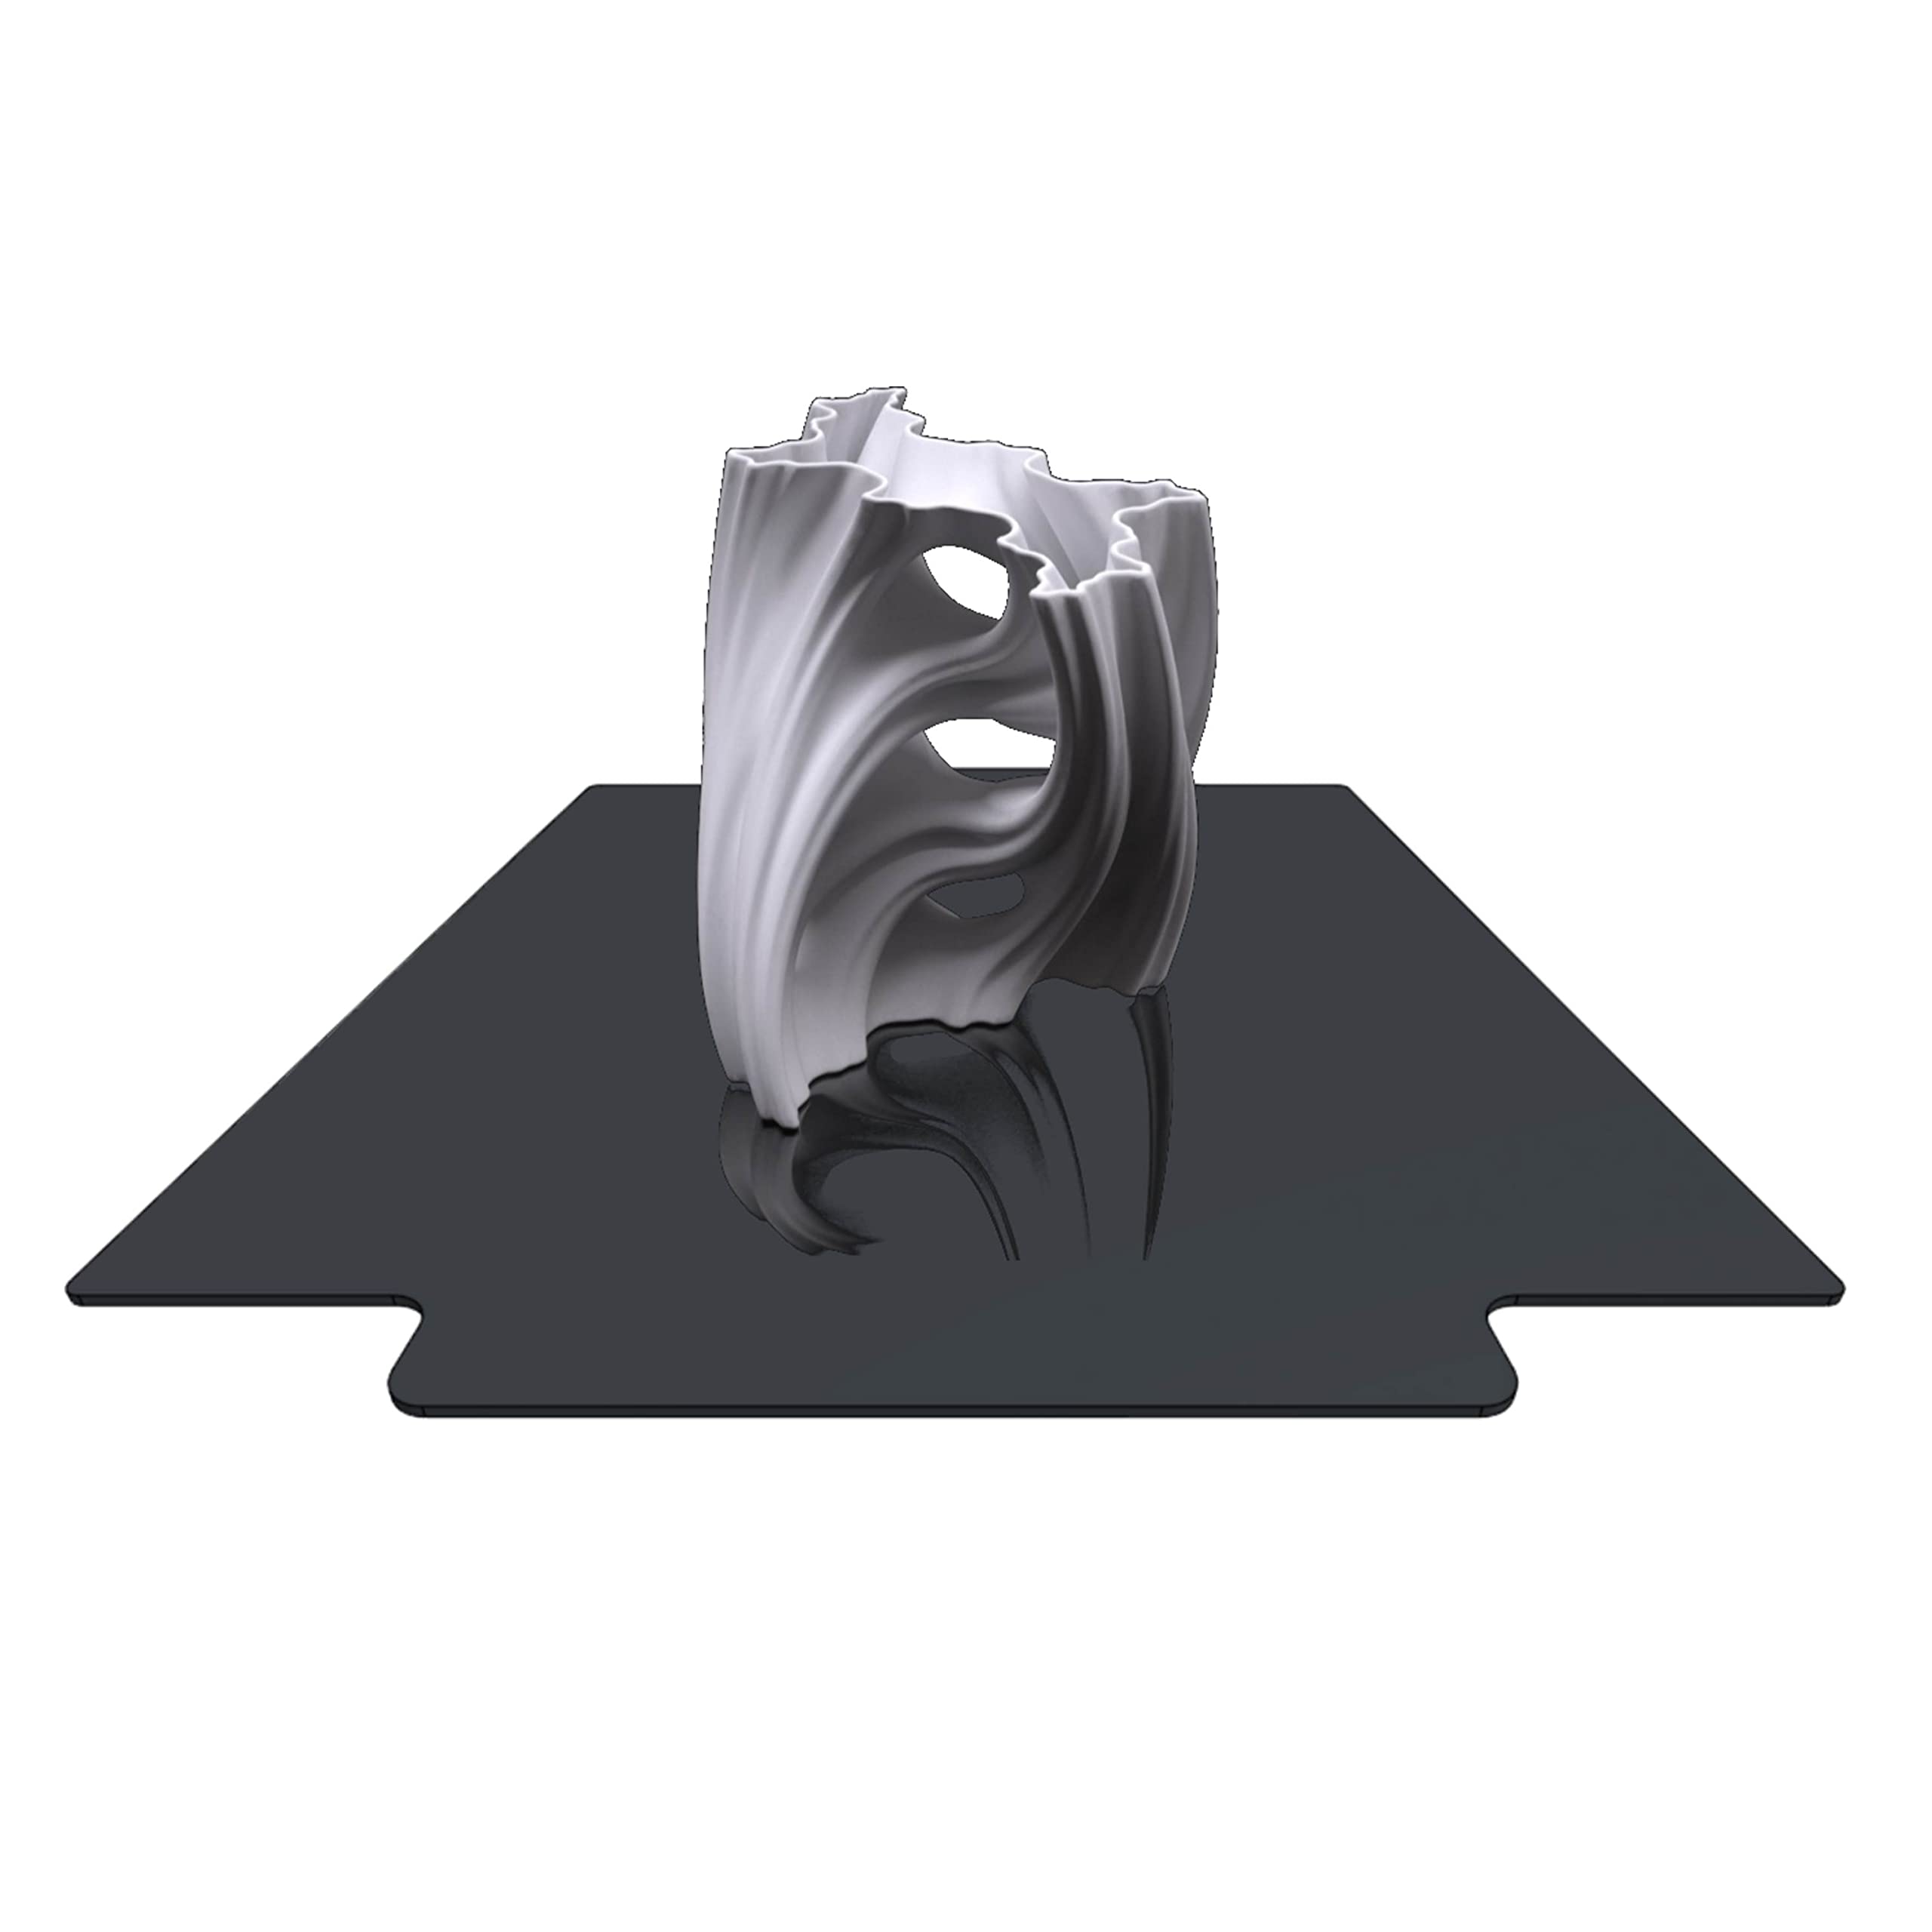
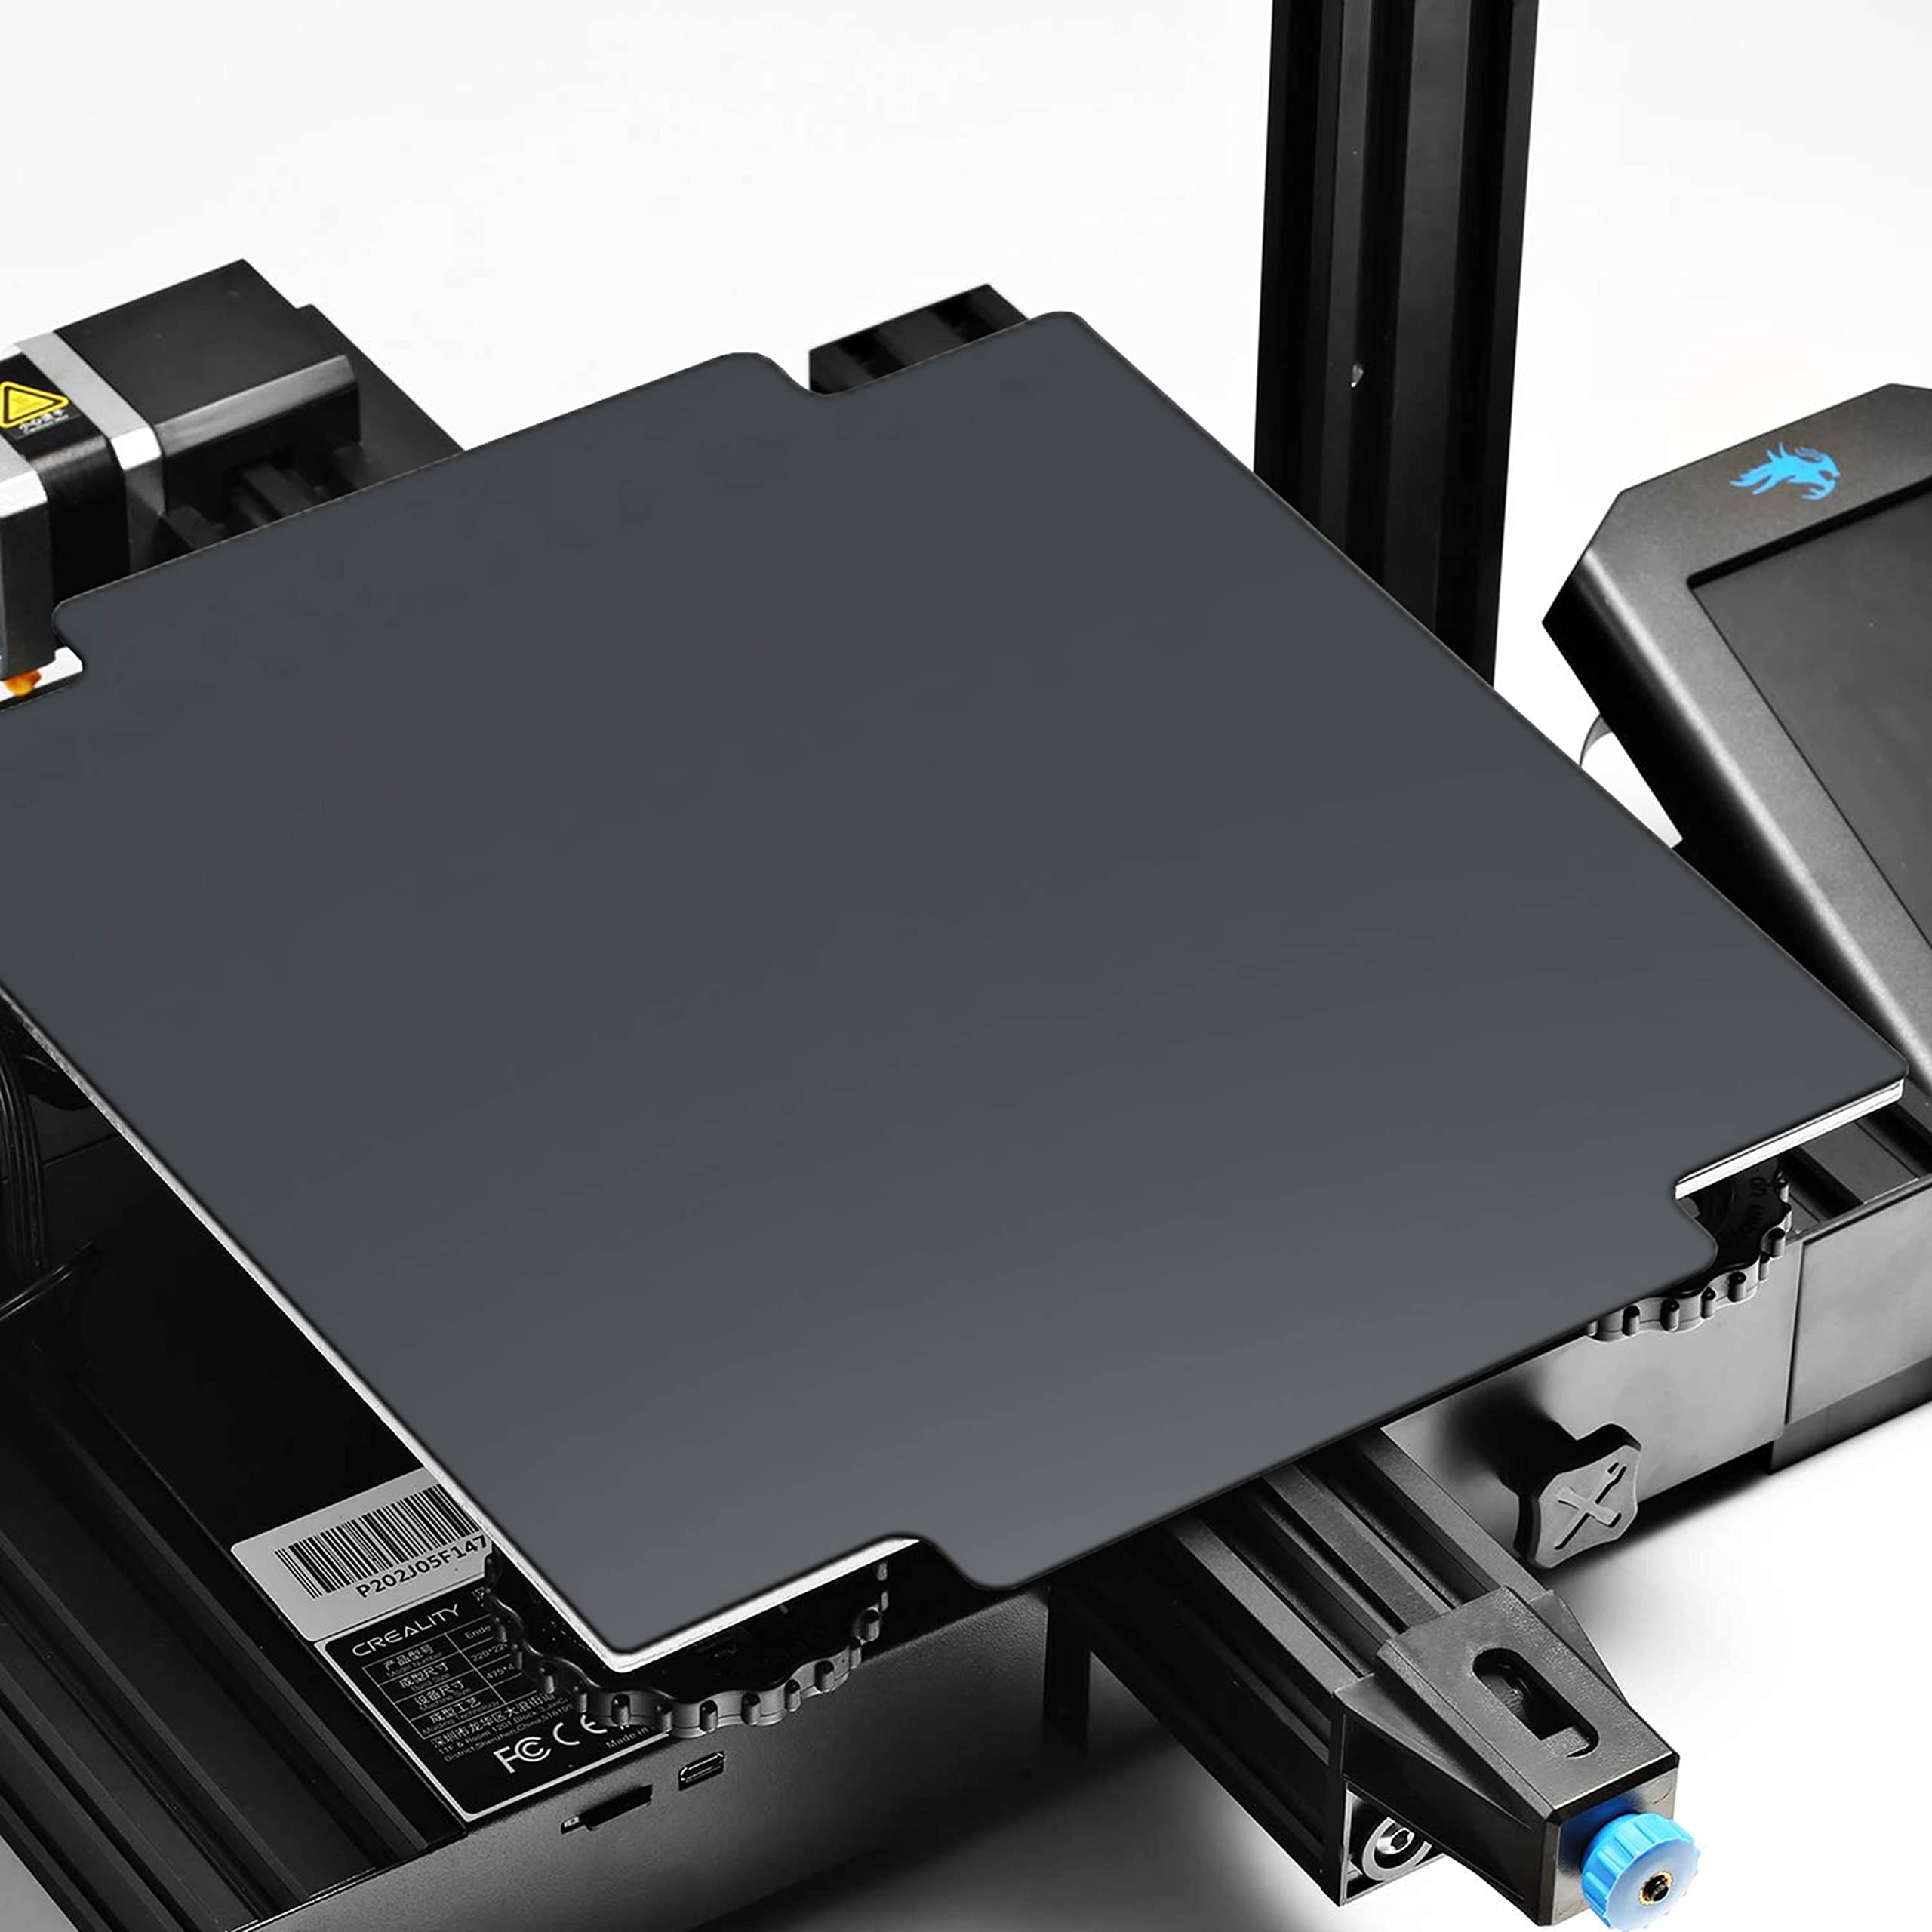
The JUSTHANGIN' Garolite G10 3D Printer Build Surface is a precision-cut sheet designed for heated beds, compatible with various models including Creality Ender series and Voxelab Aquila. Its dual-sided feature extends service life, while its robust design allows for easy part removal without adhesives. Maintenance is simplified, making it an essential upgrade for any 3D printing enthusiast.
A**N
Great Build Surface
After seeing this type of surface discussed on maker's muse on youtube I decided to take a chance on it and I'm really pleased with the results I'm getting after 2 prints. The bed adhesion is just unbelievable compared to the original surface. The Buildtak surface that comes with the printer does a good job but I had my fair share of headaches with adhesion with it. This is the only other surface I've tried but so far I am having good results with much approved first layer adhesion. The layer goes down very cleanly and the surface is so flat that the bottom of the print has a polished (shiny) appearance and the edges can be very pointy. Another plus is that 100% of the print is removeable, and it often just pops off if you grab it and pull after the part has cooled. It all comes off the plate so easily that there's pretty much no chance that it could stick to the plate and to the bottom of your next print.I didn't have a steel wool so I used a new scotchbrite scrub pad and lightly swirled and made diagonal swipes across the surface and that seems to have worked well enough. I've noticed that the print was not adhering as well in places that had fingerprints on them so may want to clean the surface with alcohol on a paper towel before printing.For PLA I used the same settings that I used before but for PETG I used the recommended 80c from the manufacturer of this product and that seems to be working well. I hope this lasts longer that the mileage I was getting out of the oem surface. It would need to exceed it by 3x to match the increase in price, which is high for something like this IMO, but it's still kind of niche at this point.** Update **After a few days of using I can report that I'm still getting improved results with this surface. I had a few issues with adhesion after trying some other filaments but most of the time I just had to increase the bed temp to fix the issue. I have gouged into the bed a little in a few places so I had to extend the probe to nozzle distance on my BLTouch settings. Some places printed fine but in a few places the nozzle was able to get too close to the surface and it left a small mark on the surface. I noticed after looking closely at the BLTouch probe that it slides a little bit on the surface before it can register the touch and retract the probe, but on the buildtak it grips immediately. So I had to adjust for this by going into my settings for BLTouch and increasing the probe/nozzle distance by 1 tick and that helped, but 2 ticks was right on for what I needed. If you hear the extruder motor backing up and not able to push filament through then stop immediately because the nozzle is probably gouging the plate. It still prints just as well there, but with a slightly less polished look on the bottom. But on the bright side both sides of the surface are useable so I have a backup.I wouldn't really recommend this surface to someone that didn't have an auto bed-leveler because its just too easy to mar the surface if the bed isn't perfectly level. The original surface is more forgiving in this respect. I am also ordering some silicone solid bed mounts to make it harder for the plate to get out of alignment as another back-stop.An interesting thing to note about this surface is that the petg and pla I've used will often semi-adhere to the surface even if it's just oozed out of the extruder more than 1 mm away from it, especially if the print head is moving and there's a good flow rate.
L**S
Filament sticks when hot, pops off when cold
I didn’t really know what all the hype was about when I bought this, just knew I wanted to replace my glass bed.Once I got my settings all dialed in, I was surprised with how well things stick to the bed with no assistance! No tape or glue and still has a glass glossy finish on the bottom! I was a bit paranoid when my first big print finished as I knew I wasn’t supposed to bend the bed and it had a large surface area… thought I’d need to scrape it like glass but to my surprise, once the bed cooled the print just lifted off no force whatsoever! Amazing!
M**T
Some issues with PETG adhesion, but overall working well now for me.
I've raised my view to 4 stars from 2. After printing a lot more with this plate, and buffing with scotchbrite and cleaning after each print, I've started to have success with PETG. Adhesion is still not wonderful, but seems to be adequate for the medium size parts I'm making (10 cm by 10 cm). And of course once it cools down a bit, the PETG comes off very easily. PETG tends to glob onto the nozzle and then falls off onto the print where occasionally it will cause a failure when the nozzle collides with the blob that fell off and knocks the print loose.I didn't have much luck cleaning this surface with rubbing alcohol. Seemed like alcohol wouldn't remove finger grease, but ammonia cleaner works quite well and I've been using that exclusively.Certainly for PLA and TPU this build plate works very well.
A**S
ABS sticks but not consistently
This has to be scratched up to remove the tooling marks per the video. These scratches help with adhesion.The problem is1) this should be a part of the manufacturing process2) This bed is WARPED and near the edges your print will not stick as well, even with additional scratching. I also have an 81pt mesh to help comensate for more of the differences and that does not help because of how warped it is.
C**F
Best Surface for ASA
For PLA I prefer Gizmodorks PEI sheet. I've been trying to find a good surface for ASA that didn't require glue or didn't bond itself with the bed. ASA bonds with PEI, so its near impossible to remove ASA prints. This G10 bed did not work out of the box with ASA. It worked alright, but I still got it peeling off the edges. It is also a flimsy bed so even if I use a tiny bit of glue the bed warps and curls up around the print. With a couple easy tweaks this bed has become the best bed for ASA I've ever used.If you want this to work well with ASA this is what you have to do:1) You need to adhere this to something more sturdy. I used some high temp 3M adhesive tape used for 3D printers to adhere this to a sheet of glass that fits my Ender 5's bed. This prevents the curling and warping issue.2) The surface is too glossy to allow ASA to stick firmly. After I adhered the G10 material to my sheet of glass I took my orbital sander with 120 grit sandpaper and roughed it up. You can do it by hand if that's all you have. I will say I was worried it was too smooth even with the 120 grit sandpaper. It felt smooth to the touch, but the glossy appearance was gone.After I did those two things I did a test print. While the bed was hot at about 100C the filament was really hard to remove. I tried to remove the purging line that happens at the start of a print and it was too hard to remove without disturbing the print while it was going. I decided to leave the printer alone and let it finish a 6 hour print. The part did not warp off the bed at all without any glue. I was worried that it was going to be difficult to remove, but after it completely cooled back to ambient temperature it popped off very easily without any tools and the bottom of the print had a very nice finish on it. This was by far the best experience I've had with ASA filament. I typically use PLA for everything, but I use ASA for anything that needs to be tougher or needs to sit in a hot car without warping. Its also good for outdoor projects since ASA is very UV and weather resistant. I typically use Polymaker ASA and 3DMax ASA filament. Recommended print settings for this filament are:255C - Hotend100C- Bed50mm/s - Print speed (You could probably go a little faster, but I found this to be the best for me)0% - Part cooling (Yes, the part cooling fan needs to be off to not warp the print during printing. The heatbreak cooling fan should still be on by default)Ambient temperature - ASA is easier to print than ABS, but drafts will still cause the print to warp at any temperature. ASA is smellier than PLA, so I choose to print this stuff in my garage. My garage has no drafts and during the summer the garage temp is 90F which is ideal for this filament. If I open the garage during printing it will warp and ruin my print, but if it is left undisturbed and allowed to naturally cool down to ambient temperature the print will turn out perfect. I am very happy with this purchase.
Trustpilot
2 weeks ago
1 month ago