
DOWNLOAD THE APP


Customer Services
Copyright © 2025 Desertcart Holdings Limited
DOWNLOAD THE APP
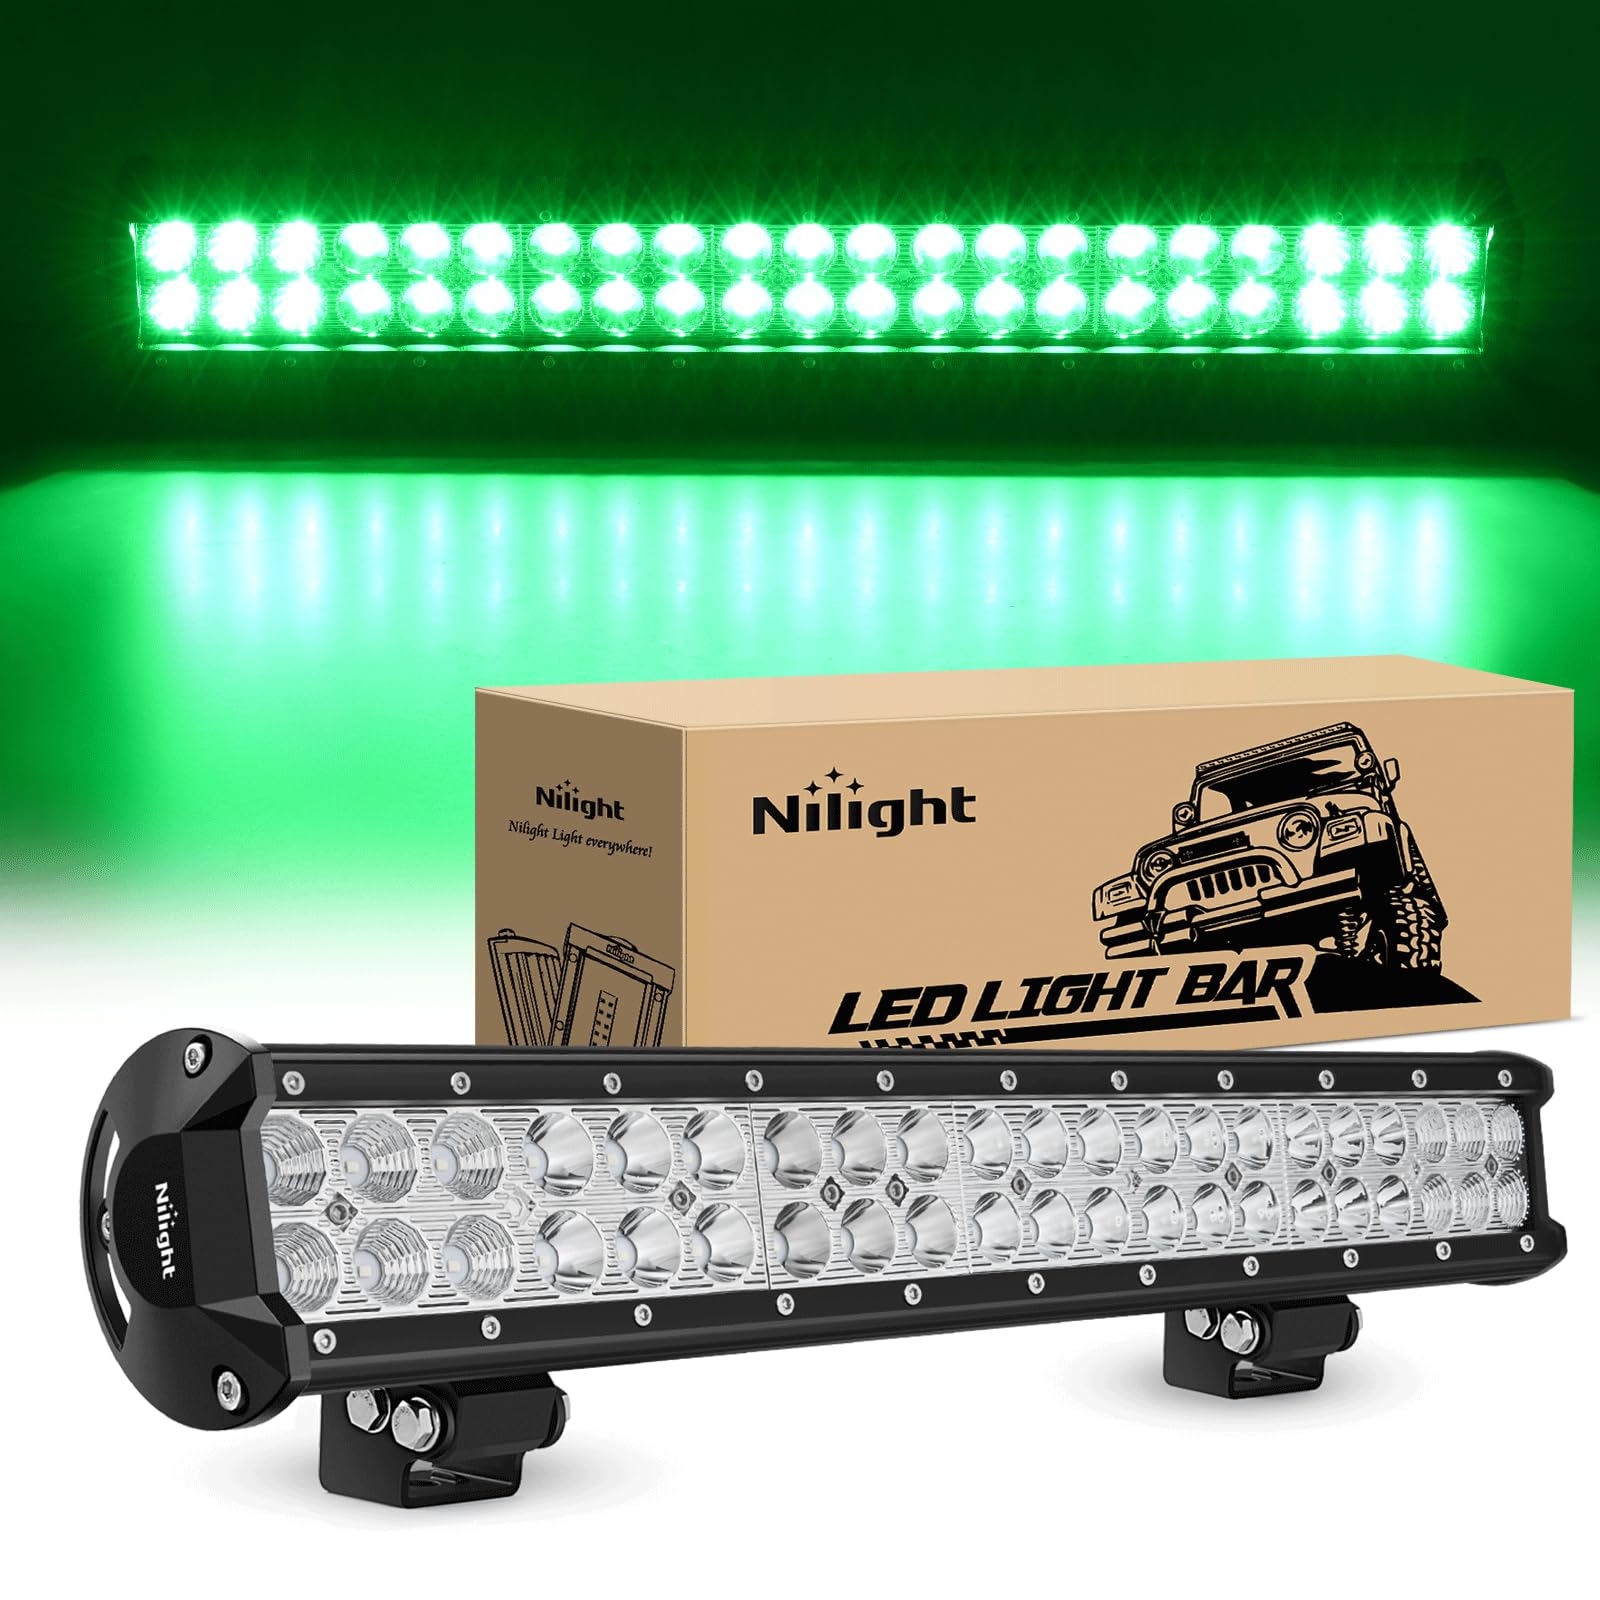

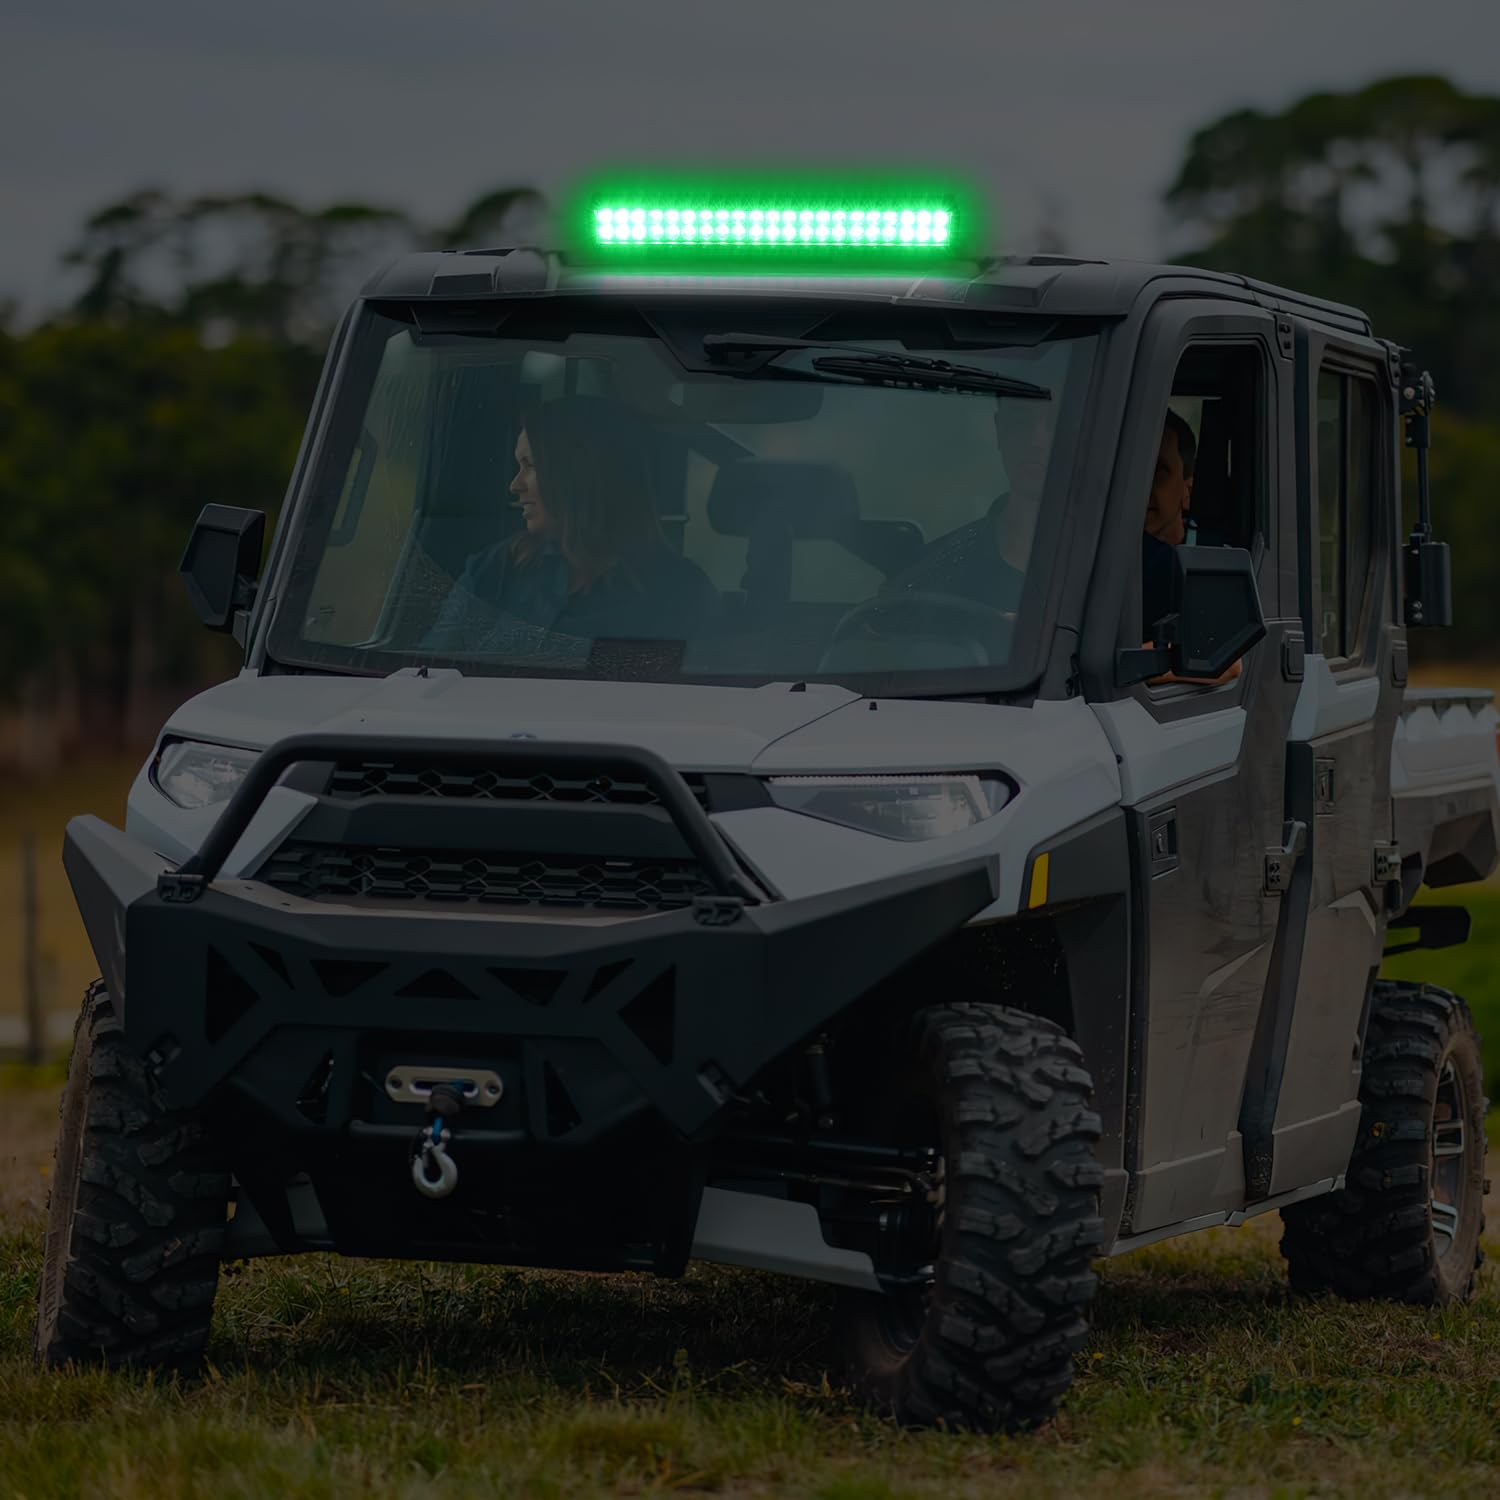
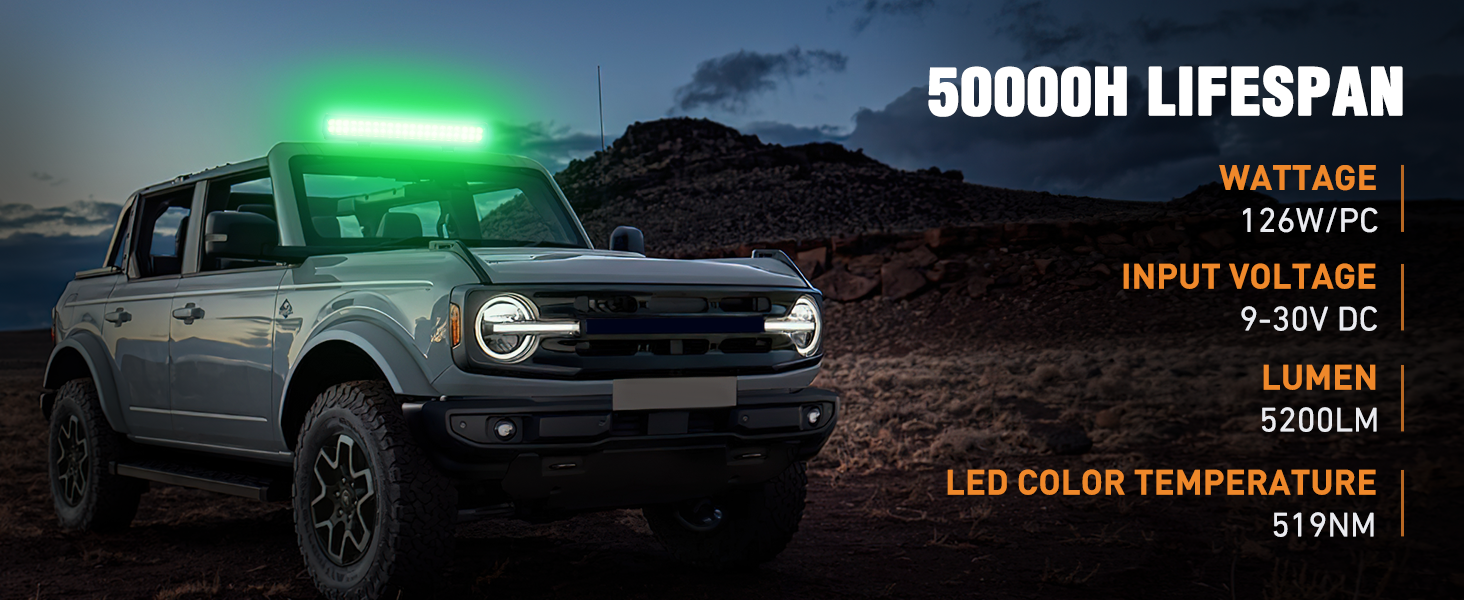
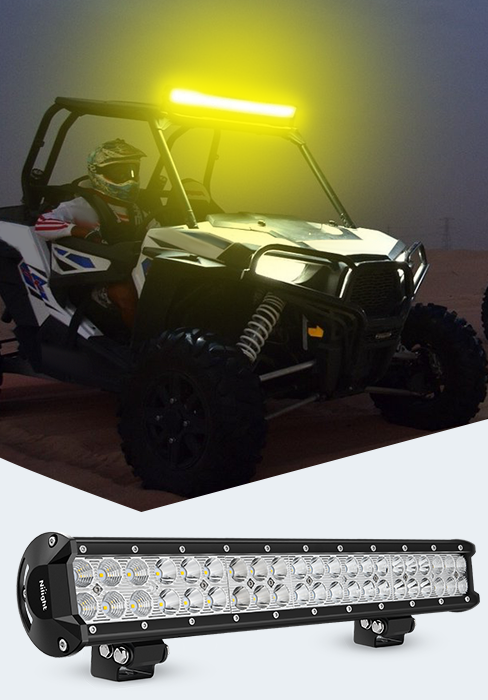
🌟 Illuminate your off-road edge with Nilight’s green beam brilliance!
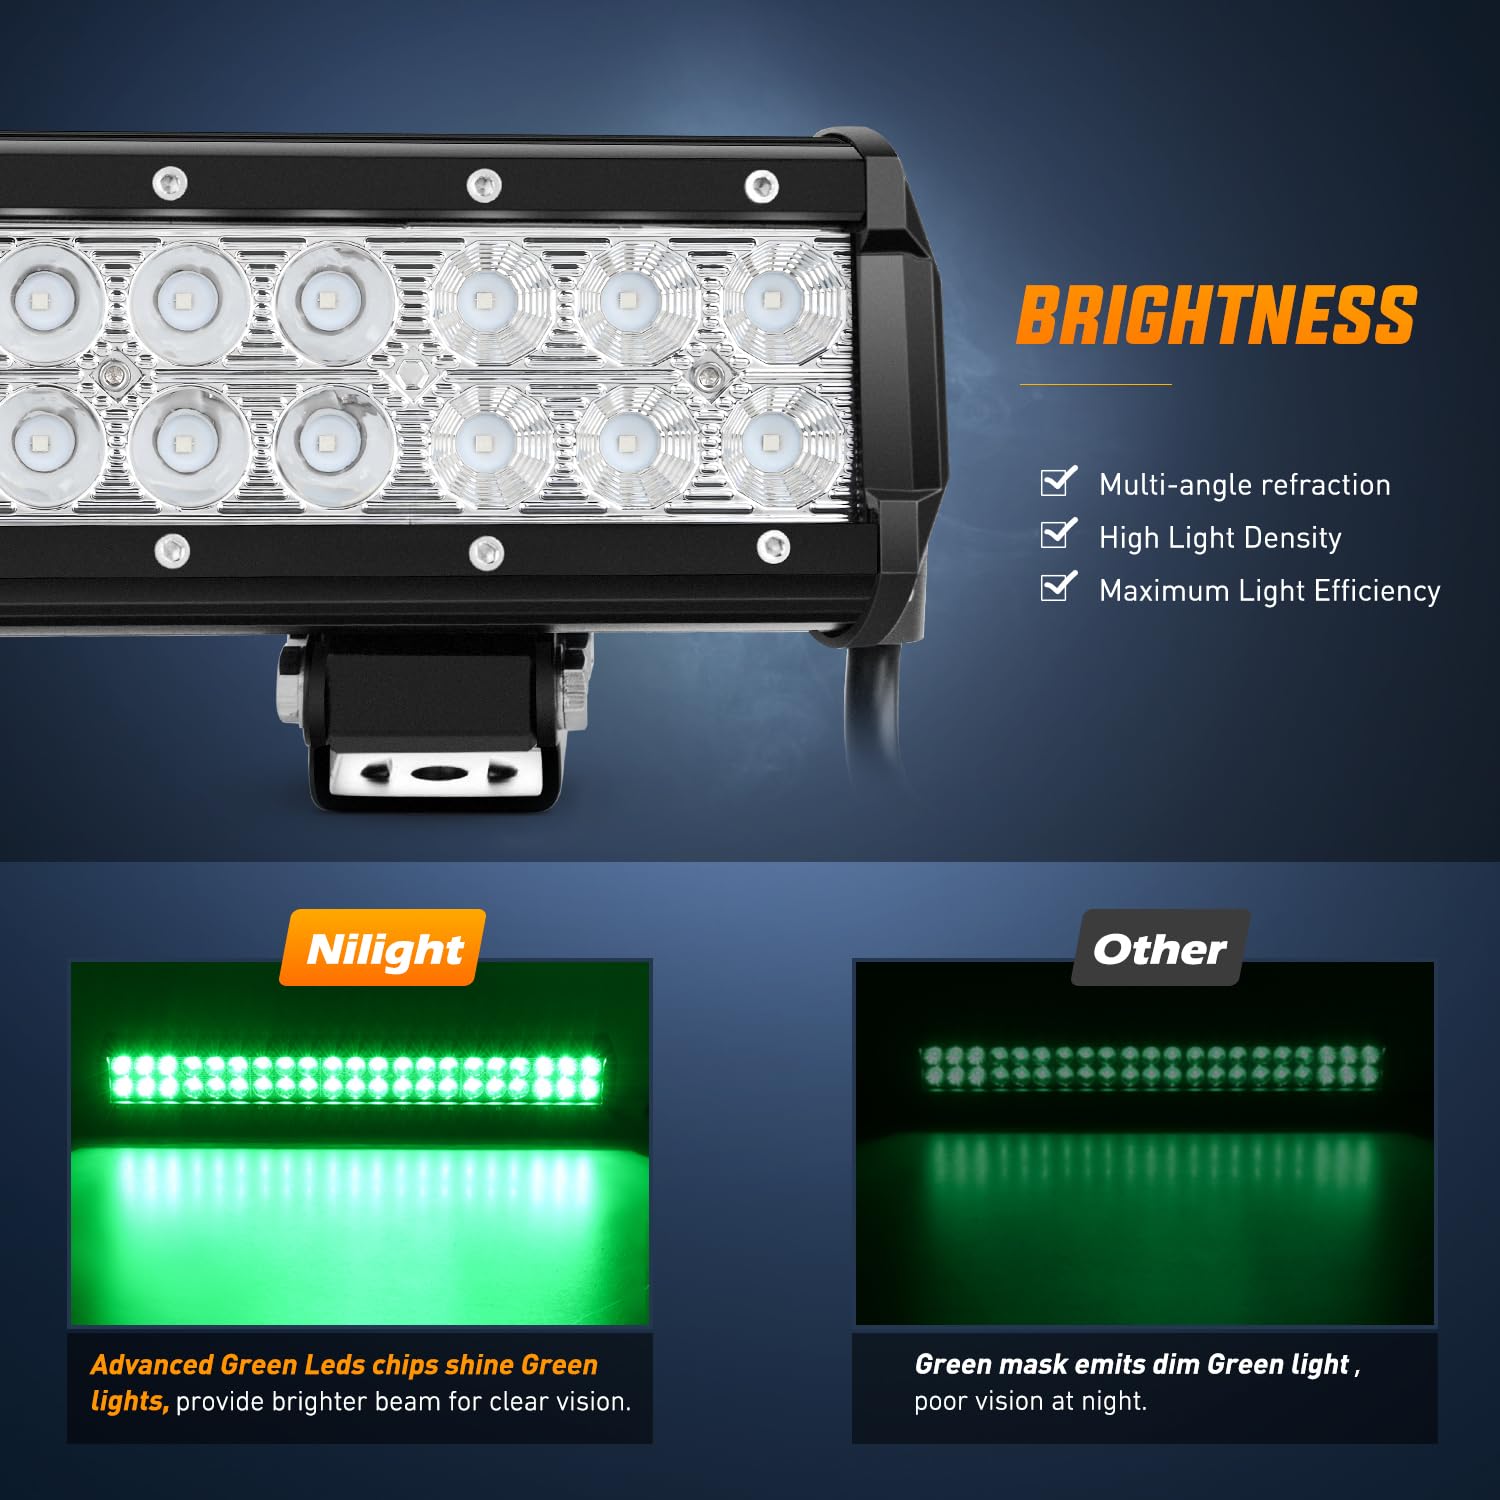
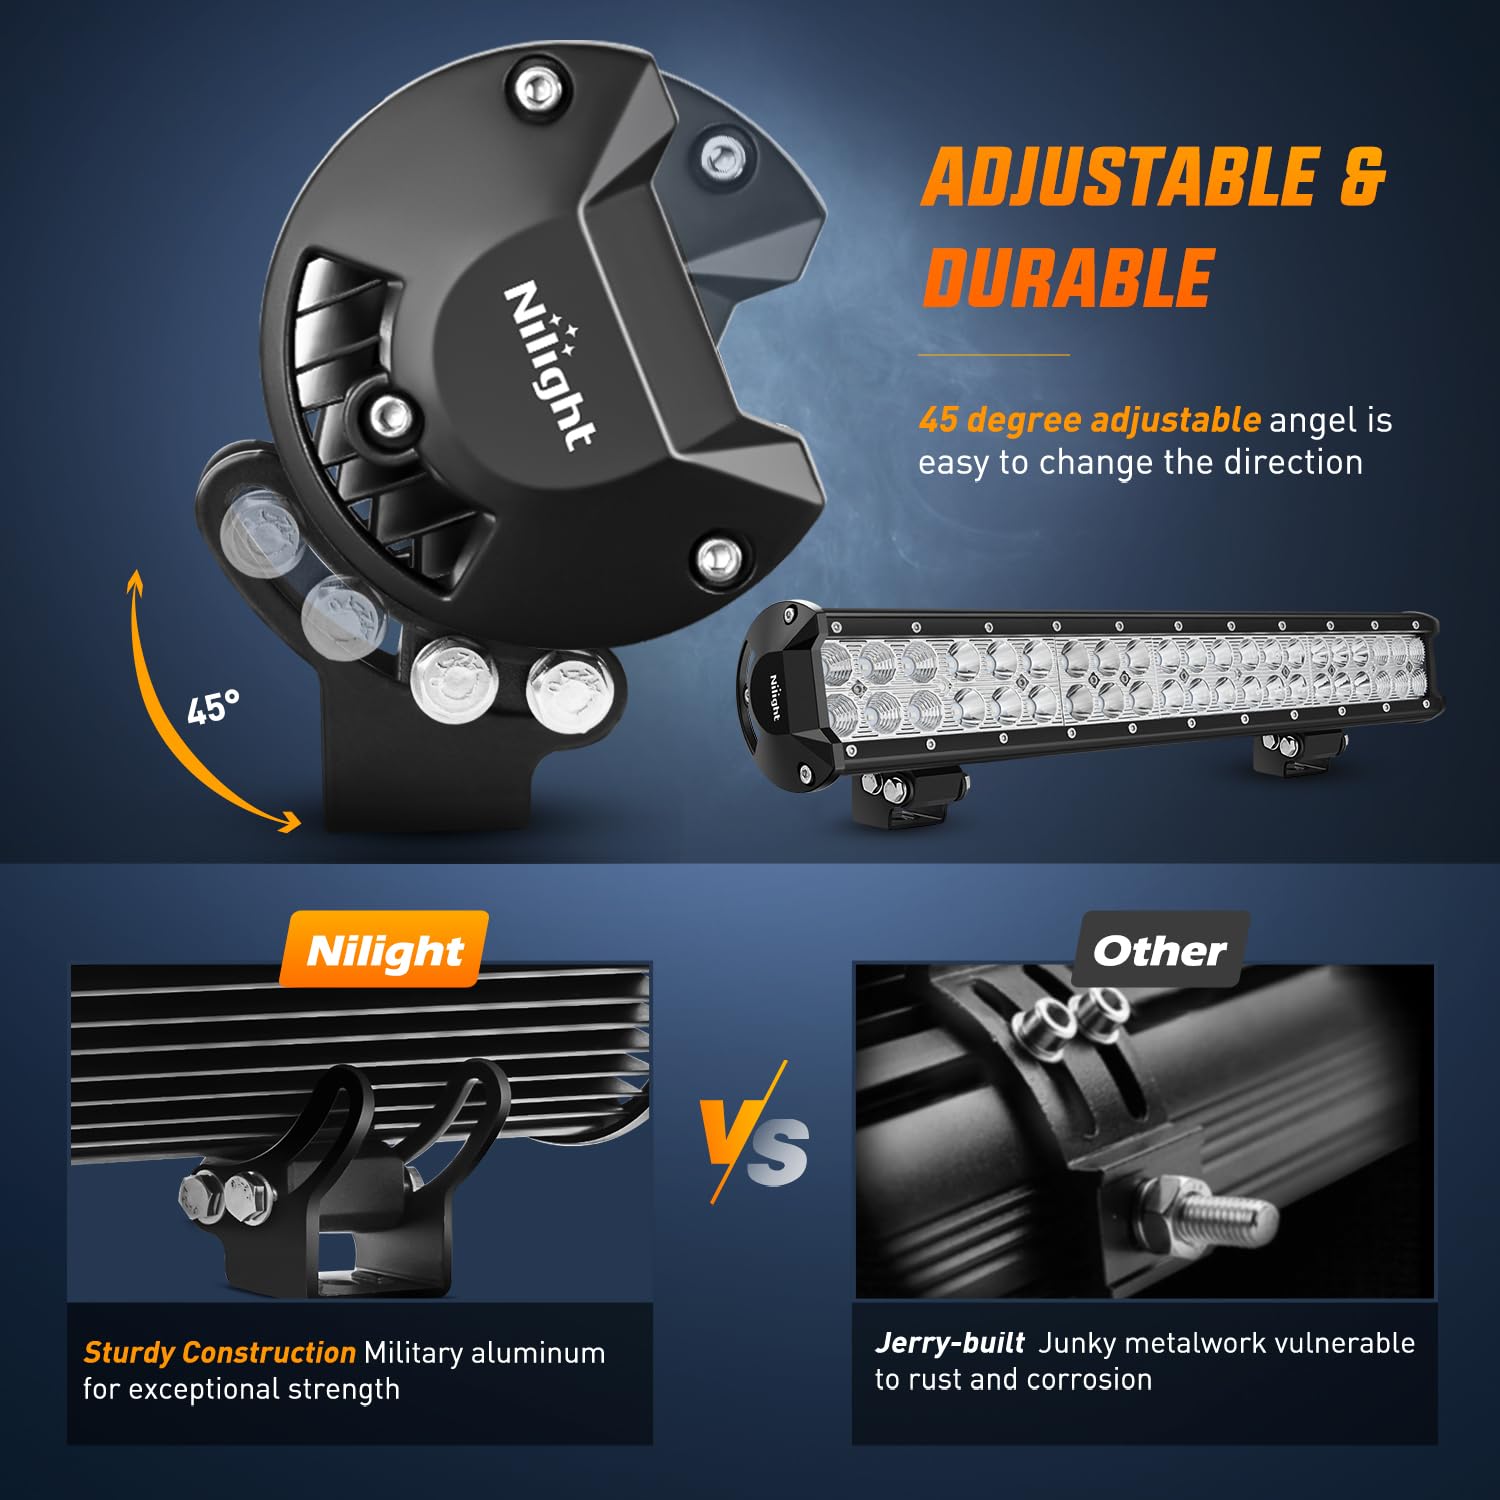
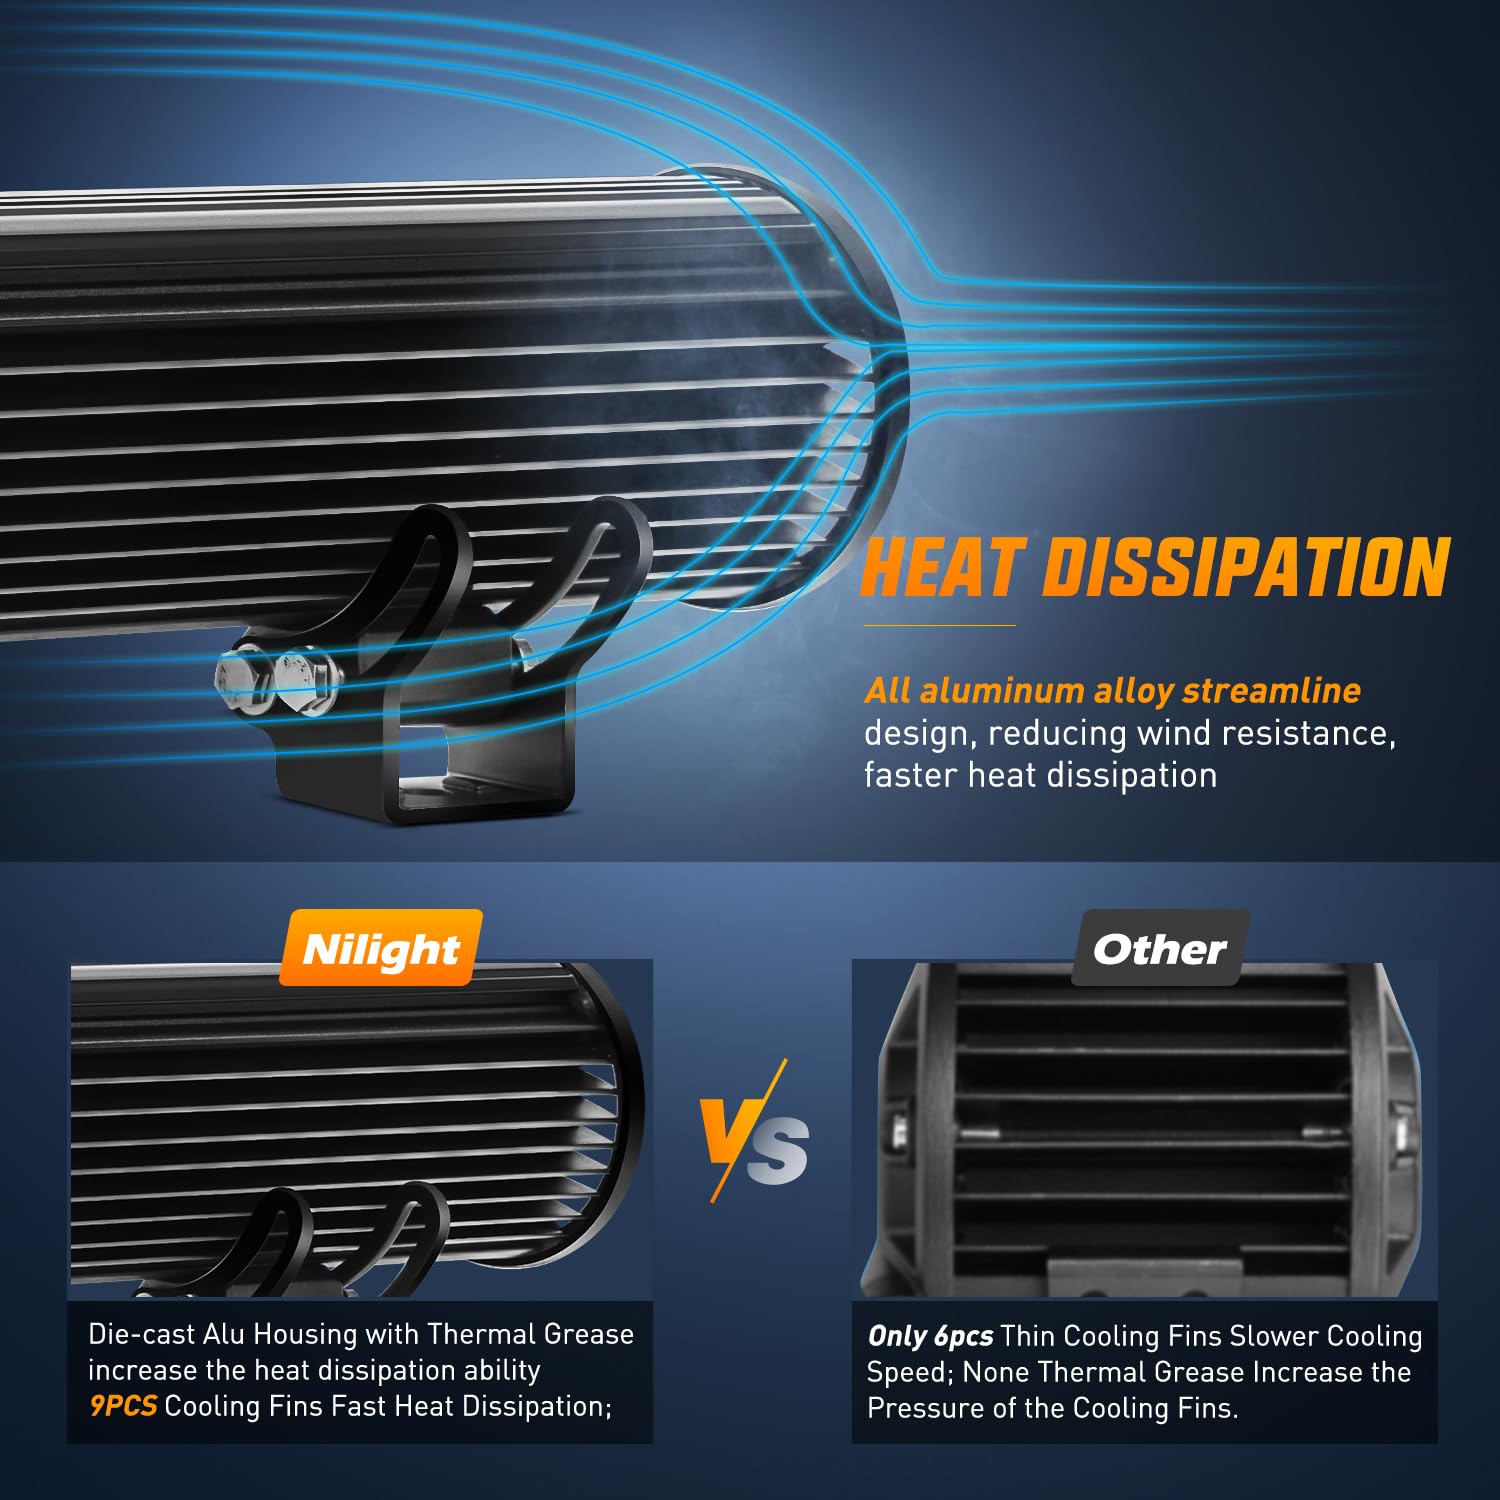
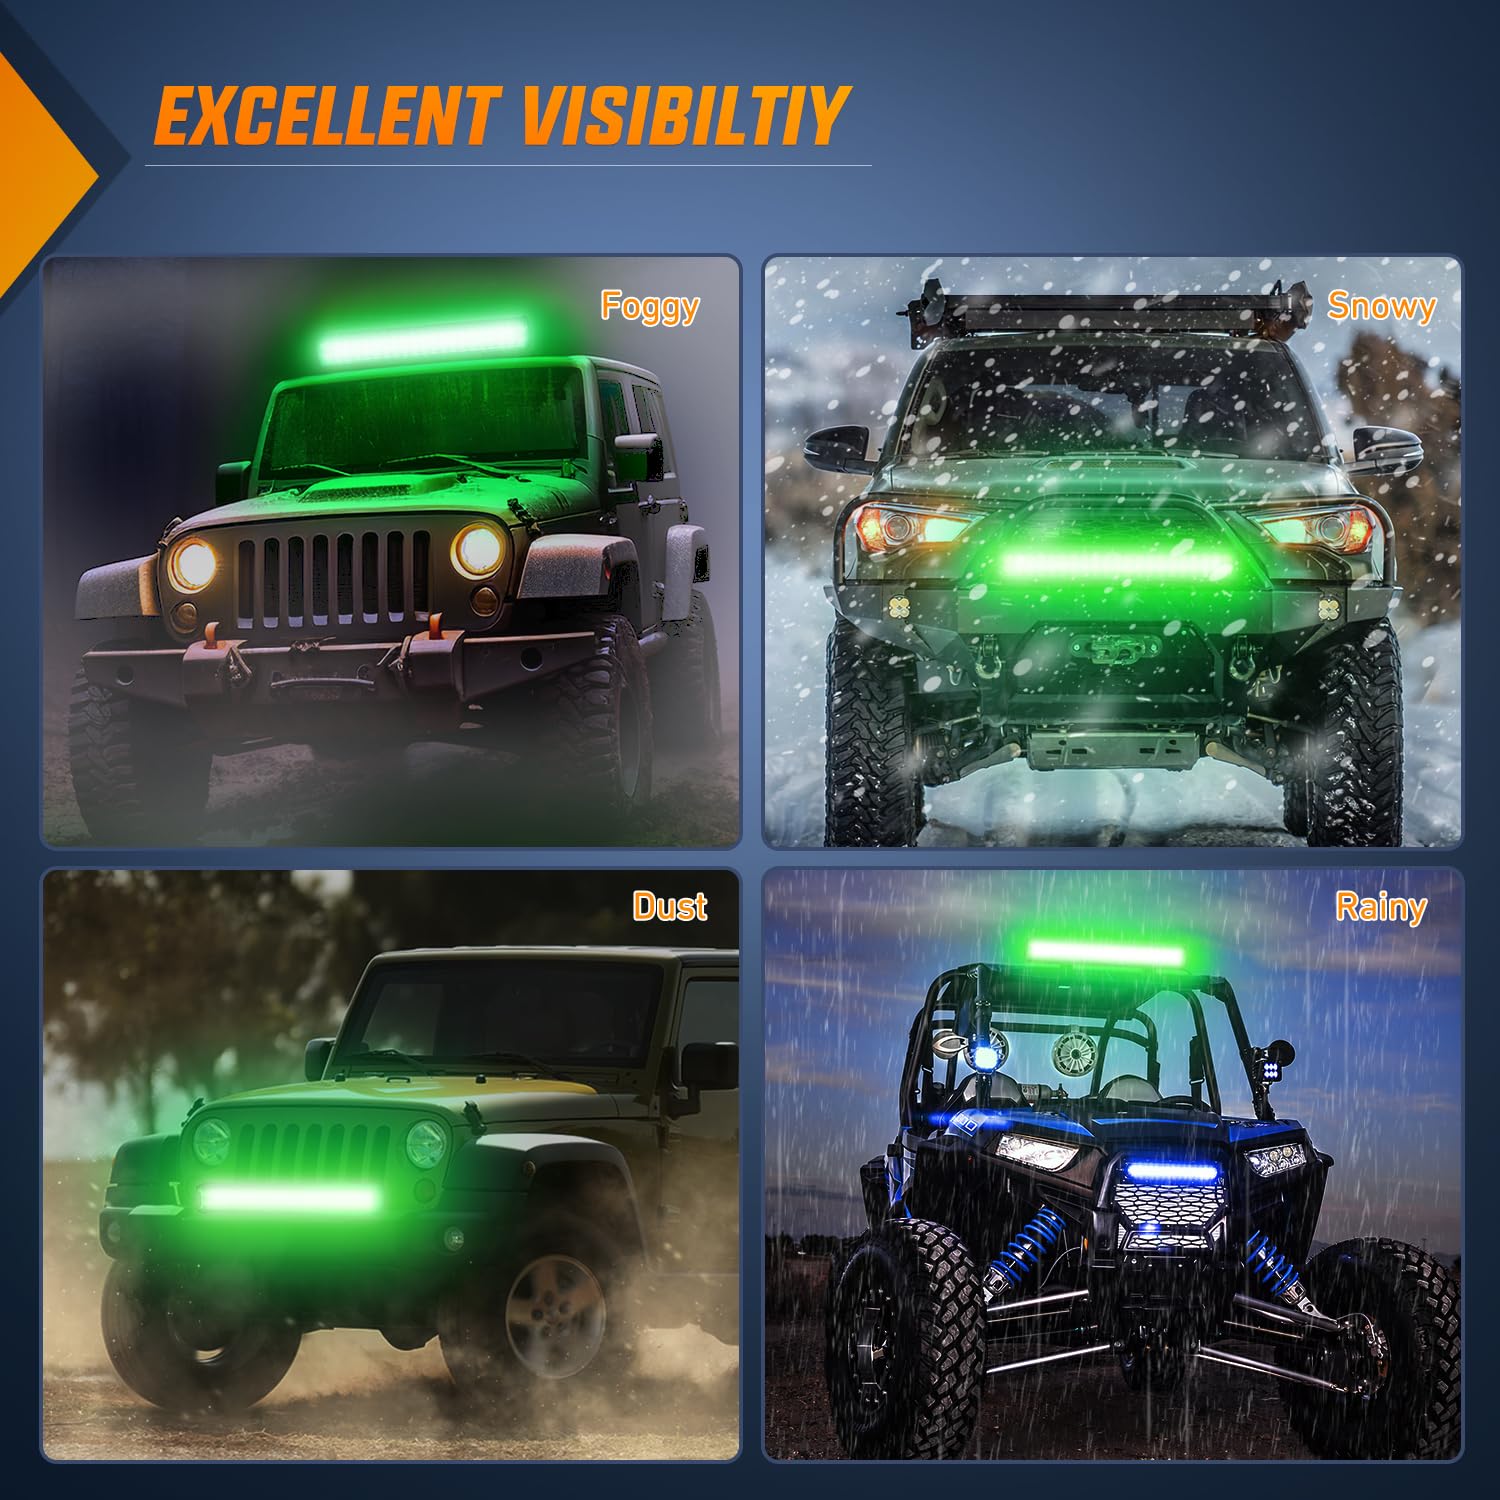
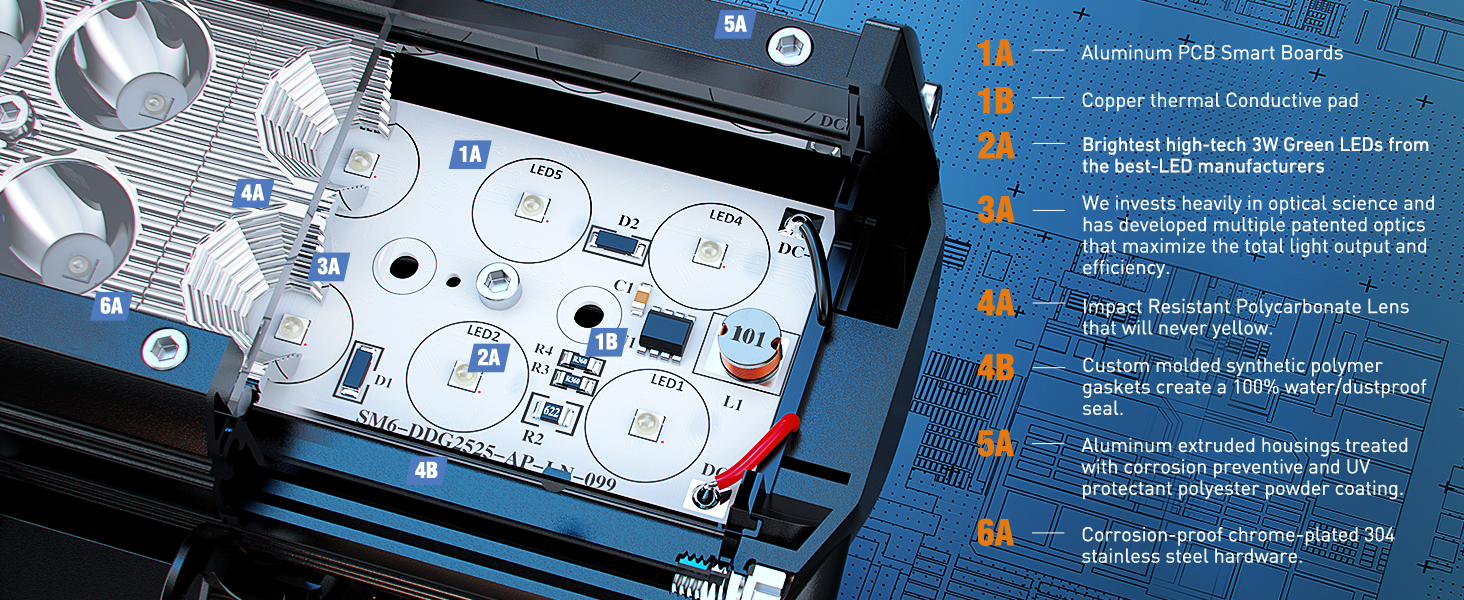
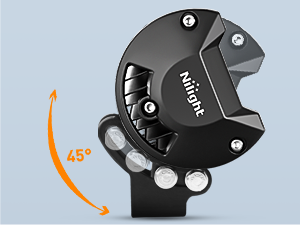
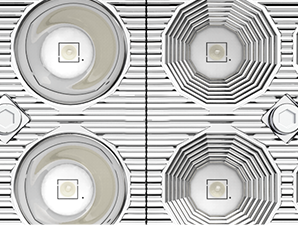
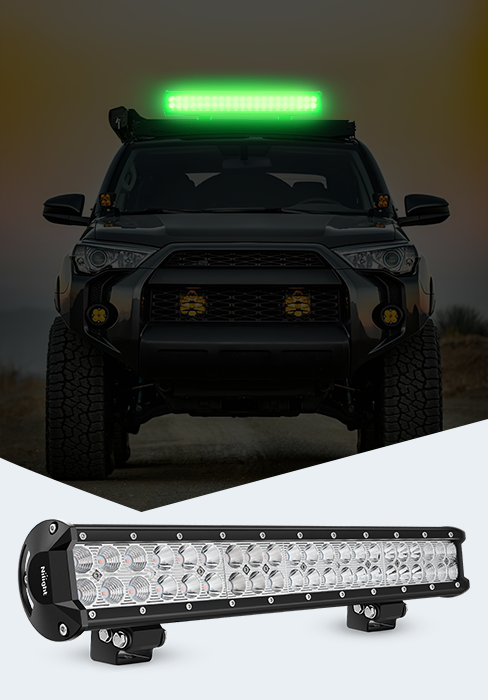
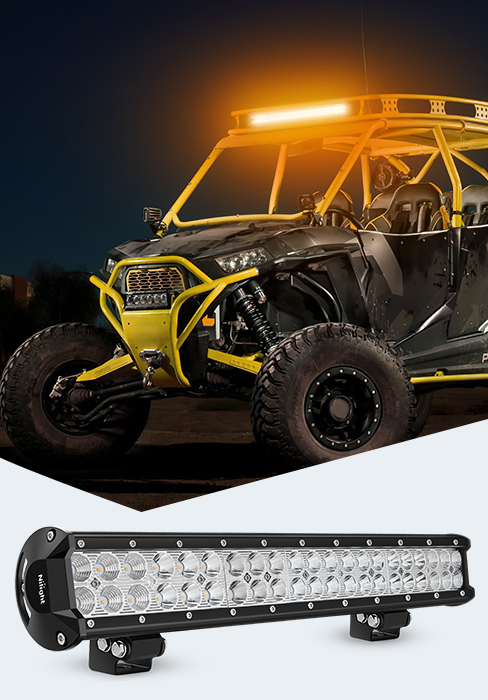
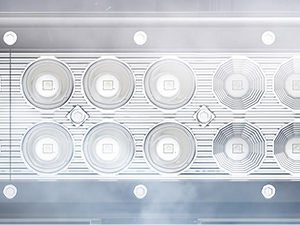
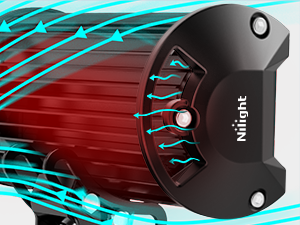
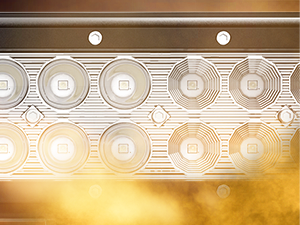
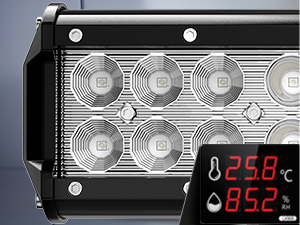
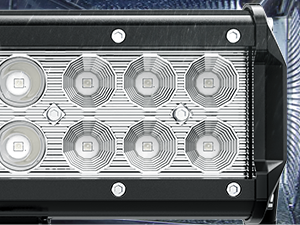
The Nilight 20 Inch 126W LED Light Bar delivers a powerful 5200-lumen green beam using 42 high-efficiency LED chips. Engineered with a rugged aluminum and polycarbonate build, it features an adjustable 45-degree mounting bracket and advanced heat dissipation for reliable, long-lasting off-road, fishing, and emergency lighting across a wide range of vehicles.


| ASIN | B0DN6J12JL |
| Are Batteries Included | No |
| Best Sellers Rank | #6,149 in Automotive ( See Top 100 in Automotive ) #32 in Automotive Light Bars |
| Brand | Nilight |
| Brightness | 5200 Lumen |
| Bulb Features | Concentrated Spot Beam, Adjustable Mounting Bracket |
| Color | 20 Inch 126W Green |
| Customer Reviews | 4.6 4.6 out of 5 stars (9,204) |
| Date First Available | November 15, 2024 |
| Finish Type | Powder Coated |
| Item Weight | 3.69 pounds |
| Item model number | 60217S-G |
| Light Output Maximum | 5200 Lumens |
| Light Source Type | LED |
| Light Source Wattage | 126 Watts |
| Manufacturer | Nilight |
| Manufacturer Part Number | 60217S-G |
| Material | Aluminum, Polycarbonate (PC) |
| Model | 60217S-G |
| Mounting Type | Rack Mount |
| Number of Light Sources | 42 |
| Position | Front |
| Power Source | Corded Electric |
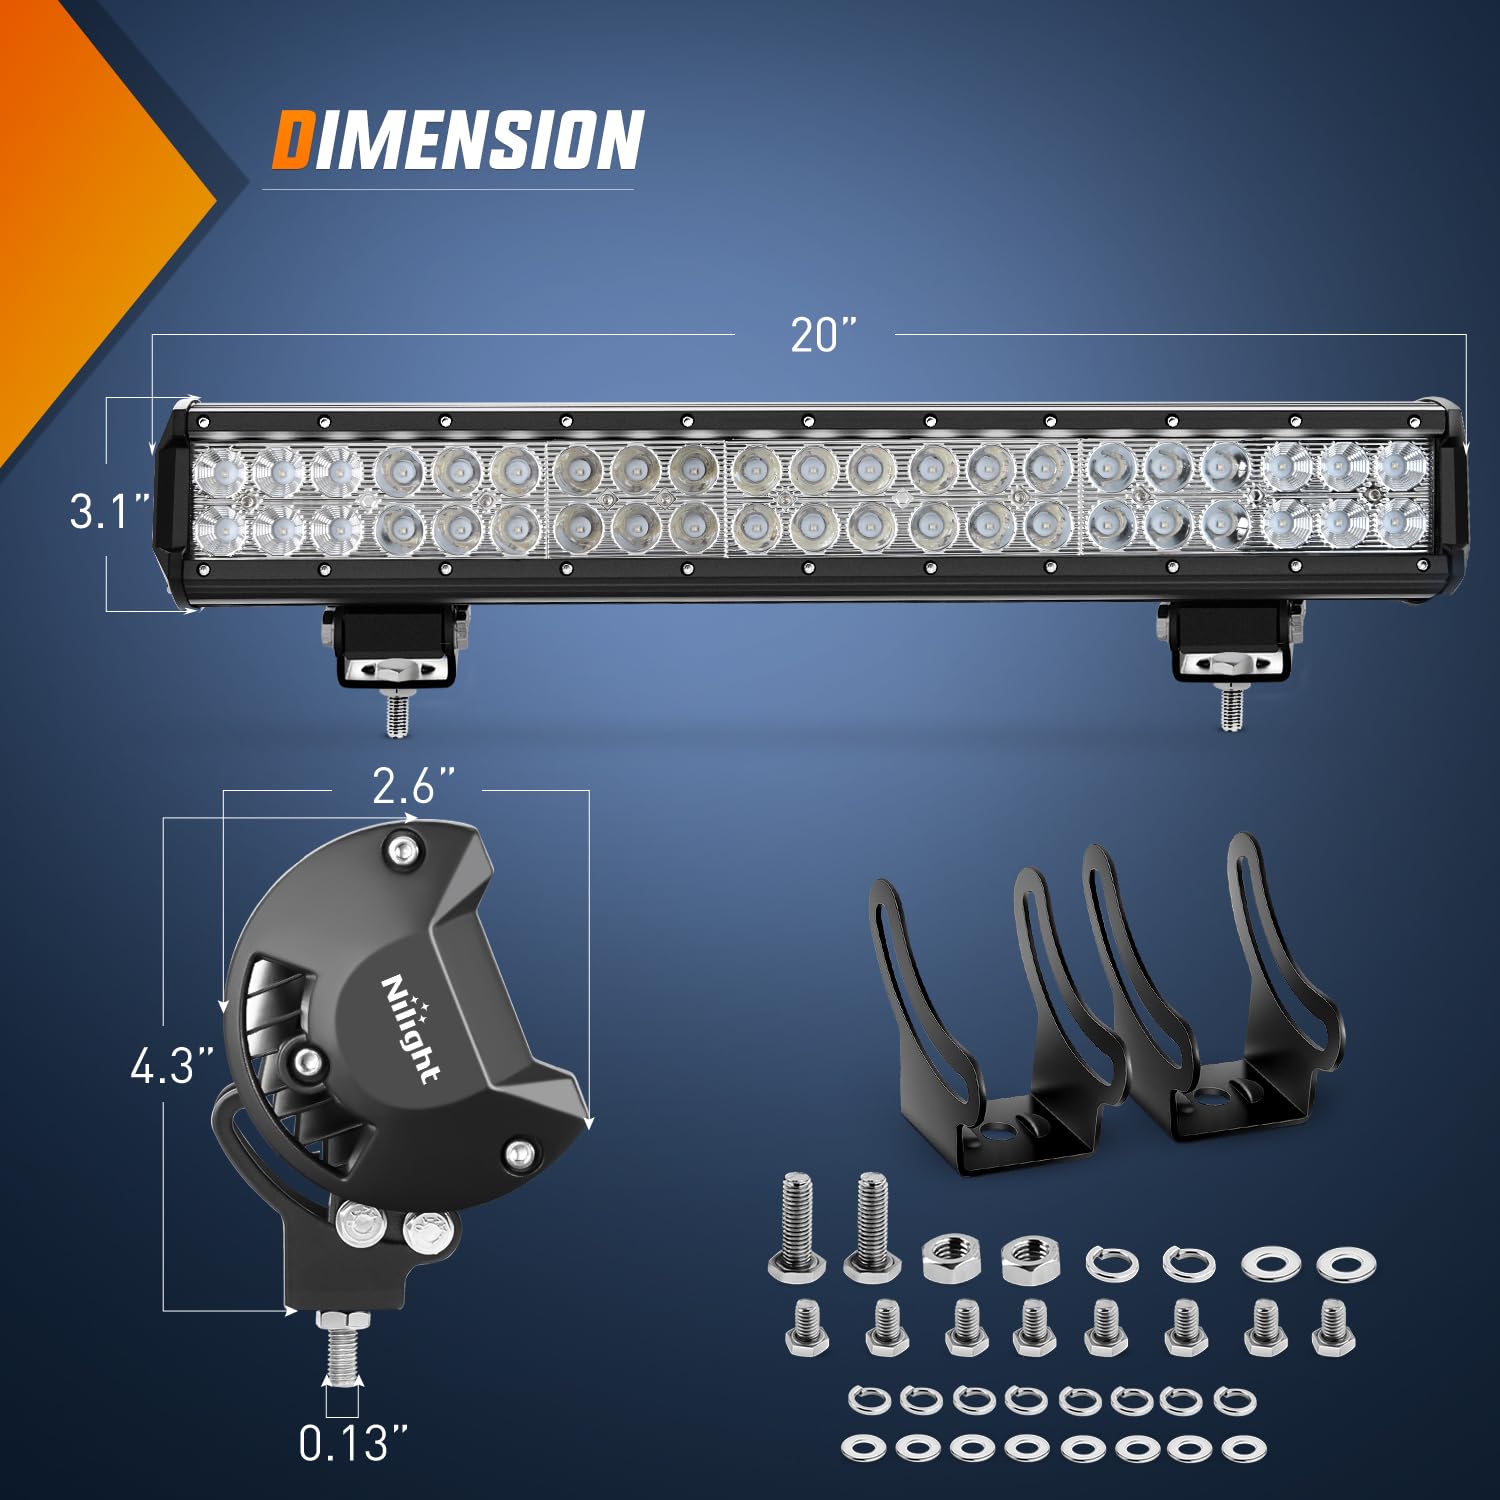
| Product Dimensions | 20"L x 2.6"W x 4.3"H |
| Set Name | 20 Inch 126W Green |
| Shade Material | Aluminum, Polycarbonate (PC) |
| Style | Industrial |
| UPC | 840323940825 |
| Voltage | 12 Volts |
| Wattage | 126 watts |
T**Y
Great product for the price
Great item ,used on my zero turn mower and very bright and easy to install
F**Y
Awesome low cost super bright lights!
I needed more light, especially on the rural country roads where I live with deer and hogs getting hit all the time on the roads. I wanted to be able to see more than a few yards ahead, and these will fit the need. Obviously I can't drive with them on all the time, but if no one is coming the opposite direction at night, I'll have them on. Installation can be tricky for anyone who is not experienced so if this is your first try at something like this, I'd suggest you ask for help from someone who is experienced. I will eventually mount a real bull bar on the Jeep Grand Cherokee and move the lights to that location, mainly because there is not any metal in the center of the bumper that the existing license plate mounted to. The light bar mount is pretty secure and because of the slotted holes, I managed to screw it down a little crooked, but I loosened the screws and was able to level the mount last night, long after I took the jeep photo shown. I did not use the switch that comes with the wiring harness and unplugged the white connector to remove the switch. Reason for that is that right now my bright lights are not much improvement over my low beams and with my LED fog lights and low beams on, I get flashed by oncoming traffic. I've switched to high beams which cuts off my fogs, and no one flashes me. I decided, to not cut a hole in my dash to mount the switch, and figure out how to pull the wires through my firewall, and instead would use the fog lights switch to turn on and off the fog lights and the LED light bar at the same time, since I can't really drive with the fogs on anyway full time. To do this, I used the white wire coming off the relay pin 86 which is the trigger for the relay to allow the passing through of 12 volts from the battery to the lights with the wiring harness. I cut the white wire just before the white plug, leaving the black and red, then taped up the plug with electrical tape since it will be dangling loose, kind of. I had to pull the weather shield loose between the wheel well and the back of the headlight area to be able to work with the fog light wires, on the passenger side of my vehicle. Under the hood, the passenger side is where my fuse box and ground point are with a positive terminal in the fuse box that is easy to screw down the red wire connector, and just a few inches away is the ground point for connecting jumper cables to, which can be screwed off, slide the black wire connector on and screw the ground point back on. These are the black and red wires that came with the ring connectors already on them. There was a screw that was in the frame in front of my fuse box that was doing nothing so I chose to mount the relay there. I verified that the white wire on the back of my fog light harness was showing 12 volts when the fog lights were on, so I stripped about 5/8 inch of the wire without removing and cutting it, so that I could fold it and squeeze it into an insulated spade connector of this type: https://www.amazon.com/Disconnect-Connectors-WLEAD-Electrical-Assortment/dp/B0CHB5H7XX/ref=sxin_16_pa_sp_search_thematic_sspa?content-id=amzn1.sym.f1ae5671-a572-4614-89aa-2c9d534241e0%3Aamzn1.sym.f1ae5671-a572-4614-89aa-2c9d534241e0&crid=2L290ZPYH1KU0&cv_ct_cx=insulated%2Bspade%2Bcrimp%2Bconnectors&keywords=insulated%2Bspade%2Bcrimp%2Bconnectors&pd_rd_i=B0CHB5H7XX&pd_rd_r=0ab0d9e0-6815-400b-925f-5d9ff52fd9c5&pd_rd_w=hEMRN&pd_rd_wg=LuEkb&pf_rd_p=f1ae5671-a572-4614-89aa-2c9d534241e0&pf_rd_r=VFVE3B38J2WCZS2KF8GA&qid=1700593099&sbo=RZvfv%2F%2FHxDF%2BO5021pAnSA%3D%3D&sprefix=insulated%2Bspade%2Bcrimp%2Bconnectors%2Caps%2C87&sr=1-2-ac07dfd7-5f37-4797-bcf7-0f4905c82761-spons&sp_csd=d2lkZ2V0TmFtZT1zcF9zZWFyY2hfdGhlbWF0aWM&th=1 I crimped on the connector and added the mating connector to the white wire I cut earlier on the wiring harness and connected the two together. I zip tied that together so the wires aren't really swinging around under there. Now, when the fog lights are turned on, that 12 volts will send a trigger to the relay to turn on the LED light bar. Next I crimped on the two spade connectors that came with the kit onto the black and red wires coming off the light bar and connected them to the end of the wiring harness I fished through behind the grill an zip tied in a few places to keep it secure. Last, I just tied the remaining wire bundle together with a zip tie and then tied up the wiring coming from the light bar under the grill and was finished. You can see in the jeep photo how the bar mounts, (before I leveled it), the fuse box photo of how I wired to power, and the low, high, and light bar photos. I will probably raise the light bar angle a bit to get a little more distance and less flooding of the road right in front of me, but I am really happy with the outcome especially considering the cost of this setup. If you have regular, non-HID headlights and want to power your light bar with your high beams you could do what I did except you would find the wires behind your high beam lights and verify which has 12 volts when the high beams are on and use that wire for your trigger to the white wire in the light bar harness. Or, you could just pull the wires through your fire wall and mount the switch like a normal human would and use the switch provided to turn them on and off. Have fun and enjoy all the light!
B**.
Wow. Just... Wow. Looks sharp, works fantastically well, quick and easy to mount, 5 stars, highly recommended!
So far I am extremely impressed with this light bar. There are larger ones, but I can't imagine where or when you could even turn them on... I can't turn this one on except out driving in washes and dirt roads at night, hopefully with a forest around me or I'm going to blind everyone for half a mile. See video for details. I installed this light bar in about 20 minutes on my new Ranch Hand bull-nosed front bumper, after reading reviews and specs to be sure it would mount directly to the bumper light mounts with no adapters or brackets needed, and indeed the holes aligned perfectly. Some reviews have mentioned that the brackets arrived bent, and that they had to be bent to fit - partly true, but they didn't get bent in shipment, they were identical in their "slightly too narrow" aspect. This is intentional, so that when you slip them over the part that attaches to the light bar, it is held tightly in place as you stick the screws into their holes. So forget that whole "bent in shipment" thing, they are made that way on purpose. Unfortunately, the bumper had big holes in the light mounting tabs, so I did have to go to Home Depot to get some big washers, so add 20 more minutes for that side trip. But that's not an issue with the light bar, more like an incompatible bumper that needed a little help to be securely affixed. Your bumper or mounting location may work just fine without any additional hardware. I was having a new radio installed, so I had the radio installer at Best Buy pull the wires from the new Nilight dashboard switch ($10, also from Amazon) and connect it all up with soldered connections and heat shrink tubing like he did for the rest of the cables... That would have added a couple of hours if I had done the wiring myself - but since they had the dashboard apart anyway, this just made more sense to me. The zip ties in the photos were temporary until the wiring job was completed, now all wires are secured with black metal wire guides along the back sides of the bars. I did have to drill a hole in the bumper metal to route the wire - no big thing, and the Best Buy guys had a black grommet which fit perfect. Pros over there. You have to have the LEDs on to align the light bar correctly - my best eyeball guesswork was making a big bright spot on the ground right about where the low beams hit the ground. Adjustment is simple, if you have the right screwdriver (varies depending on the bumper and mounting location, what all is in the way, etc). Alignment took 5 minutes or so. The light bar gets quite warm to the touch as expected, but at no point was it too hot to touch during the adjustment operation. Hot but not enough to burn you or be a hazard. I very much like the arrangement of the 6 right and 6 left LEDs being flood focal length reflectors while all of the rest are long-throw spot focal length reflectors. You can see the difference in some of the pictures, and in those from other reviewers. You get a perfect mix of nearby and "way down the road" illumination. Check out the pictures and video - this thing looks great, works great, had excellent pricing for the performance, and is obscenely bright. Wow. Highly recommended!
R**1
Good for the money
Good light. Cheap, but decent
A**C
Très bon éclairage c'est clair très large par contre la porte est correcte mais pas excellente
F**K
Good quality product but no harness with item, need to buy it seperately
M**E
Great product! Incredibly bright!! Only negative points: the bracket doesn't allow you to install on many different angles, I had to modify them for my ATV bumper... And also, there's always a whistling sound coming from it when turned on... Don't know if it's normal?! ***UPDATE 2020-04-30*** I returned it under warranty and received a new one yesterday and installed it right away. No more whisling sound! So I'm happy with it!! Overall satisfied with this purchase, let's see how long it last!
S**E
Good quality and very bright. Came with all the bits I needed to fit it.
C**N
Viene golpeado y re pintado Esperemos funcione bien
Trustpilot
1 month ago
2 weeks ago