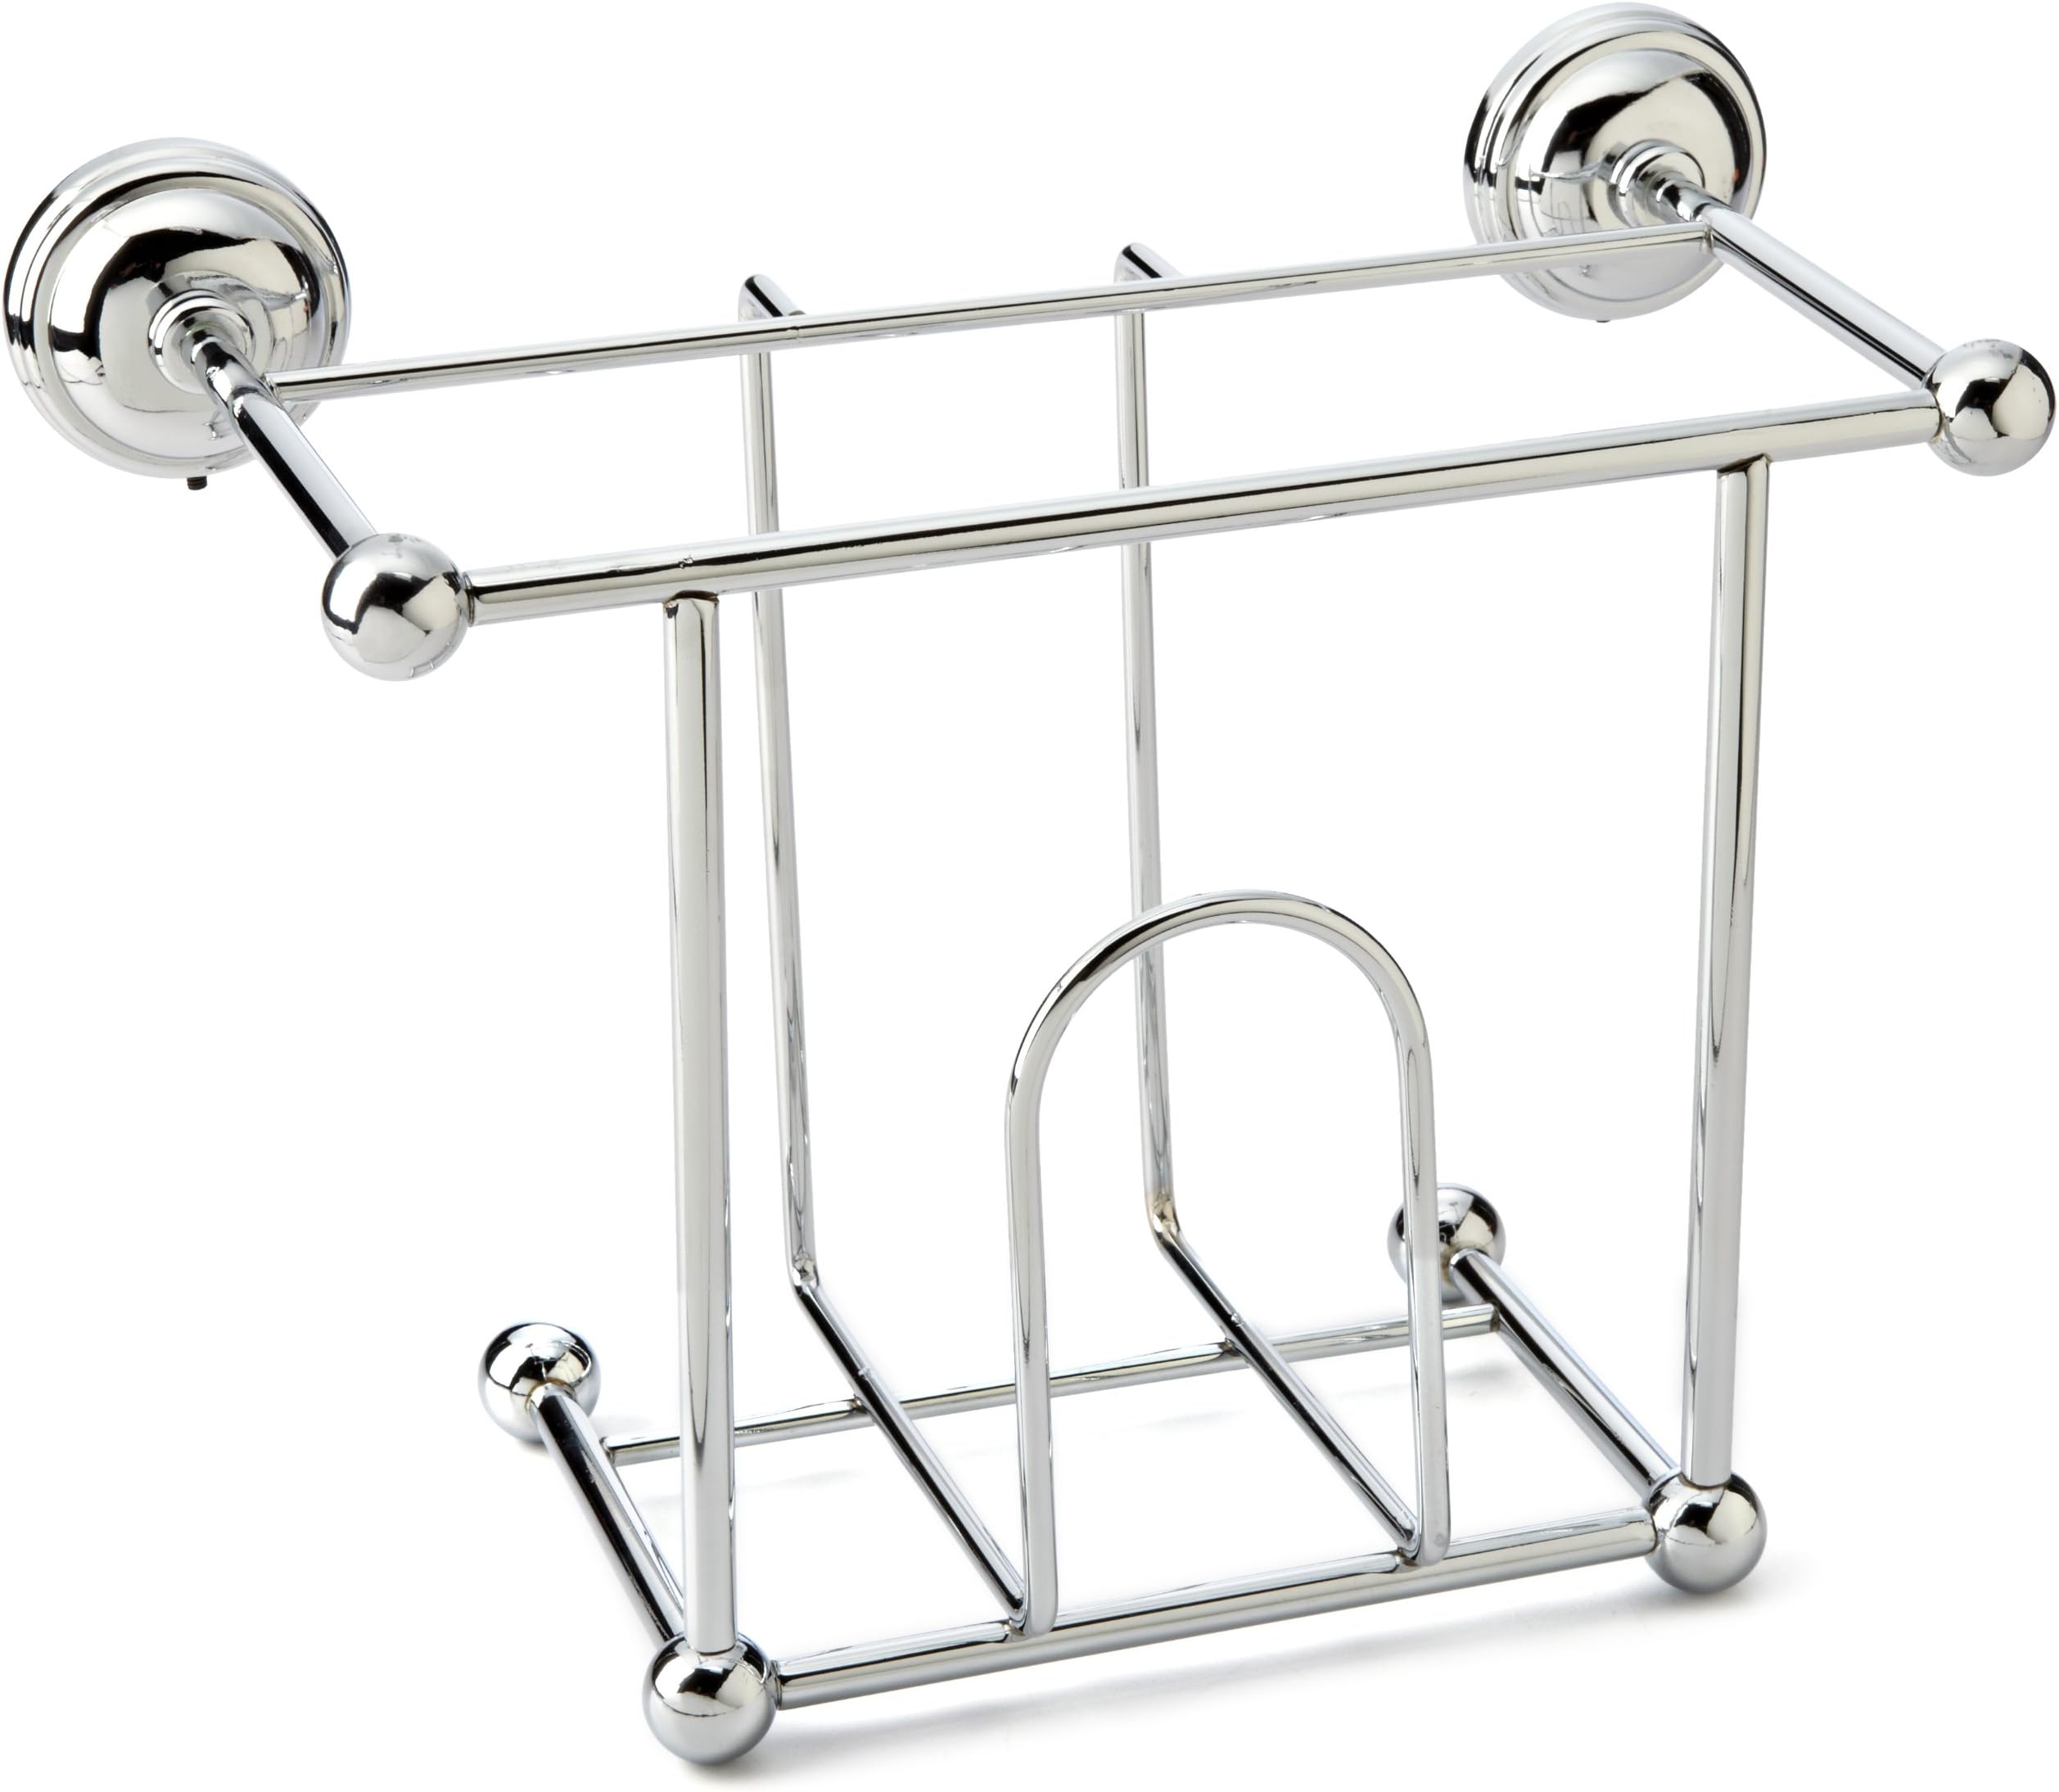
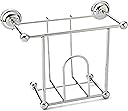

Taymor Chrome Wall Mount Magazine Rack
Product ID: 7601974
📏10" H x 10.5" W
🔩Includes mounting hardware
🛠️Fully assembled
📚 Organize in Style: Where Function Meets Fashion!
The Taymor Chrome Wall Mount Magazine Rack is a stylish and practical solution for organizing your reading materials. With dimensions of 10 inches in height and 10.5 inches in width, this fully assembled rack is made from durable plated steel and comes with all necessary mounting hardware. Its sleek design not only saves space but also adds a modern touch to any room.
D**R
Well made and nice looking - but tricky to mount...
Overall I'm well satisfied with this magazine rack. It's very solid, nicely finished, and generally elegant in style. It nicely matches our other bathroom fixtures. The only negative is that the mounting plates did not want to work at first. After a lot of fiddling around, I did finally achieve a solid mount so all is good in the end. If you're not going to be mounting this rack, don't bother with the rest of the review. If you ARE going to buy and mount this rack, read on and save yourself a hassle...Here are the details: As with most towel bars and similar items, you mount this by screwing a couple of plates to the wall. Included with the parts are four big plastic screw-in anchors that go into your drywall. The plates are screwed into the anchors with regular screws. The rack then fits over the plates and locks in place with a set screw. In this case, the plates are circular and have a little indent on one side - the question is "is that the top or the bottom?". Hmmmm... There is a drawing in the instructions, but it's very hard to make out. It looked like the indent went at the bottom and the set screw would go into that indent. Wrong. The set screw never made contact with the plate, even tightening the screw until it went completely through its threads and fell out on the inside. To make things worse, the set screws use an Allen head wrench (supplied) instead of a regular flat screwdriver. When working up against the wall, one must blindly (it's on the bottom of the mount) fumble the Allen wrench into the socket, make a quarter turn (the Allen wrench is against the wall so you can't rotate it 360 degrees), take the wrench out and repeat. Repeat about 100 times that is. And then finally when the screw still didn't seat, I wanted to scream.After half an hour of frustration, I decided to turn the mounting plates over so the indent was on the top, opposite of the drawing. Of course when you try to take the plates off the drywall, the anchors pull out - drywall is weak and crumbly so these anchors aren't meant for removal and reinsertion. The solution to this is the always reliable "Gorilla Glue" ([...] A liberal dose of said adhesive locked the anchors back into the wall - for all eternity. Put the plates on with the indent on top, adjusted the set screw most of the way in before mounting the rack to the plates, and then a smaller number of turns with the Allen wrench resulted in a solid contact and lock to the wall!Enjoy your magazine rack while relaxing in your quiet place!
J**T
It has the right finish
This magazine rack seems to be sturdy enough and the finish looks good. Having just completed hanging it in my bathroom I had a few thoughts to share. First of all I was surprised when I first took it out of the box and noticed that the way it hangs from the wall is only from the two brackets at the top and it is unsupported at the bottom. It would have been very easy for the designer to extend the bottom of the rack to rest against the wall. Unless you anchor this very well, the weight of the magazines or books you store in it may well eventually start to pull the brackets loose. I imagine this is part of the reason that they "strongly suggest" you anchor it into studs. However unless you are willing to tear your wall apart to add framing, it is unlikely that you will have two studs that are 10" apart. I was fortunate enough to be able to attach one side to a stud and had to use anchors on the other side. However, I would recommend using your own anchor and screws. Having turned the instructions over and used the blank side to draw a template (the only real use for these instructions) the mounting went fairly smoothly thanks to tips from other reviewers. Namely make sure you put the brackets on the wall with the indents facing up. The only snag I hit was trying to use the wall board anchors that were provided in the package. I've used these types before (the self drilling type you just push in and screw into the wall) without much of an issue. The problem was not actually the anchors but rather the screws themselves. They appear to be made from some sort of aluminum chalk alloy (kidding ... sort of) and both heads got stripped as I screwed them in. I was using a phillips #2 driver and the heads just gave out way too easily. Removing the screws was a chore as it pulled the anchors out too (as another reviewer noted) which left some fairly large holes. Fortunately I had some large heavy duty anchors and screws around the house that fit the hole perfectly. After hanging the rack on the brackets it was pretty easy to tighten the set screws. Just finger tighten as far in as you can then use the allen wrench they provide by sticking the long end into the set screw. Its pretty flexible so I didn't have any problem bending it a little bit to be able to turn it 360 degrees. Once they're in, the rack seems to be locked down pretty well. As I stated previously though I wish it wasn't just hanging away from the wall on the bottom. This is why I gave the product 3 stars, for the money I would have liked a useful template, better screws and support on the bottom of the rack.
J**F
Very sturdy and nice looking
The magazine holder is very well made and looks great. The only downside is the supplied wall anchors. The directions for installation recommend attaching the holder to a stud which, due to it's width, is only possible on one side leaving the other side to be attached to the hollow wall with the supplied screw-in type anchors. When screwing in the screw all is well until the last little bit and then the anchor gives way and spins in the wall leaving you unable to tighten it further. You then must unscrew the whole contraption and, with more difficulty than you might imagine, use a pliers and screw driver to dislodge the screw from the anchor. Now you are left with two nearly half inch holes in your wall. Toggle bolts are the only option at this point. Toggle style bolts come in a few different varieties but basically all work the same. A hinged or flat piece of metal goes through the hole then rotates or expands to give you unbeatable holding power. So do yourself a favor and just start out with the toggle style anchors. They will work 100% of the time and the holder will be absolutely solid on the wall.
Trustpilot
5 days ago
2 weeks ago